Colour and cane

Ian and Nathan have been back in the Hot Shop, this time introducing colour to the glass. The following images show the fascinating and mesmerising process and the end result.

Cooled down and ready for the next stage

Photography documentation by Nathan Soper

The World of Glass

23/10/21

St Helens World of Glass

I signed up for this introduction to glass blowing course at the St Helens World of Glass. Although I am not going to be the glass maker during this development time, I wanted to experience the glass making for myself. This has definitely helped me to understand the different techniques and process, so when I am discussing things with Ian I can visualise and comprehend each stage much better.

I was lucky to have a one-to-one session with glass maker Nicola Steel @nikisteelglassdesign Niki took the time to explain all the different elements to making a glass paperweight and a blown glass bauble. I documented her process before having a go myself.

I was surprised at how physical it was, from collecting the molten glass to re-heating and manipulating the glass. It has certainly given me a greater appreciation at the extreme patience, tenacity and dexterity it requires to master this ancient glass forming technique.


The piece begins: Niki Steele reaches inside the furnace (1095 degrees) and into the crucible that is filled with clear, melted glass and gathers a layer of molten glass on the end of a steel blow pipe.

Resting the pipe on the steel arms of the bench, turning it with one hand. With the other hand the artist uses tools such as cherry wood blocks, wet newspaper, wooden paddles and tools made of stainless steel. This process requires perfect coordination between right and left hands and constant motion.

Taking the heated glass on the blow pipe and rolling it over the coloured powder and frits, picking up pieces with each roll.

Back to the Glory Hole (1200 degrees) where the coloured glass is heated to melt into the clear. Again, the glass blower keeps turning the pipe to keep the shape at the end of the pole.

The process of heating and turning in the Glory Hole and shaping at the bench will be repeated many times.

Shaping the glass with jacks as it is rotated at the workbench

The actual blowing begins. It starts with a puff on the end of the blow pipe to create a bubble. Then it’s back to the Glory Hole for more heating and turning., then back to the bench for more shaping. This cycle gets repeated many times, depending on the size and shape desired.

Removing the piece from the punty. The blower takes the punty and hits it firmly so that the piece drops off into a box that is filled with thick layers of fire blanket.

After taking a small gather of clear glass from the furnace, the molten glass is added to the blown piece and then cut and shaped into a hook shape with shears.

The scorching-hot glass is transferred to an annealing oven. This oven is kept at 500 degrees and then cooled down over a period of 14 hours to room temperature. This slow cooling down is to prevent the piece from cracking or breaking. Any sharp edges can be ground down when the glass is completely cool.

You can visit Nicola’s Etsy shop here to view her handmade glasswork.

The World of Glass in St Helens offer glass blowing demonstrations. The details can be found here

Finished coloured paperweight

Coloured blown glass bauble

Detail of bauble

Blown glass bauble

Detail showing smokey colours and lines


Sketchbook Development

I’ve been continuing with my concept designs and sketchbook development at the same time that Ian has been experimenting with the blown glass forms. I’m really enjoying the forward and backwards collaboration which is occurring as the development time progresses. Even though this is a long-distance collaboration (me being in Derbyshire and Ian in Plymouth), it is working well through regular Zoom meeting, and the sharing of images and documentation of the glass process.

I wanted to go back to observing the diatom forms, but with the thought of how they will be explored in glass at the same time. With more knowledge of the different glass techniques, I am now able to visualise how each ‘experiment’ or test piece will be put together.

Sketchbook detail

In the above image I am playing around with some ideas which Ian has already made and starting to think about how these objects will float. I think instead of sitting working out the maths for this, it is better to experiment and test the pieces as they are made. We both like the idea of the sculptures floating on water and possibly concealing a hidden decorative element beneath the water surface.

Test piece showing stopper

Completed test piece

Photography by Nathan Soper

Sketchbook detail

Diatom shapes, textures and forms which could be explored in glass

The above video clip shows an early piece of blown glass made by Ian, he used my diatom drawings as inspiration. I really like the contrast of the translucent aqua blue against the opaque white. This is something we will take forward when considering colour for the next stage.


Sketchbook detail

Thinking about the technical side of how the glass pieces will float.

Sketchbook detail

Focusing on form and texture details of diatoms. Could these more details elements be 3D printed?

When working in my sketchbook, it is interesting to see how my ideas flow. This often changes from observation drawing; looking at form, pattern and texture to more imaginative concept design and technical problem solving. I was really enjoying observing the fine details of the patterns in the diatoms and got carried away thinking how we could represent this in the glass with bubbles.


Ian made some intricate ‘stopper’ pieces which fit perfectly into the larger more bulbous vessel. Would it be possible to contain something within this space? Could it create its own eco-system, or could be introduce another material with the glass?

I then started looking at Sea creatures, particularly jellyfish, and was intrigued by the often brightly-coloured insides which were visible through the translucent layers. I thought this would be an interesting concept to play with using translucent and opaque colours of glass.

Sketchbook detail

Sketchbook detail

Ian manipulating the glass stopper

Photography by Nathan Soper

Sketchbook detail

Diatom arrangement

Ian pointed out that these Victorian style diatom arrangements reminded him of Millefiori Murano Glass (a thousand flowers). We thought that this technique could be explored for the more decorative areas. I really like the dark backgrounds which make the brightly coloured glass pop.

Antique microscope slide of diatoms arranged in highly complex patterns

2.5 inch Perthshire paperweight with about 12 radial spokes and a standard 1-1-2-2 pattern of millefiore canes


Hot Shop

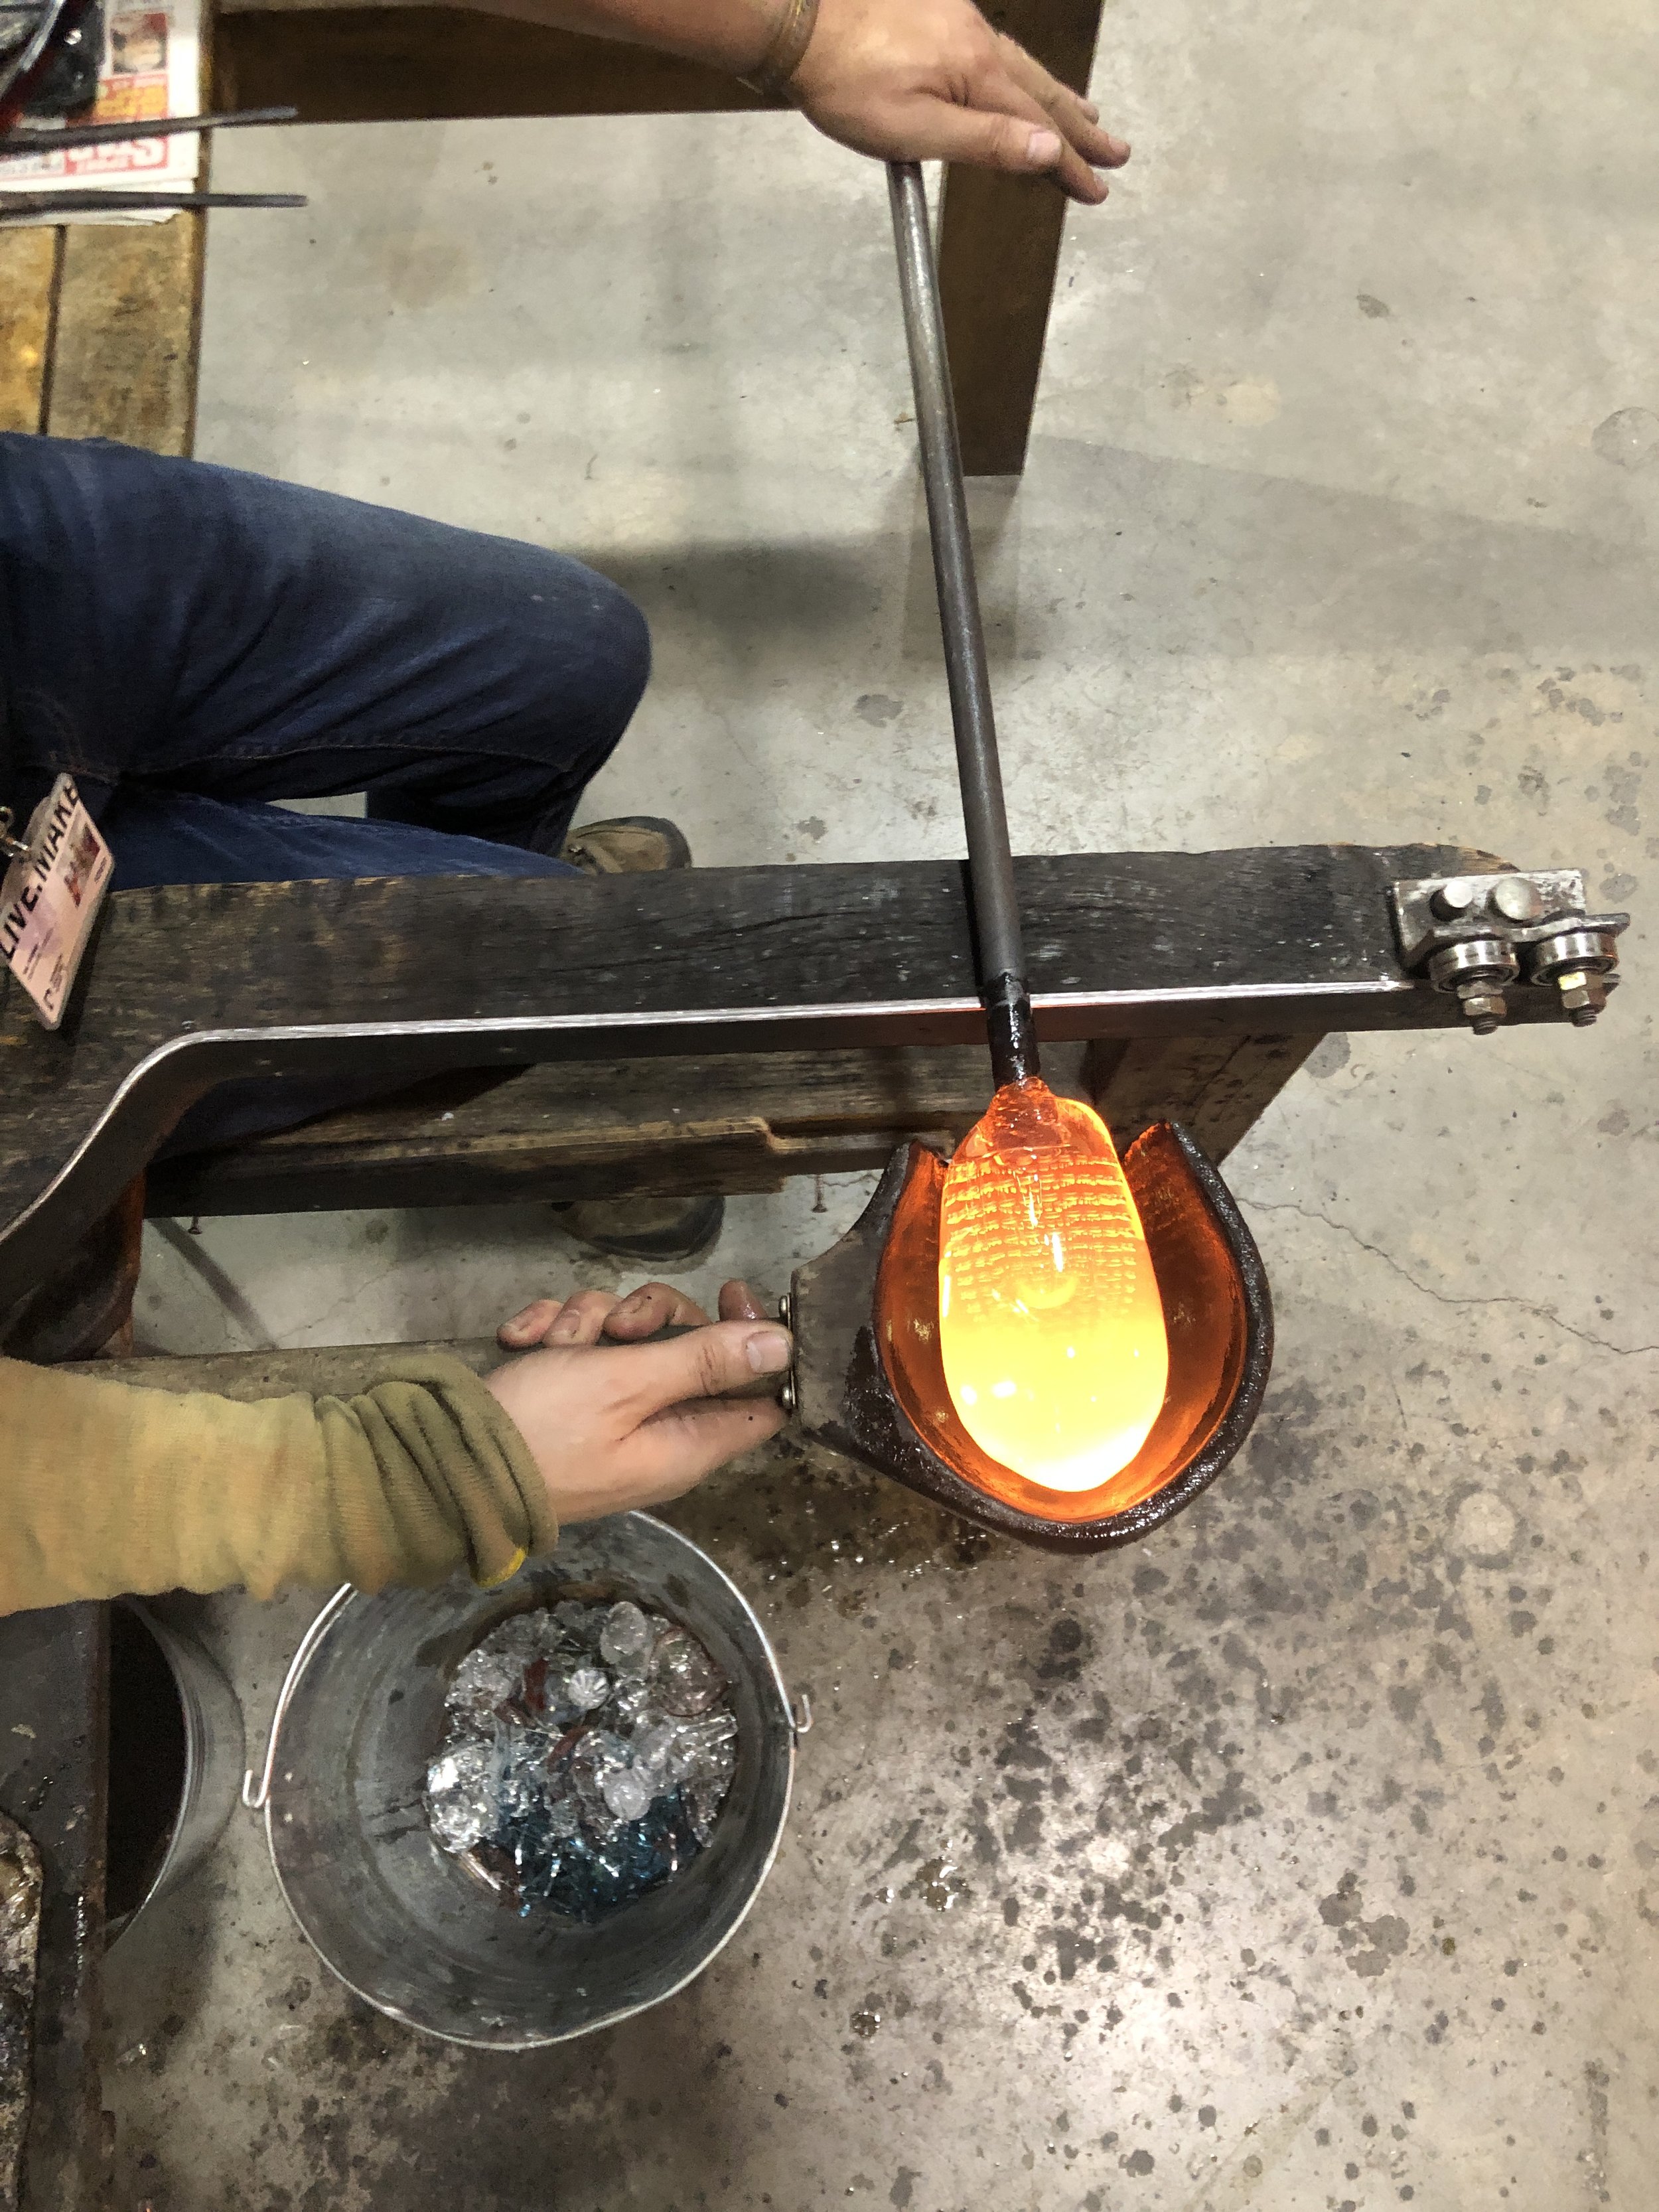
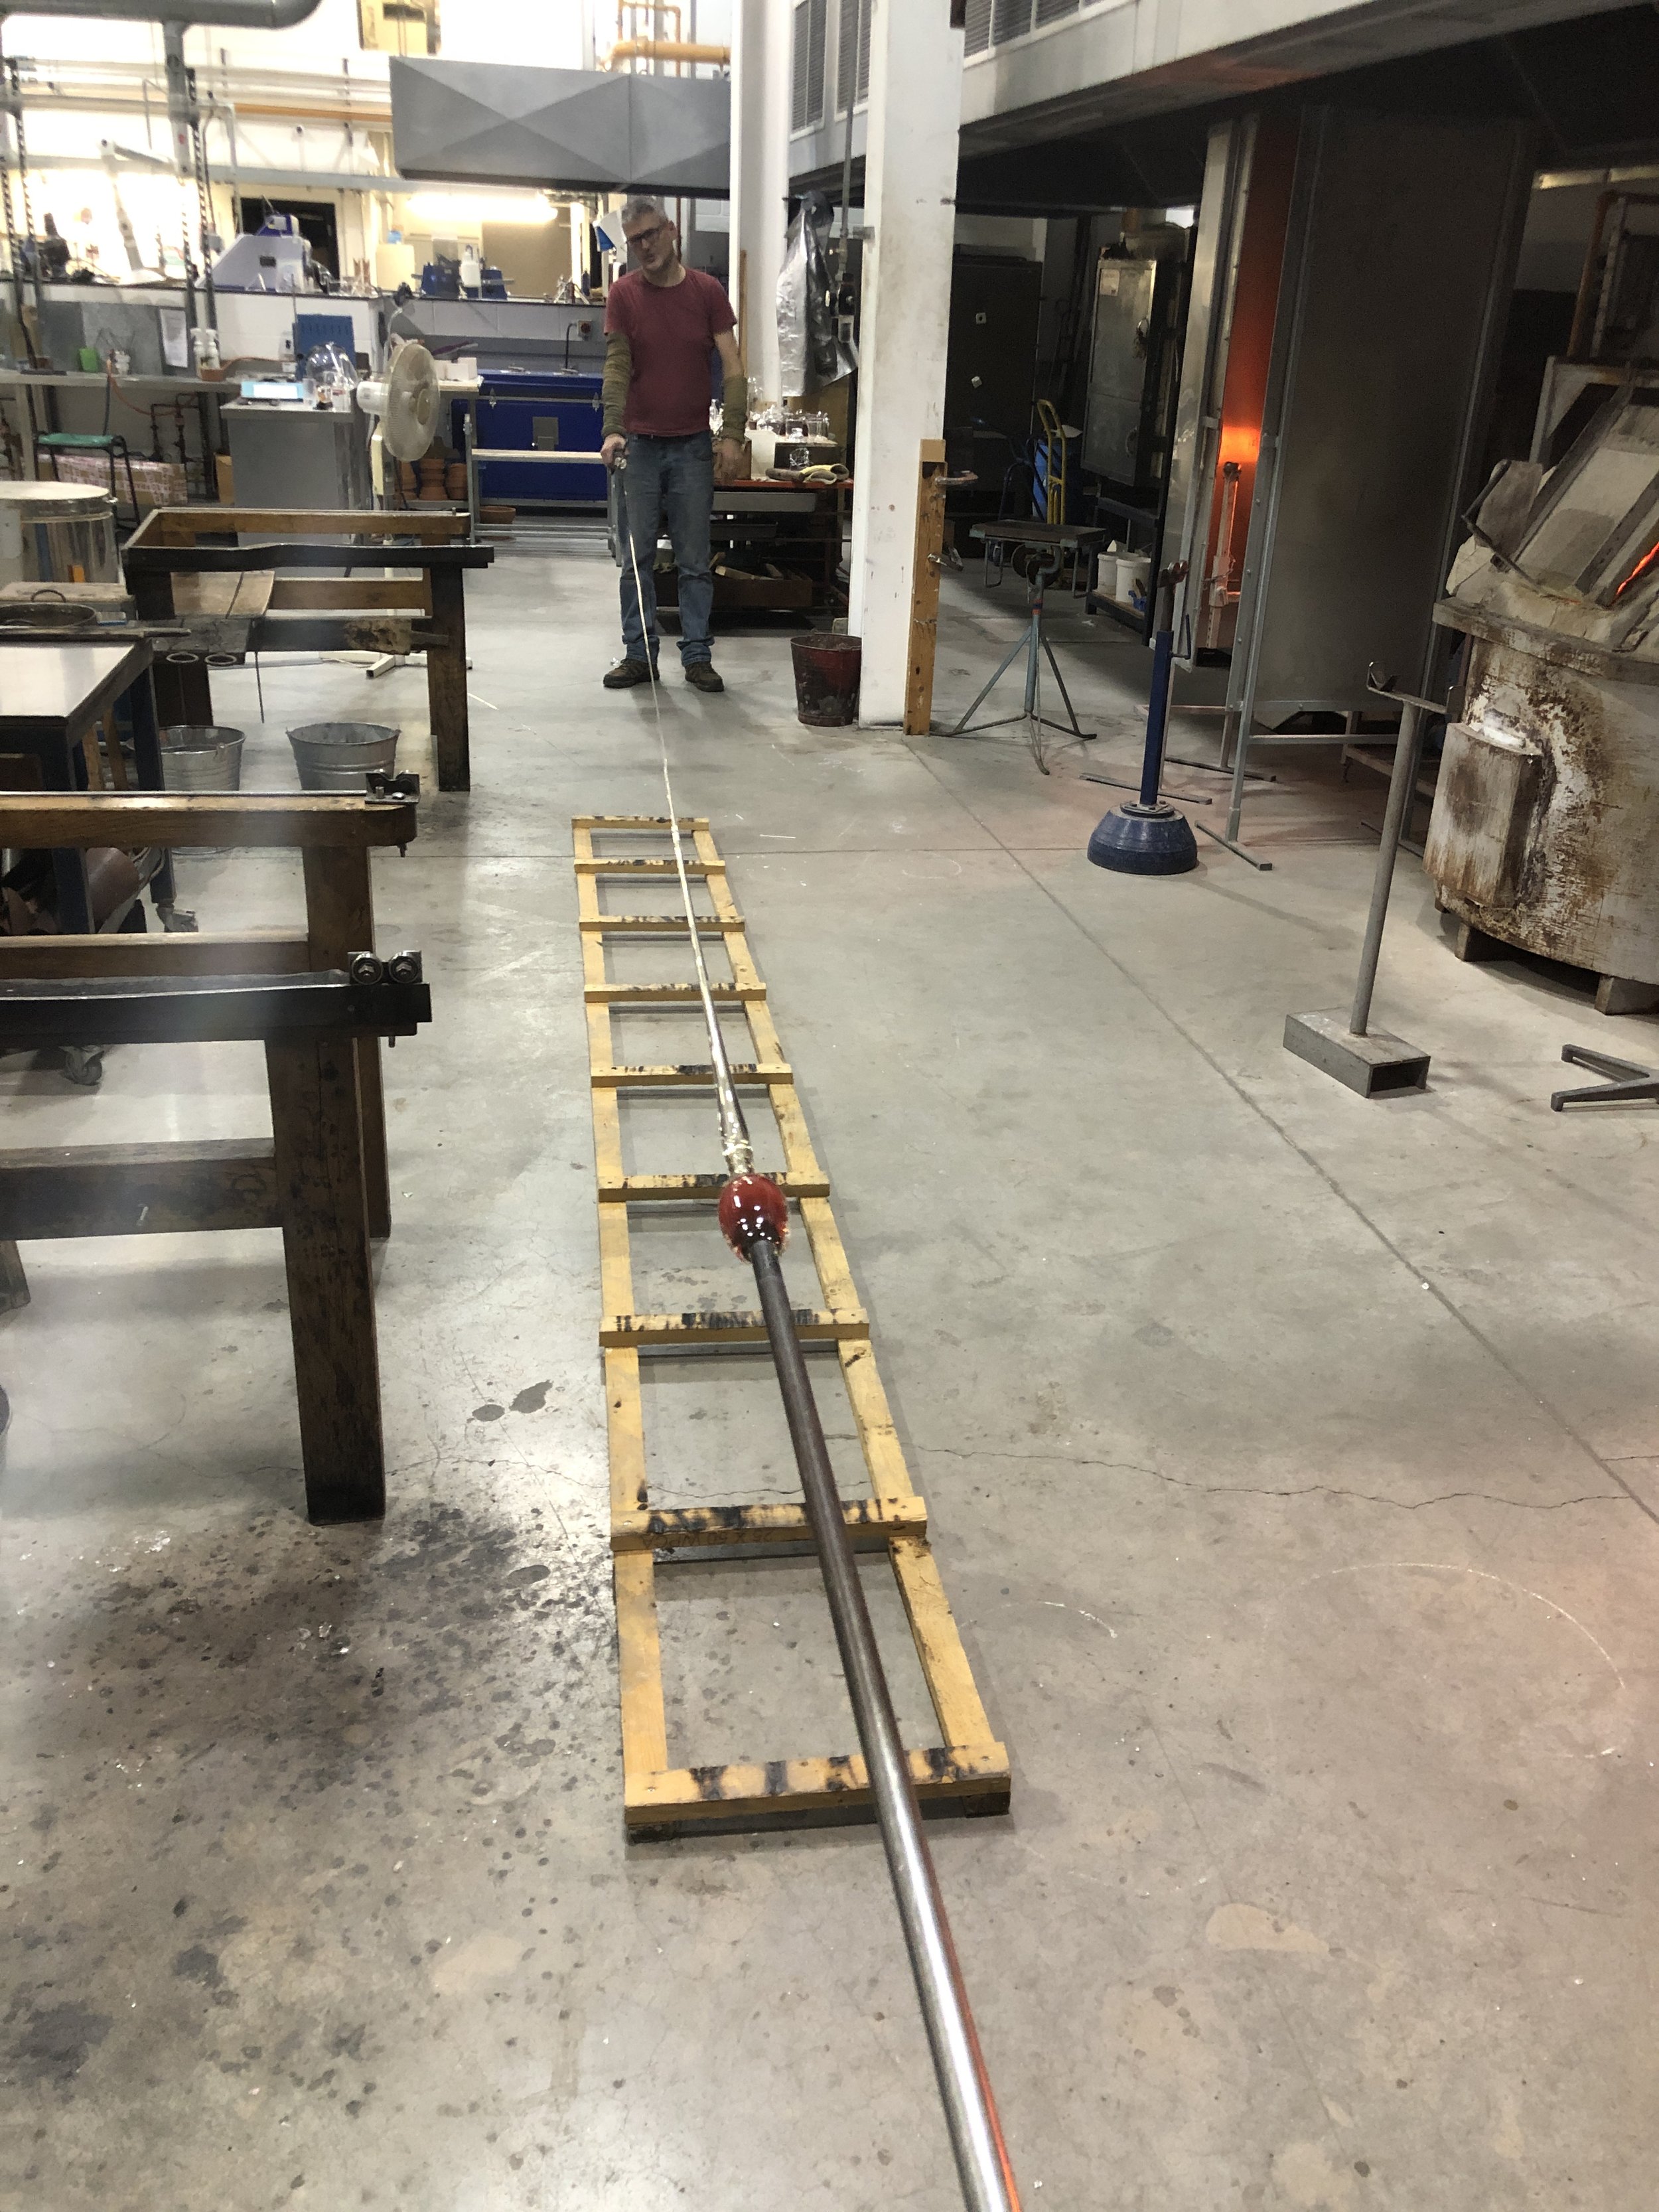
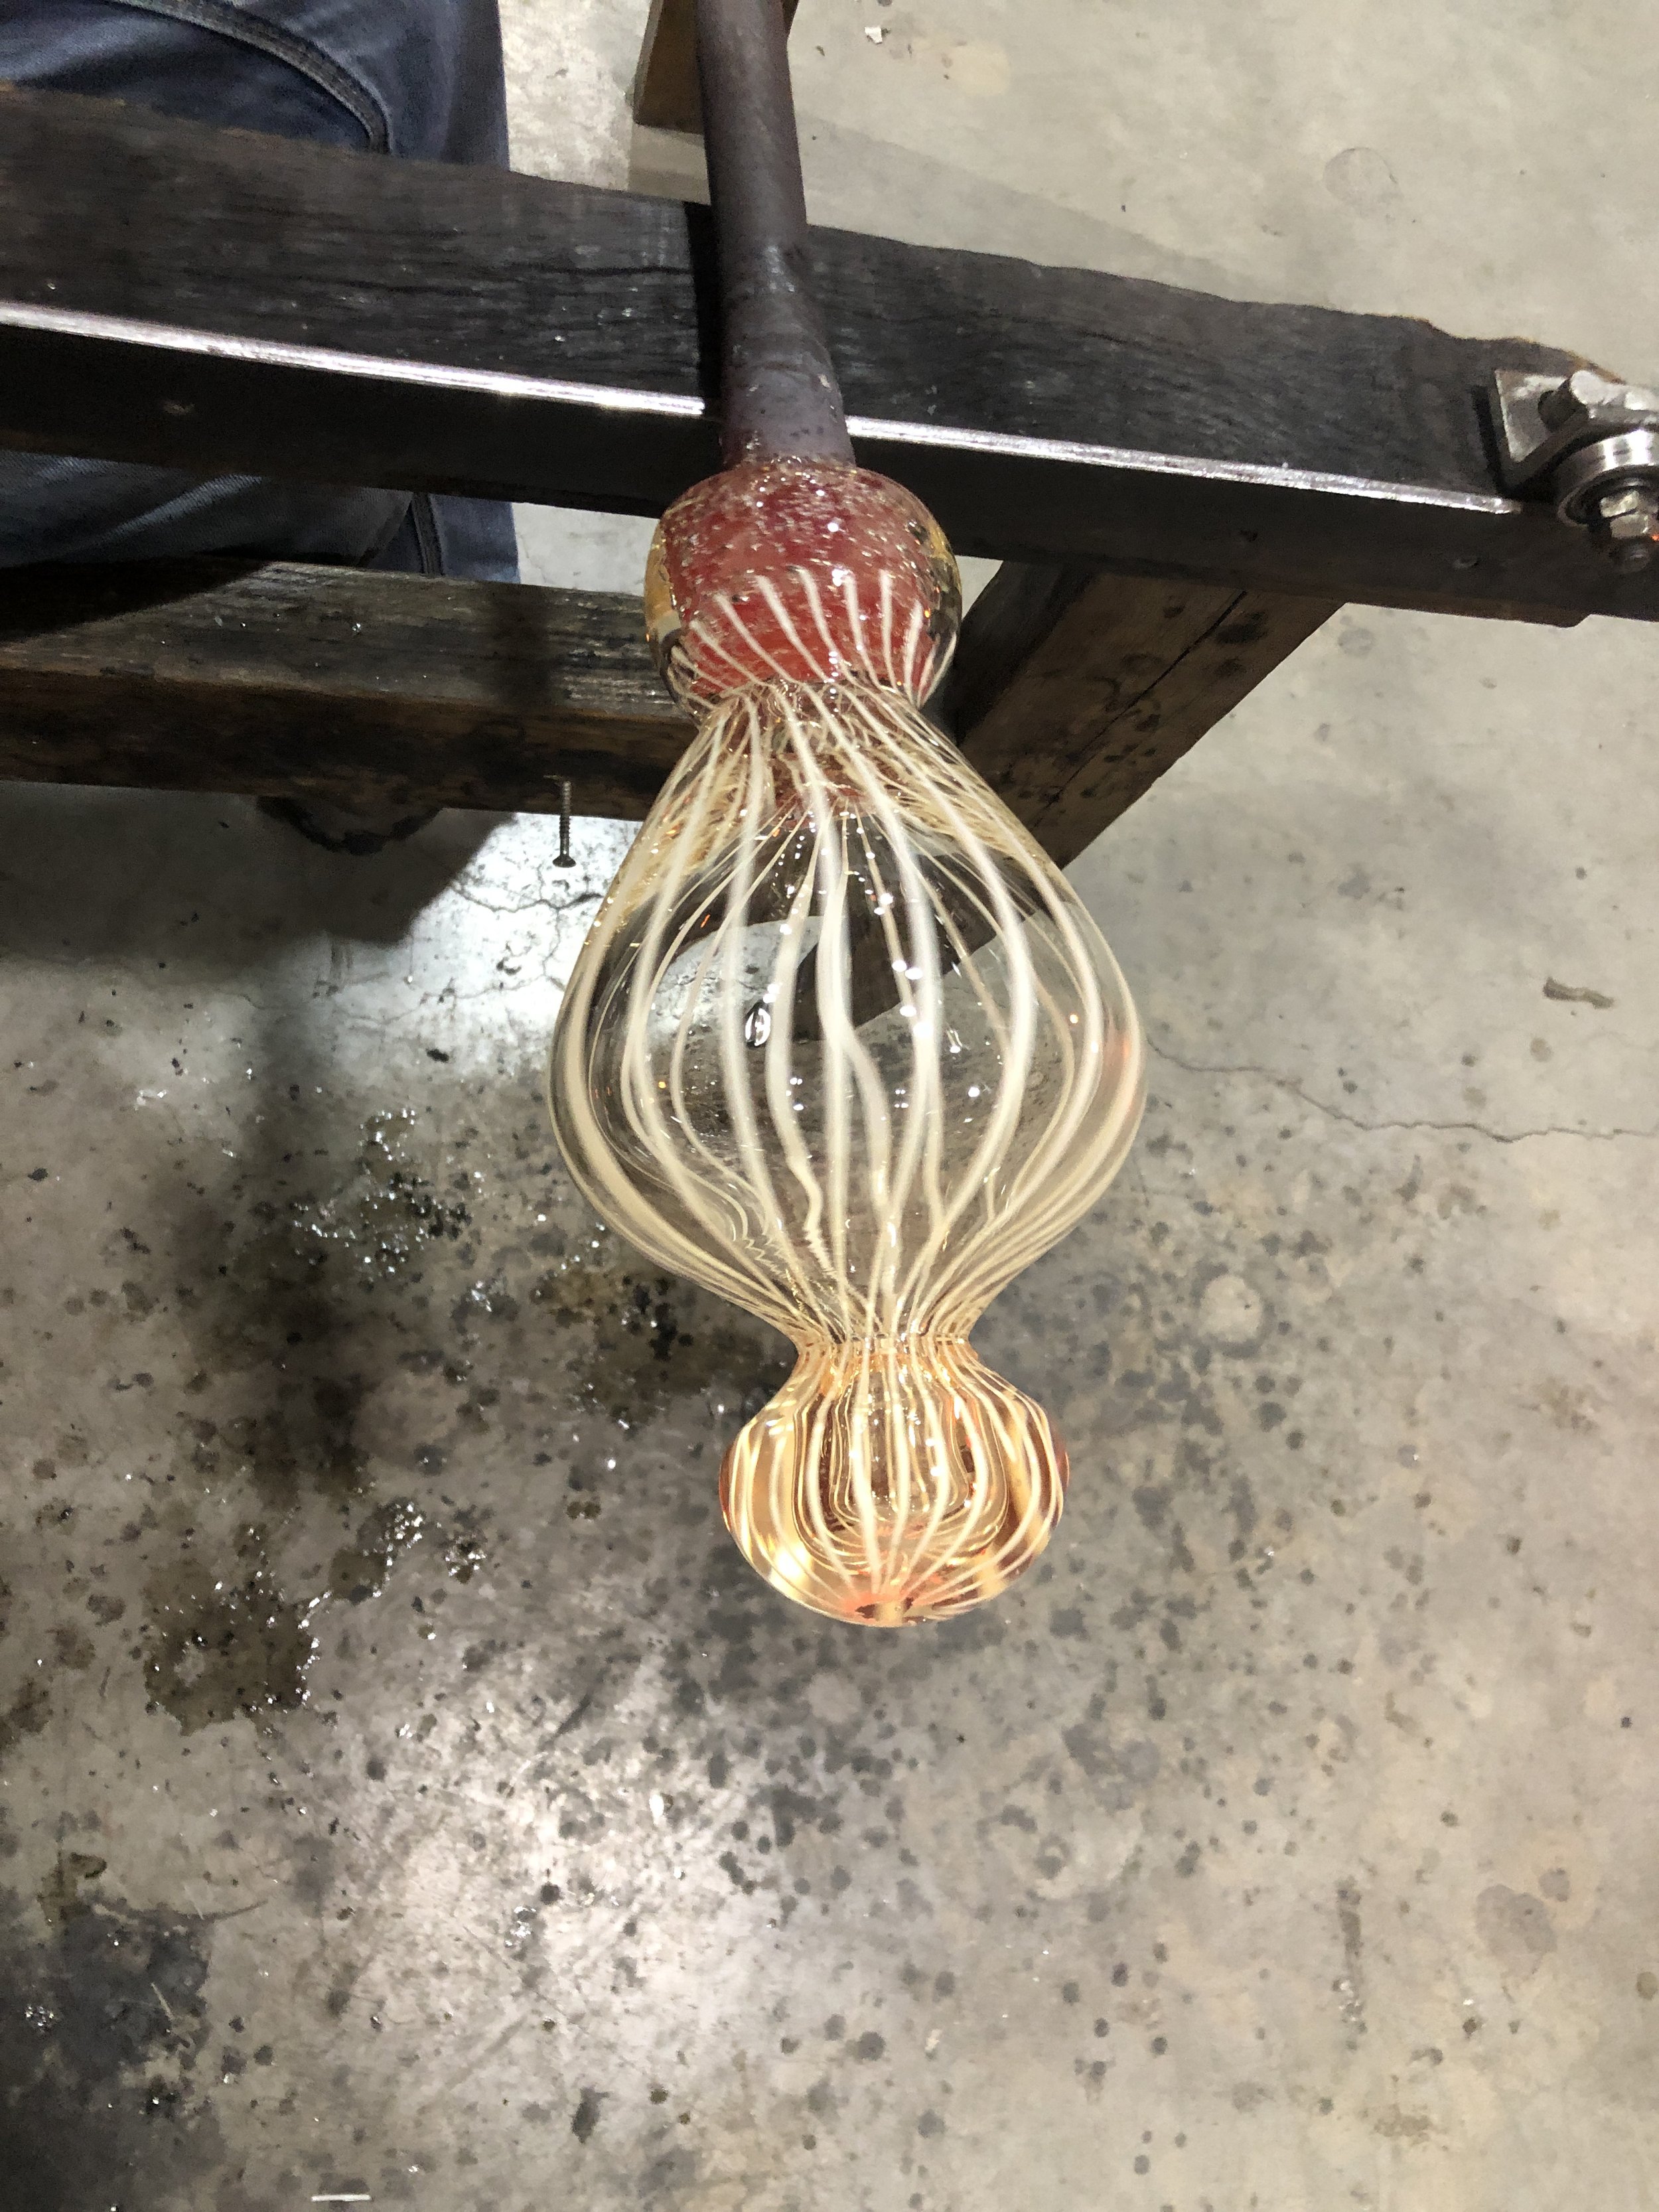
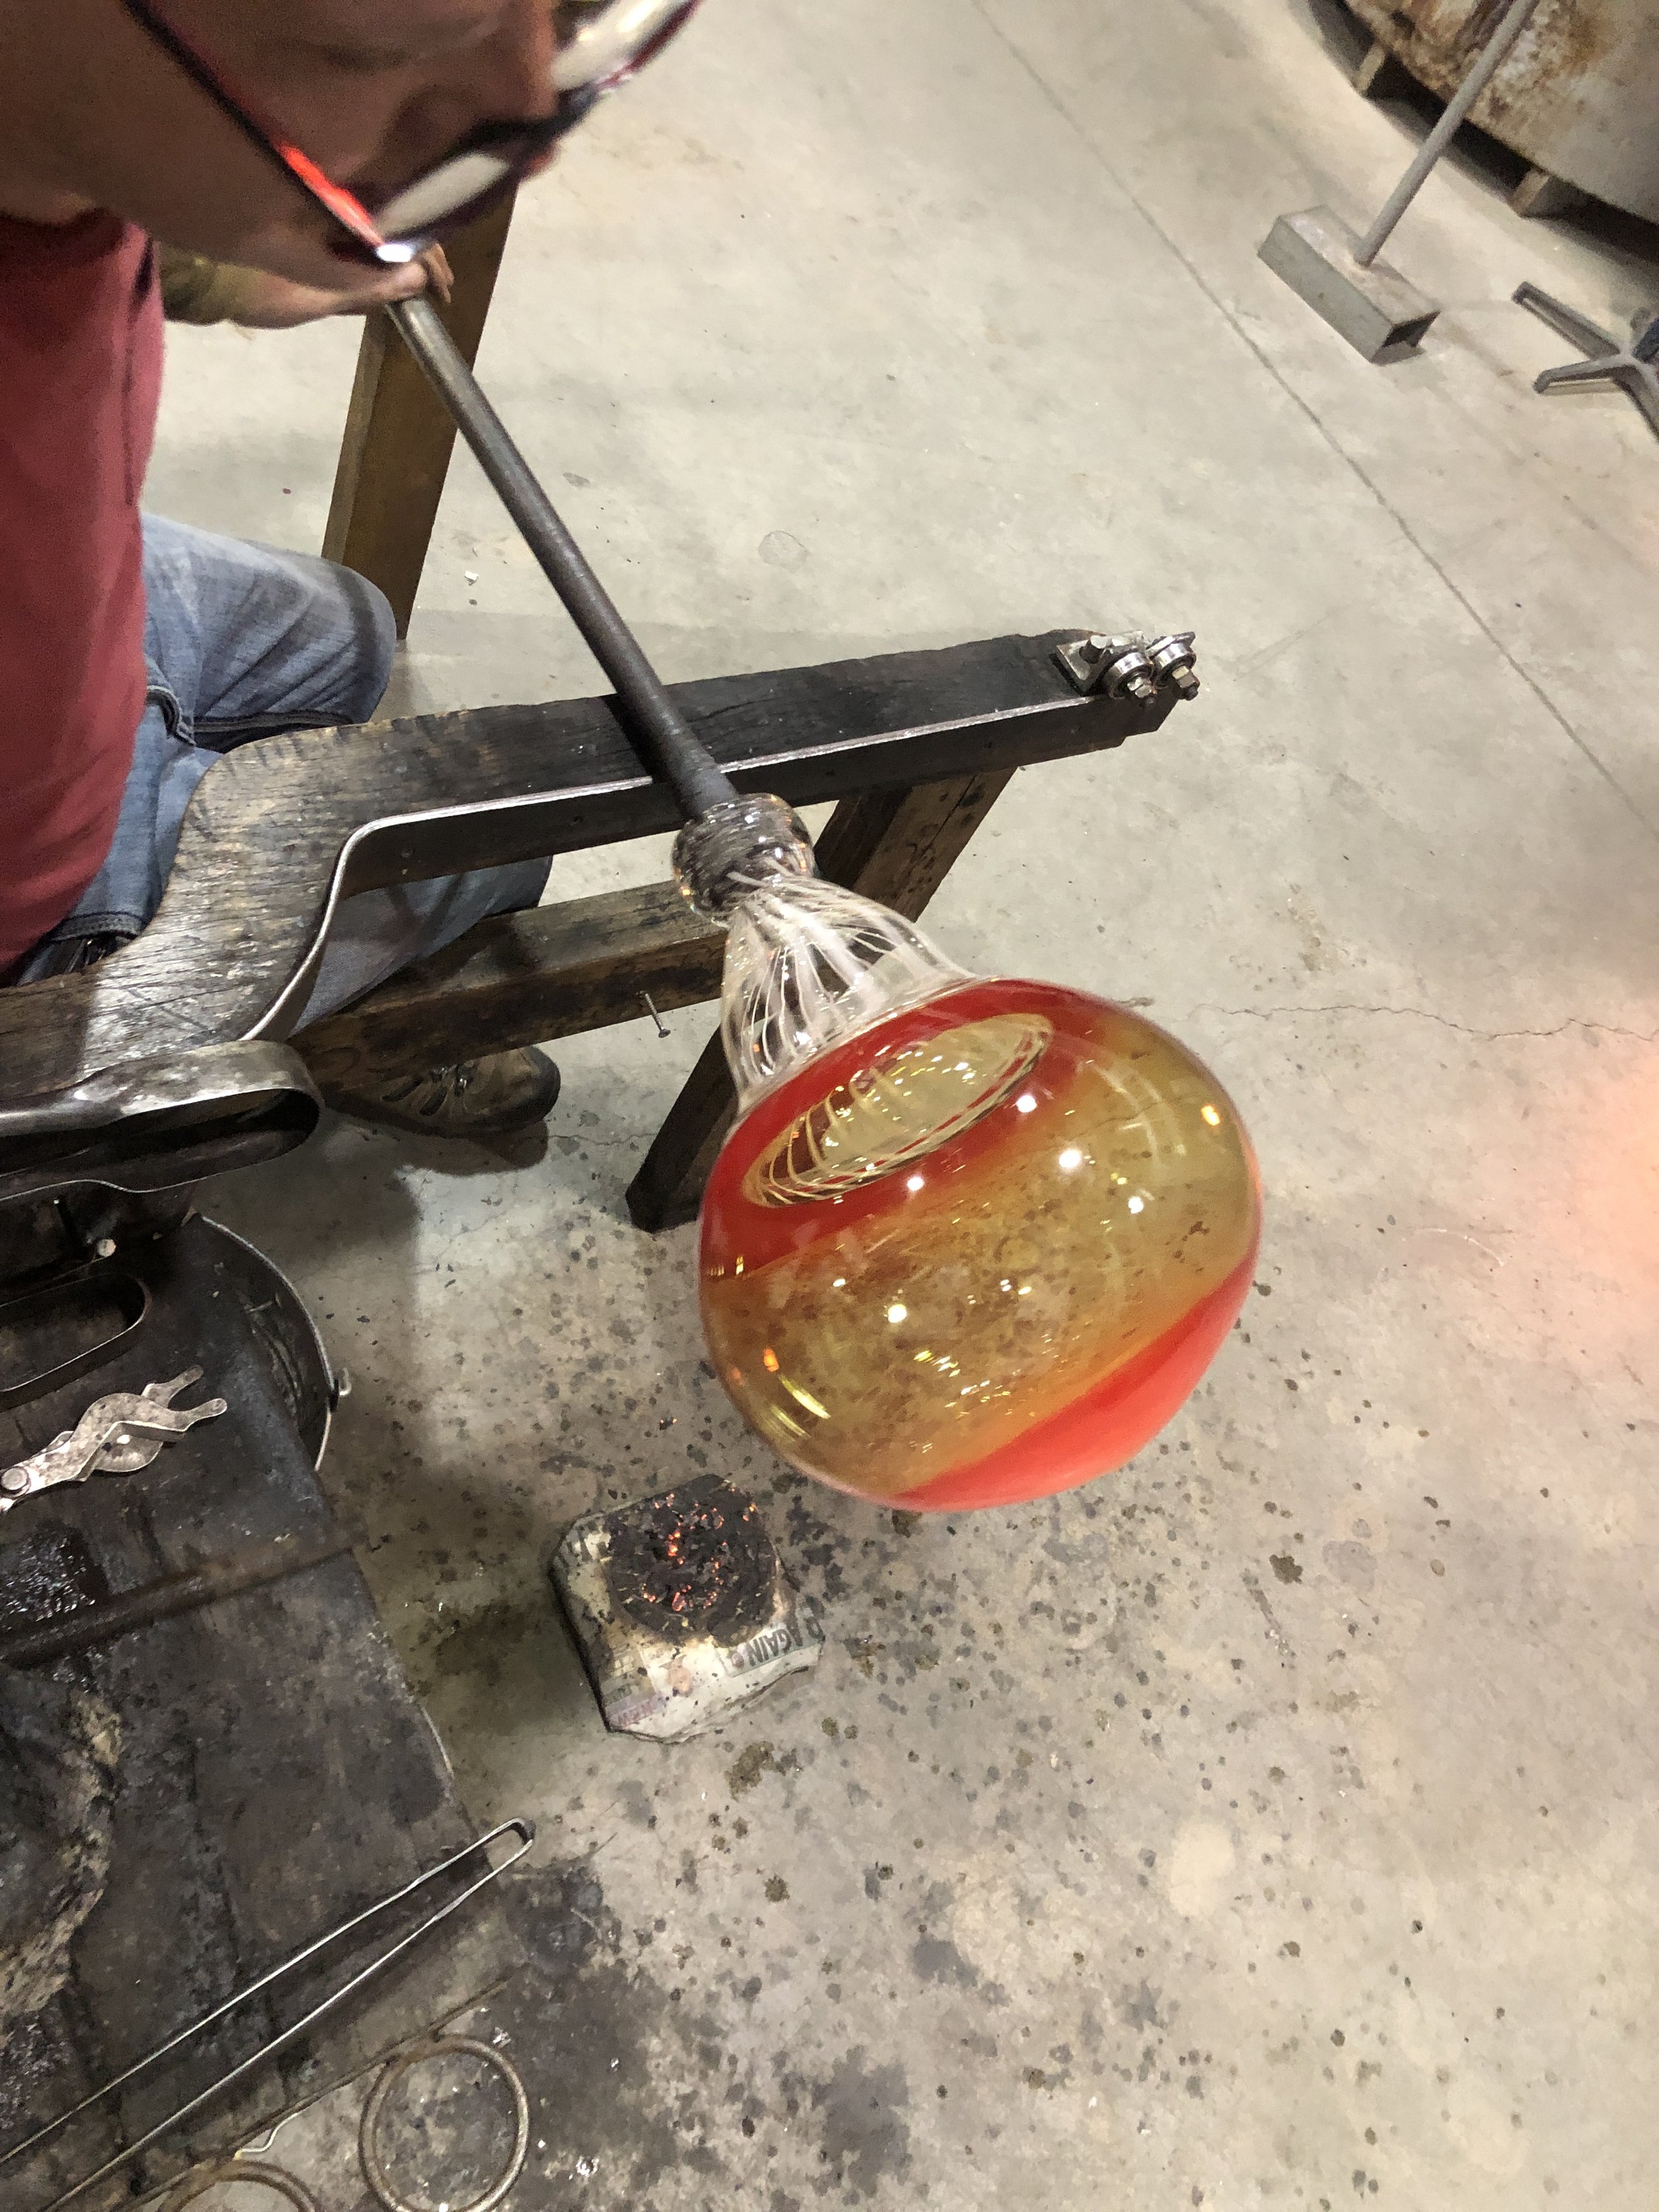
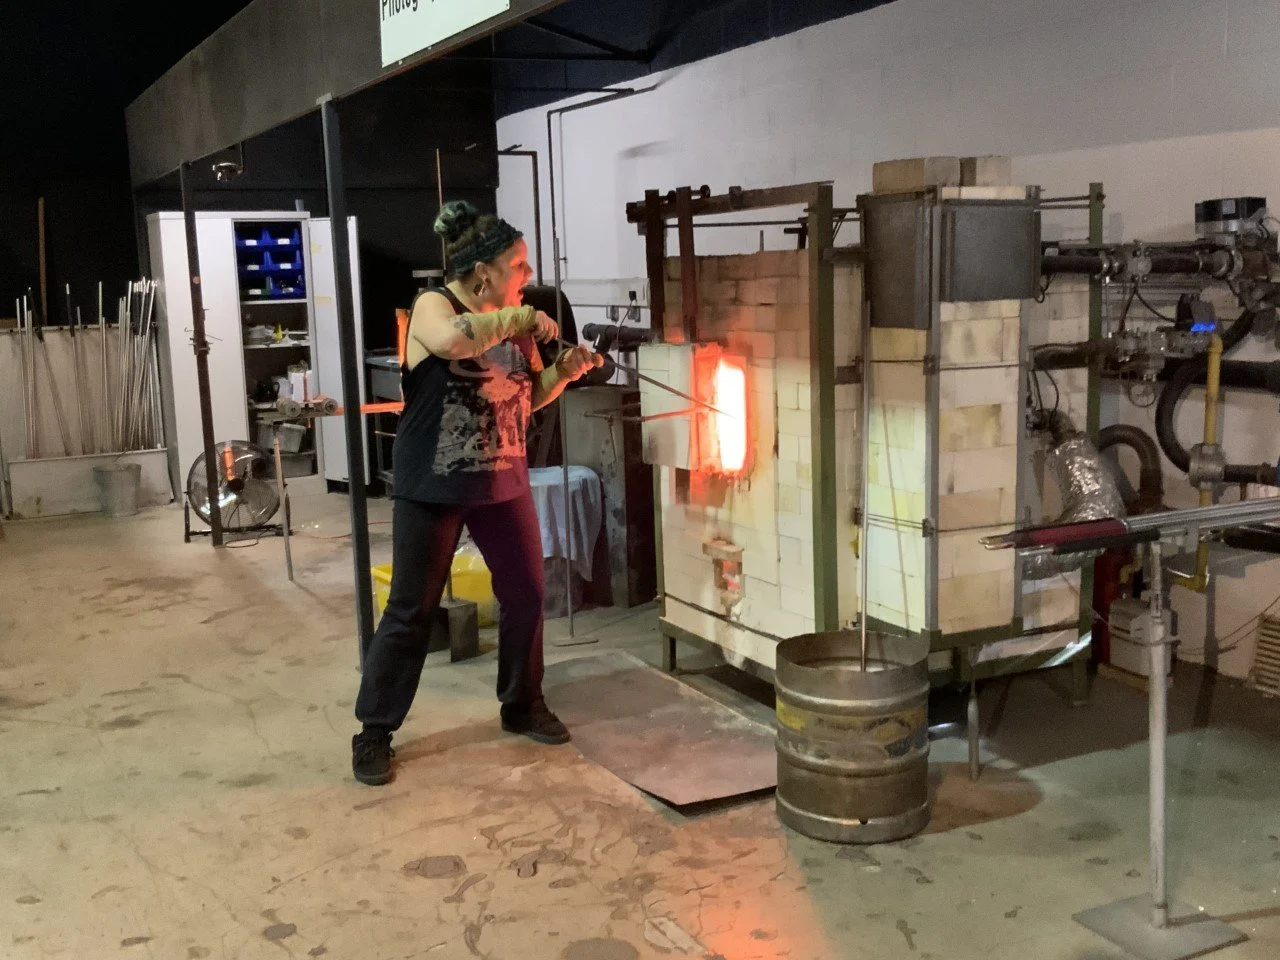
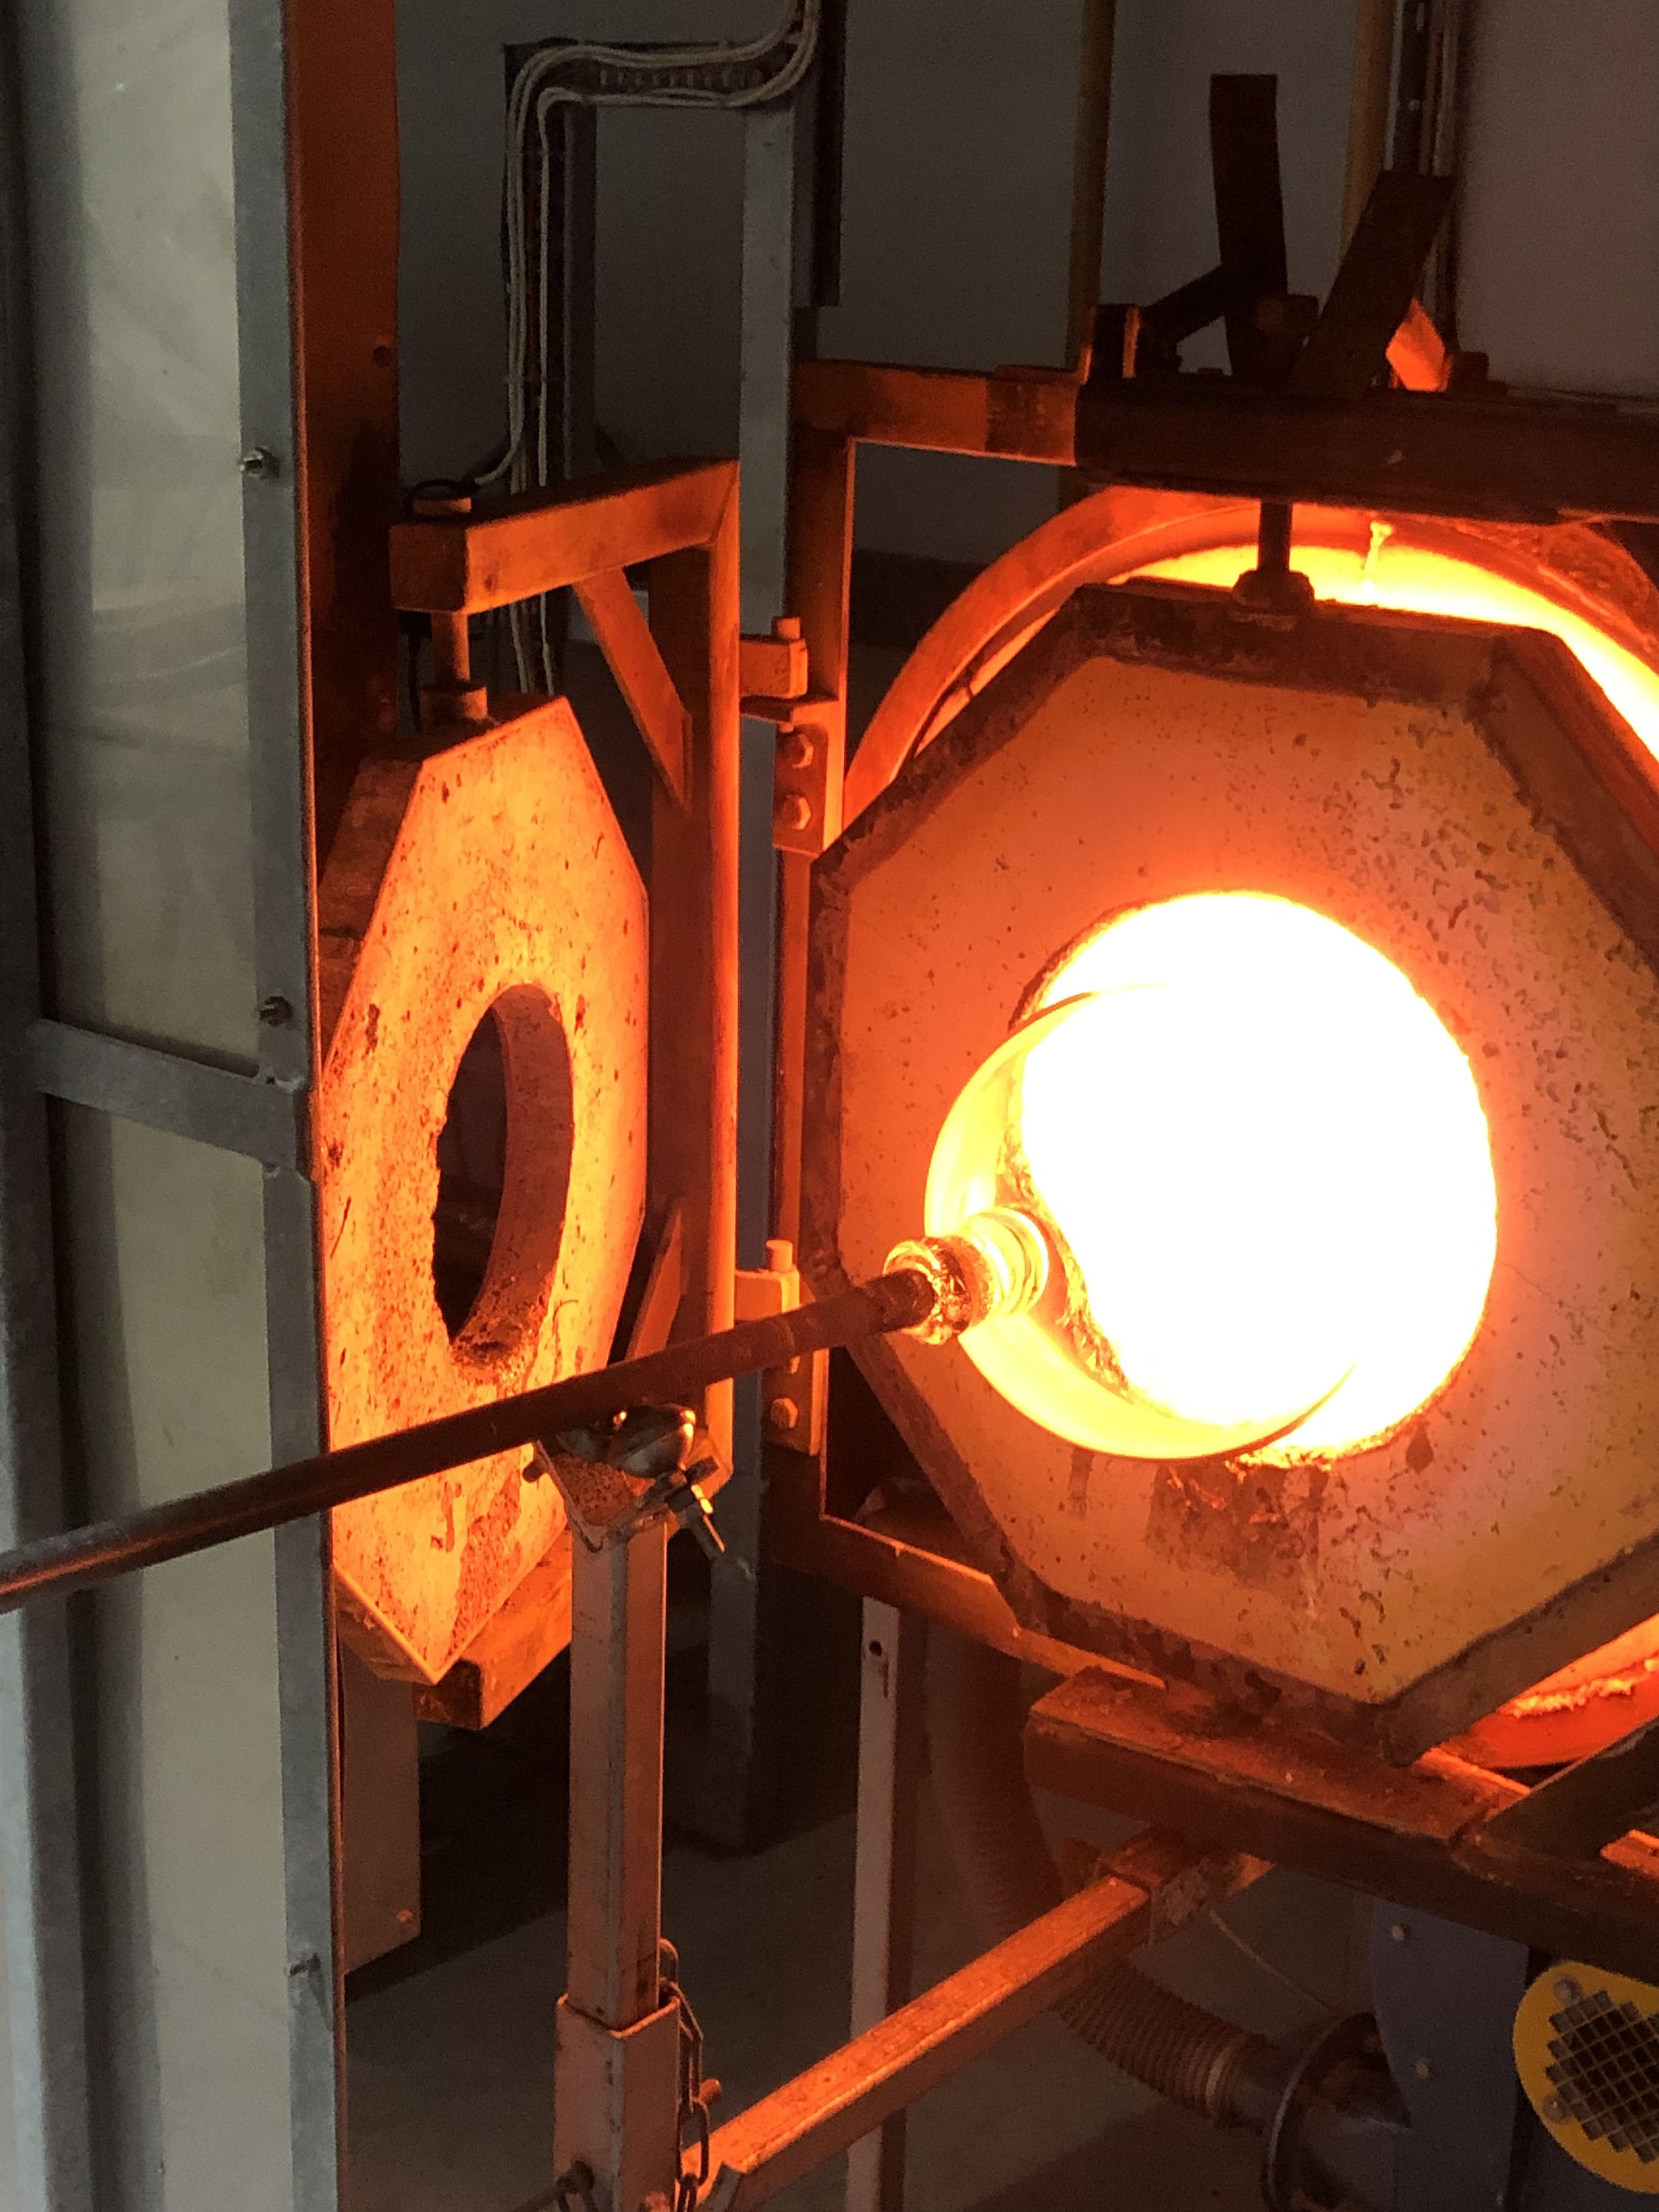
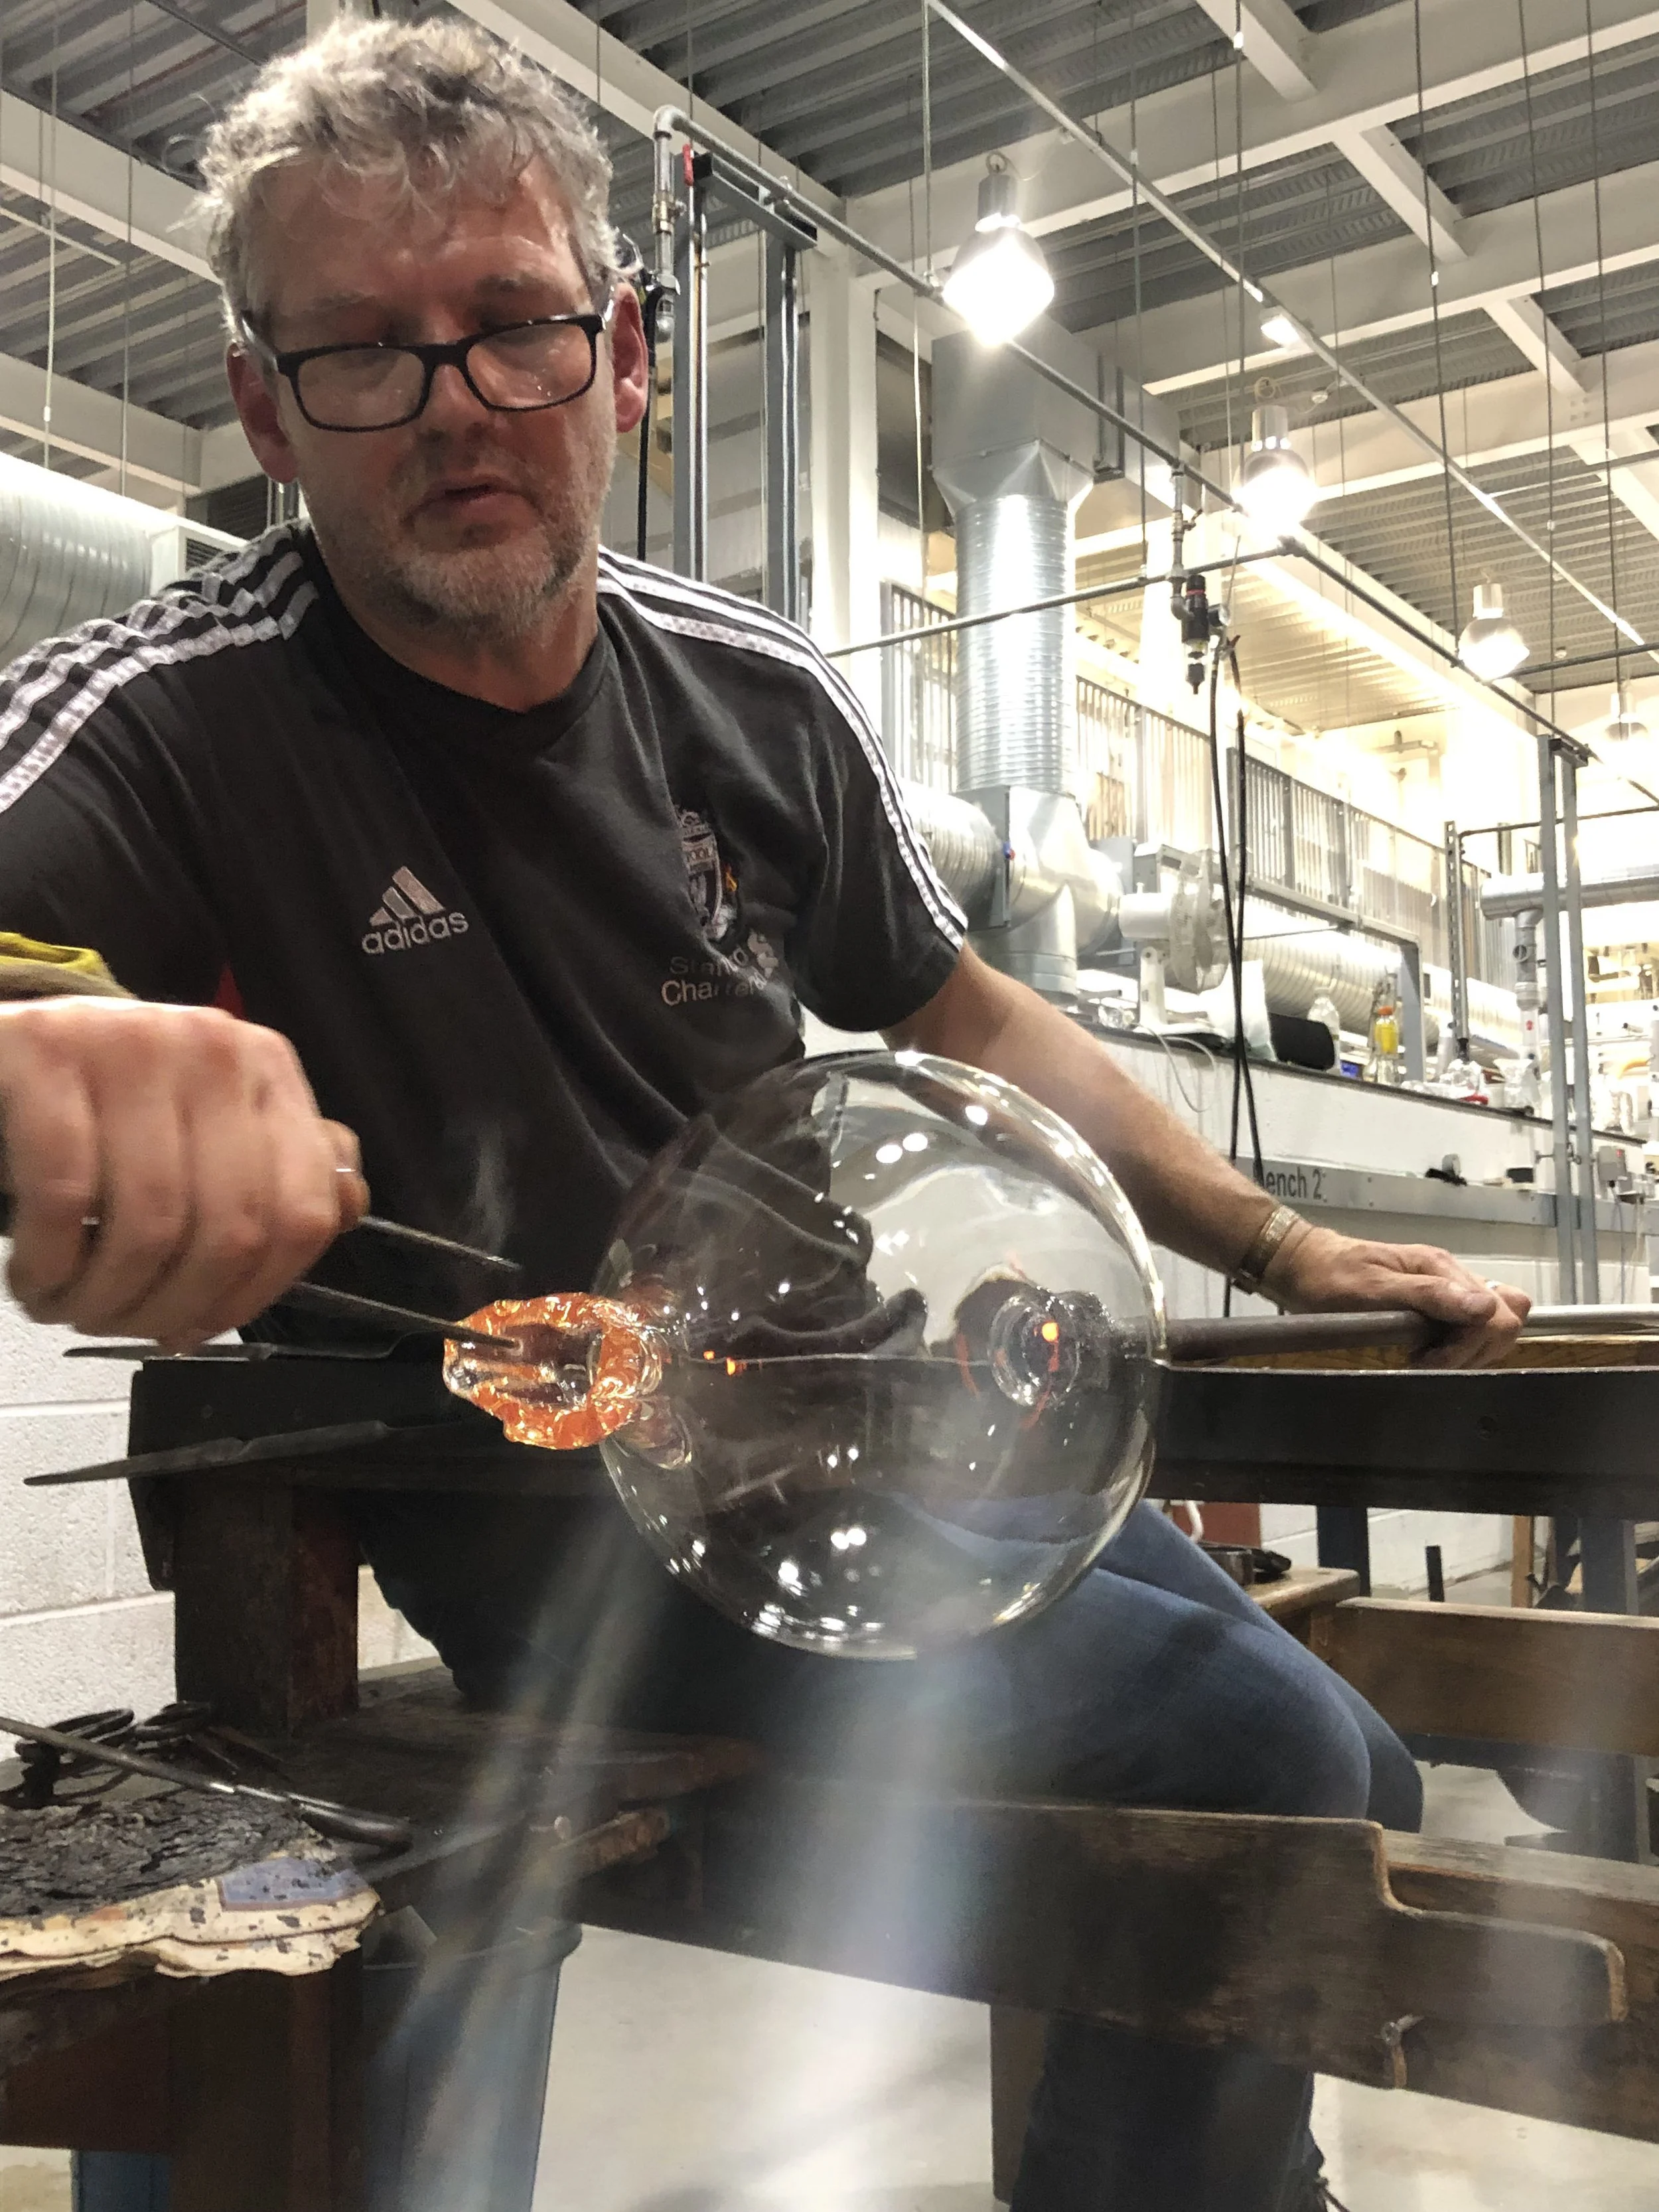
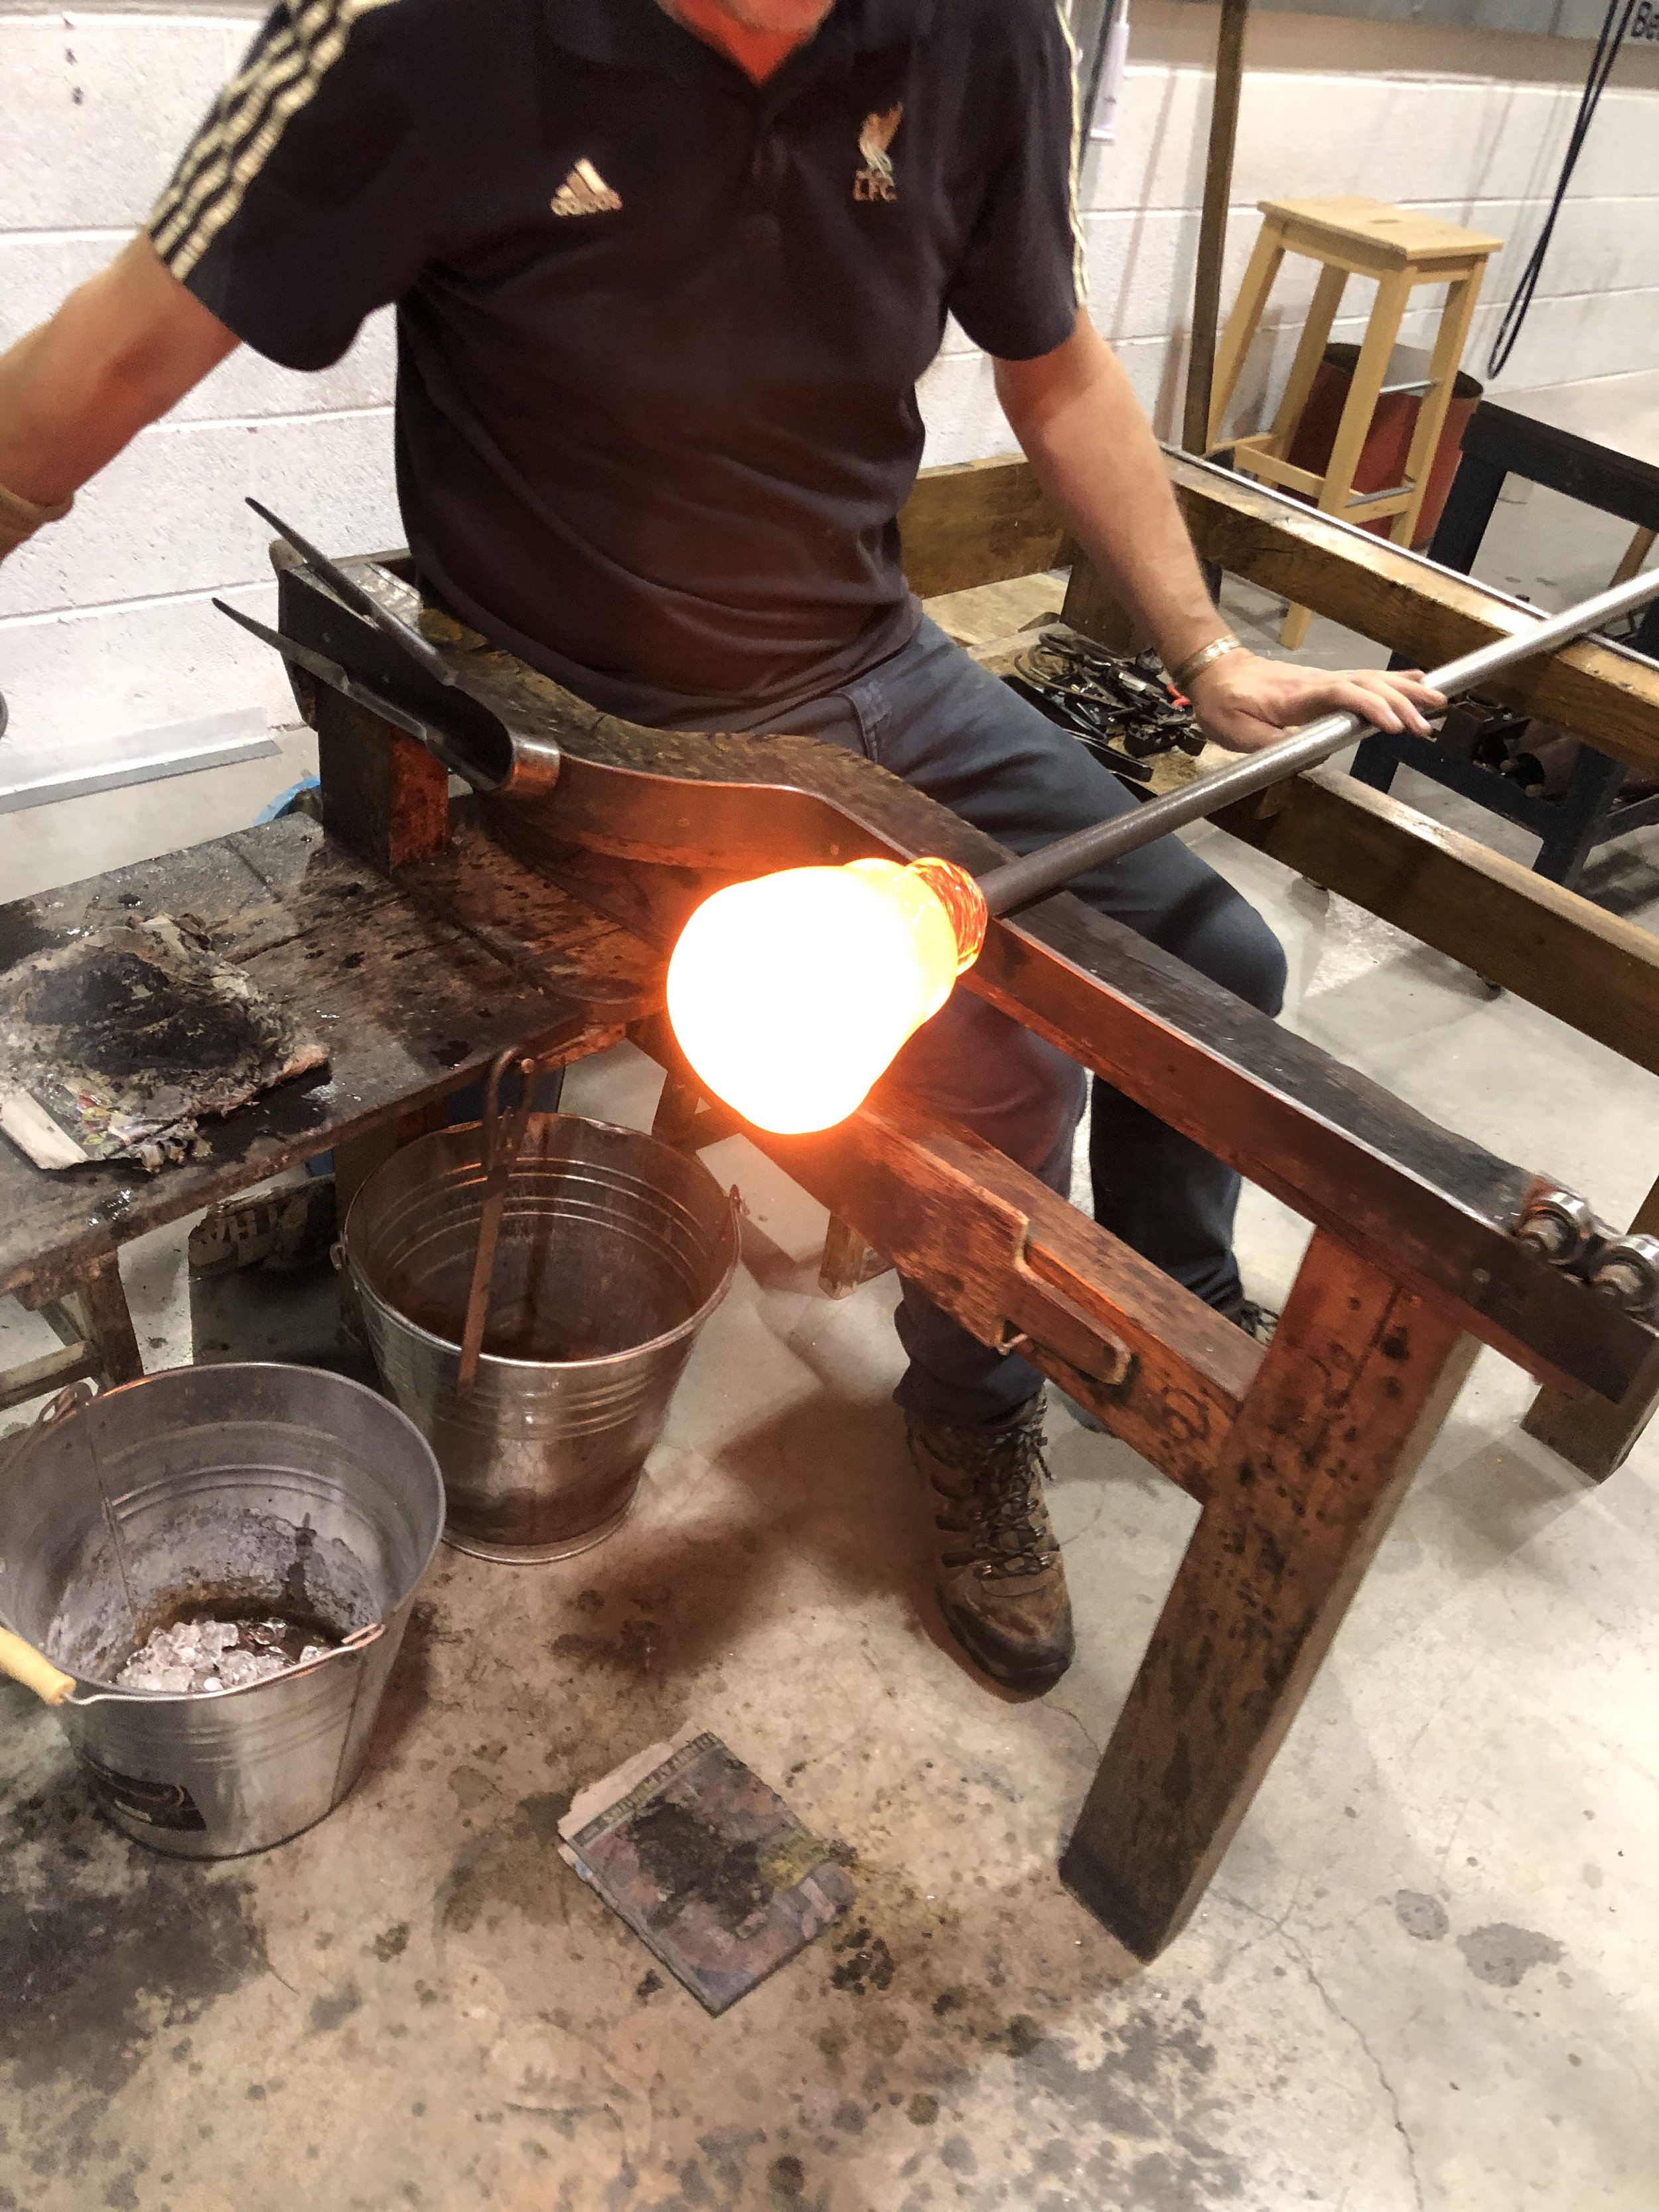
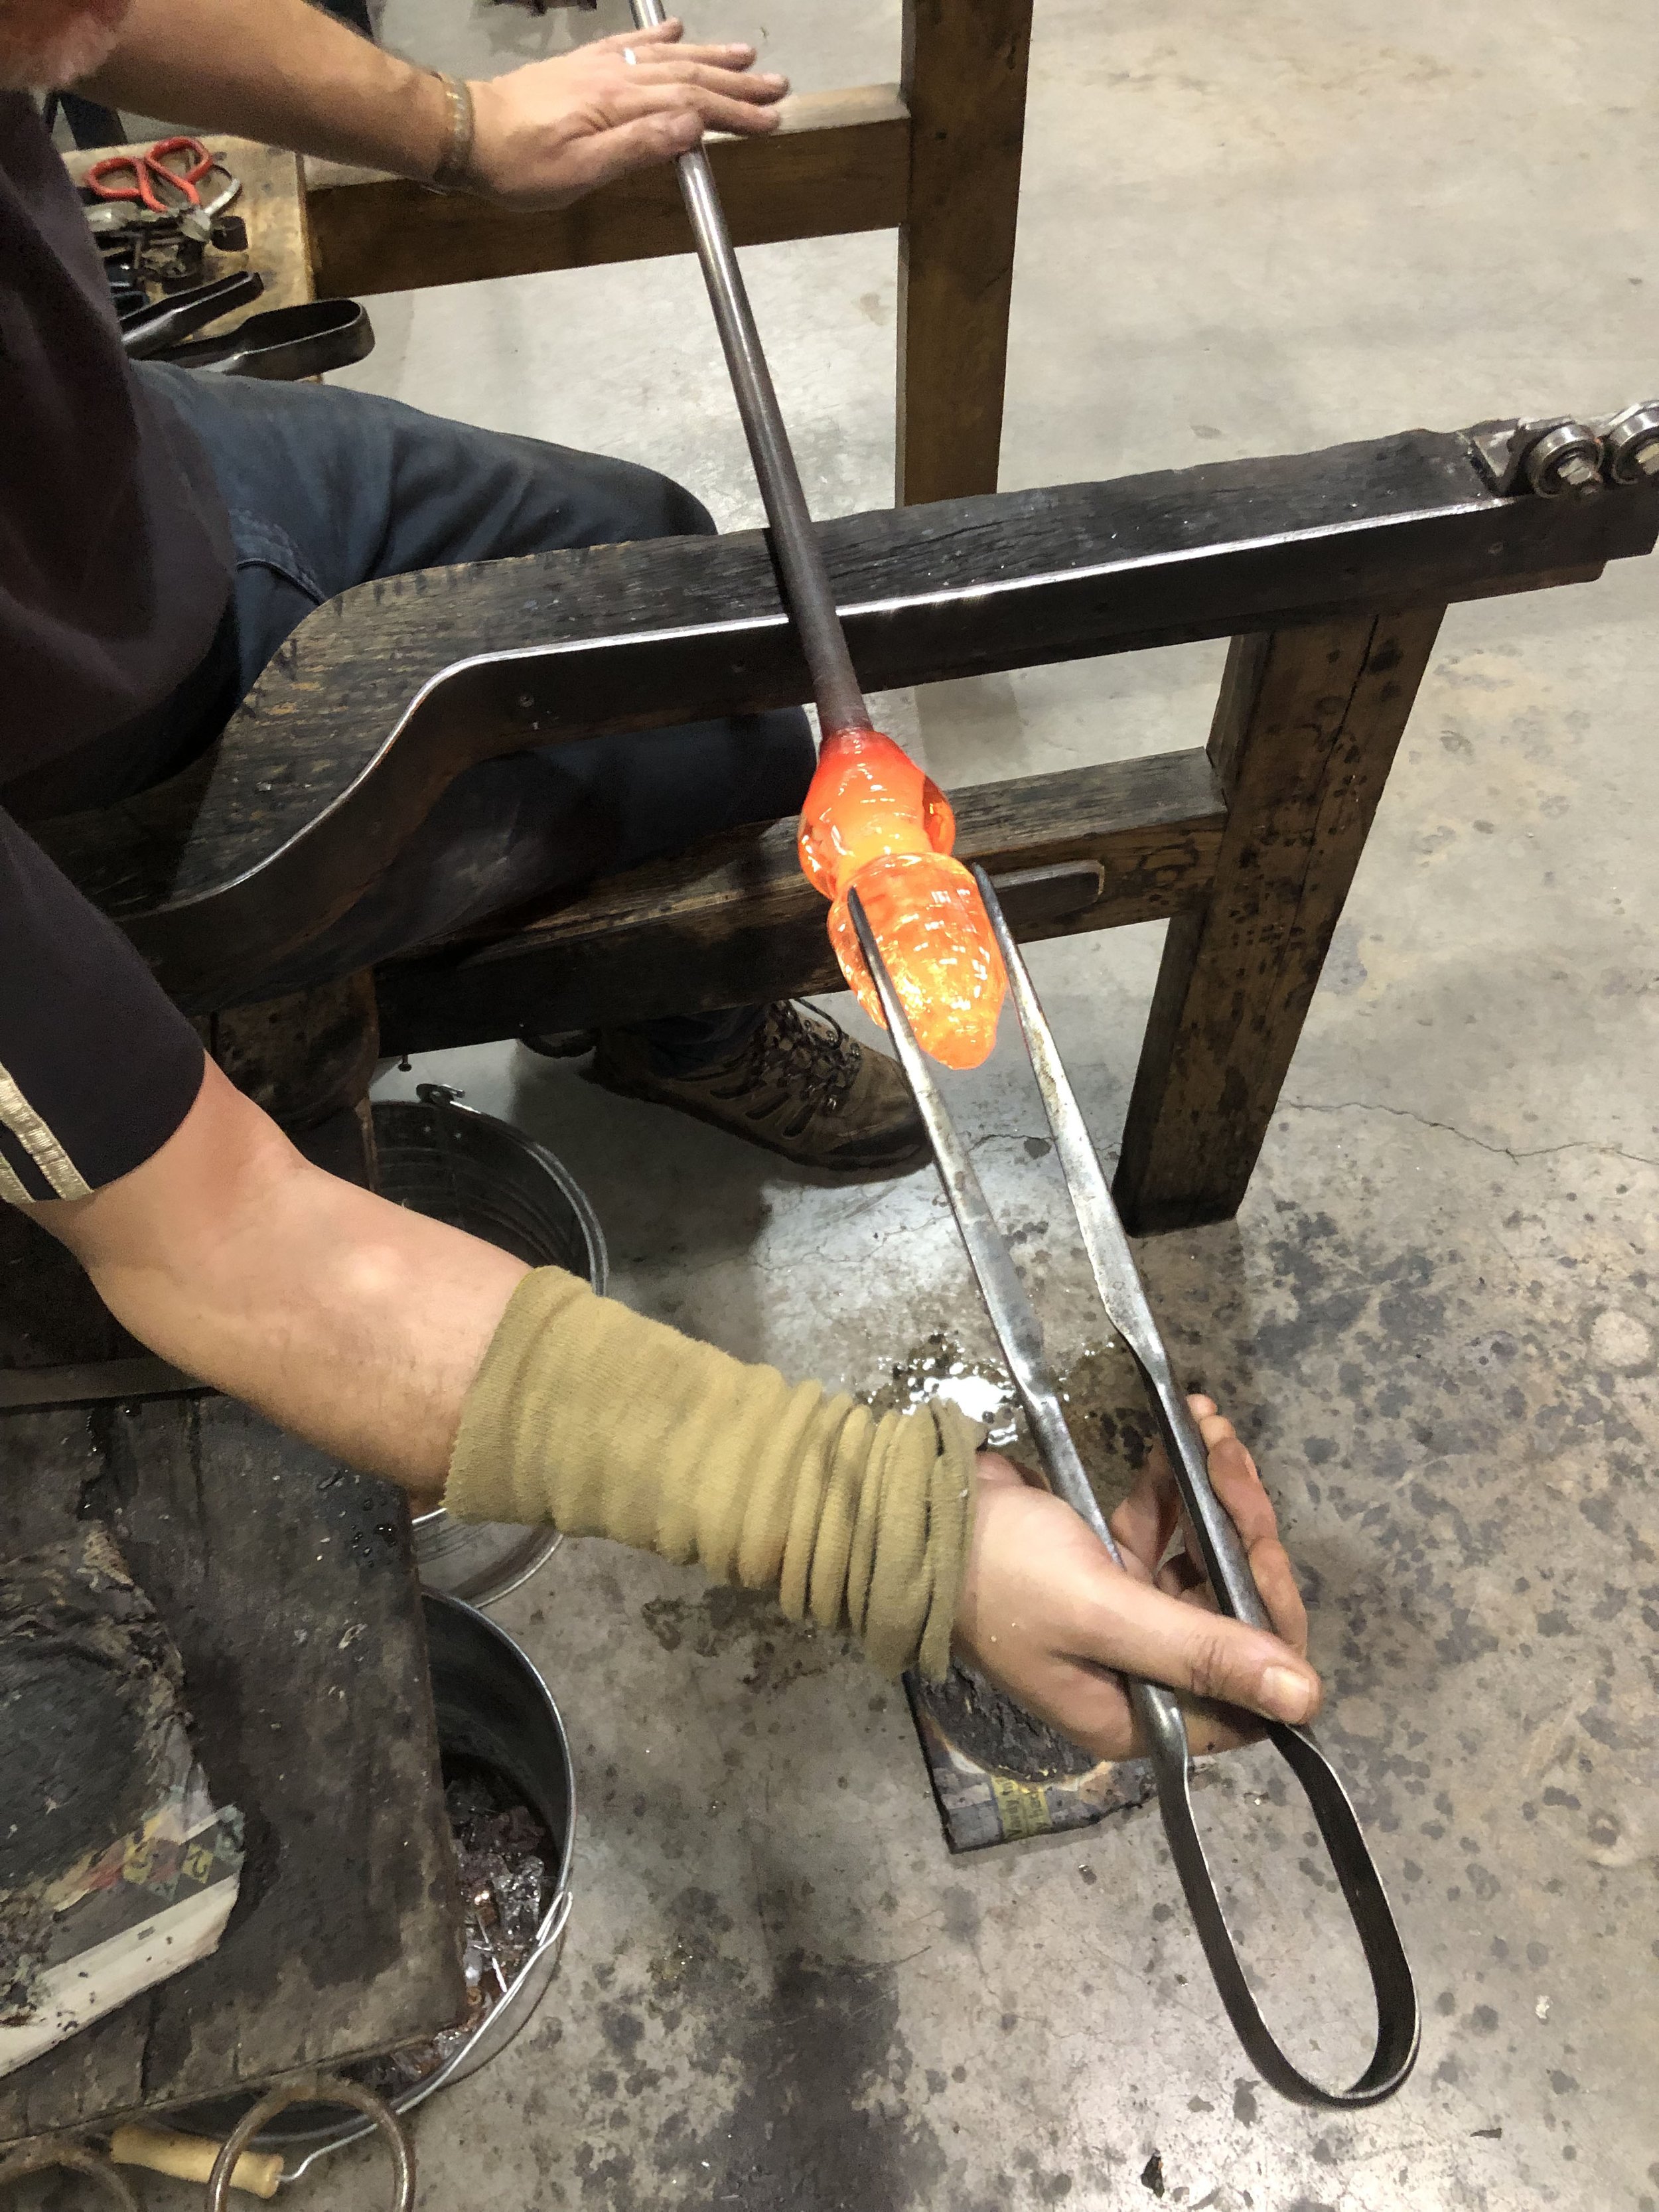
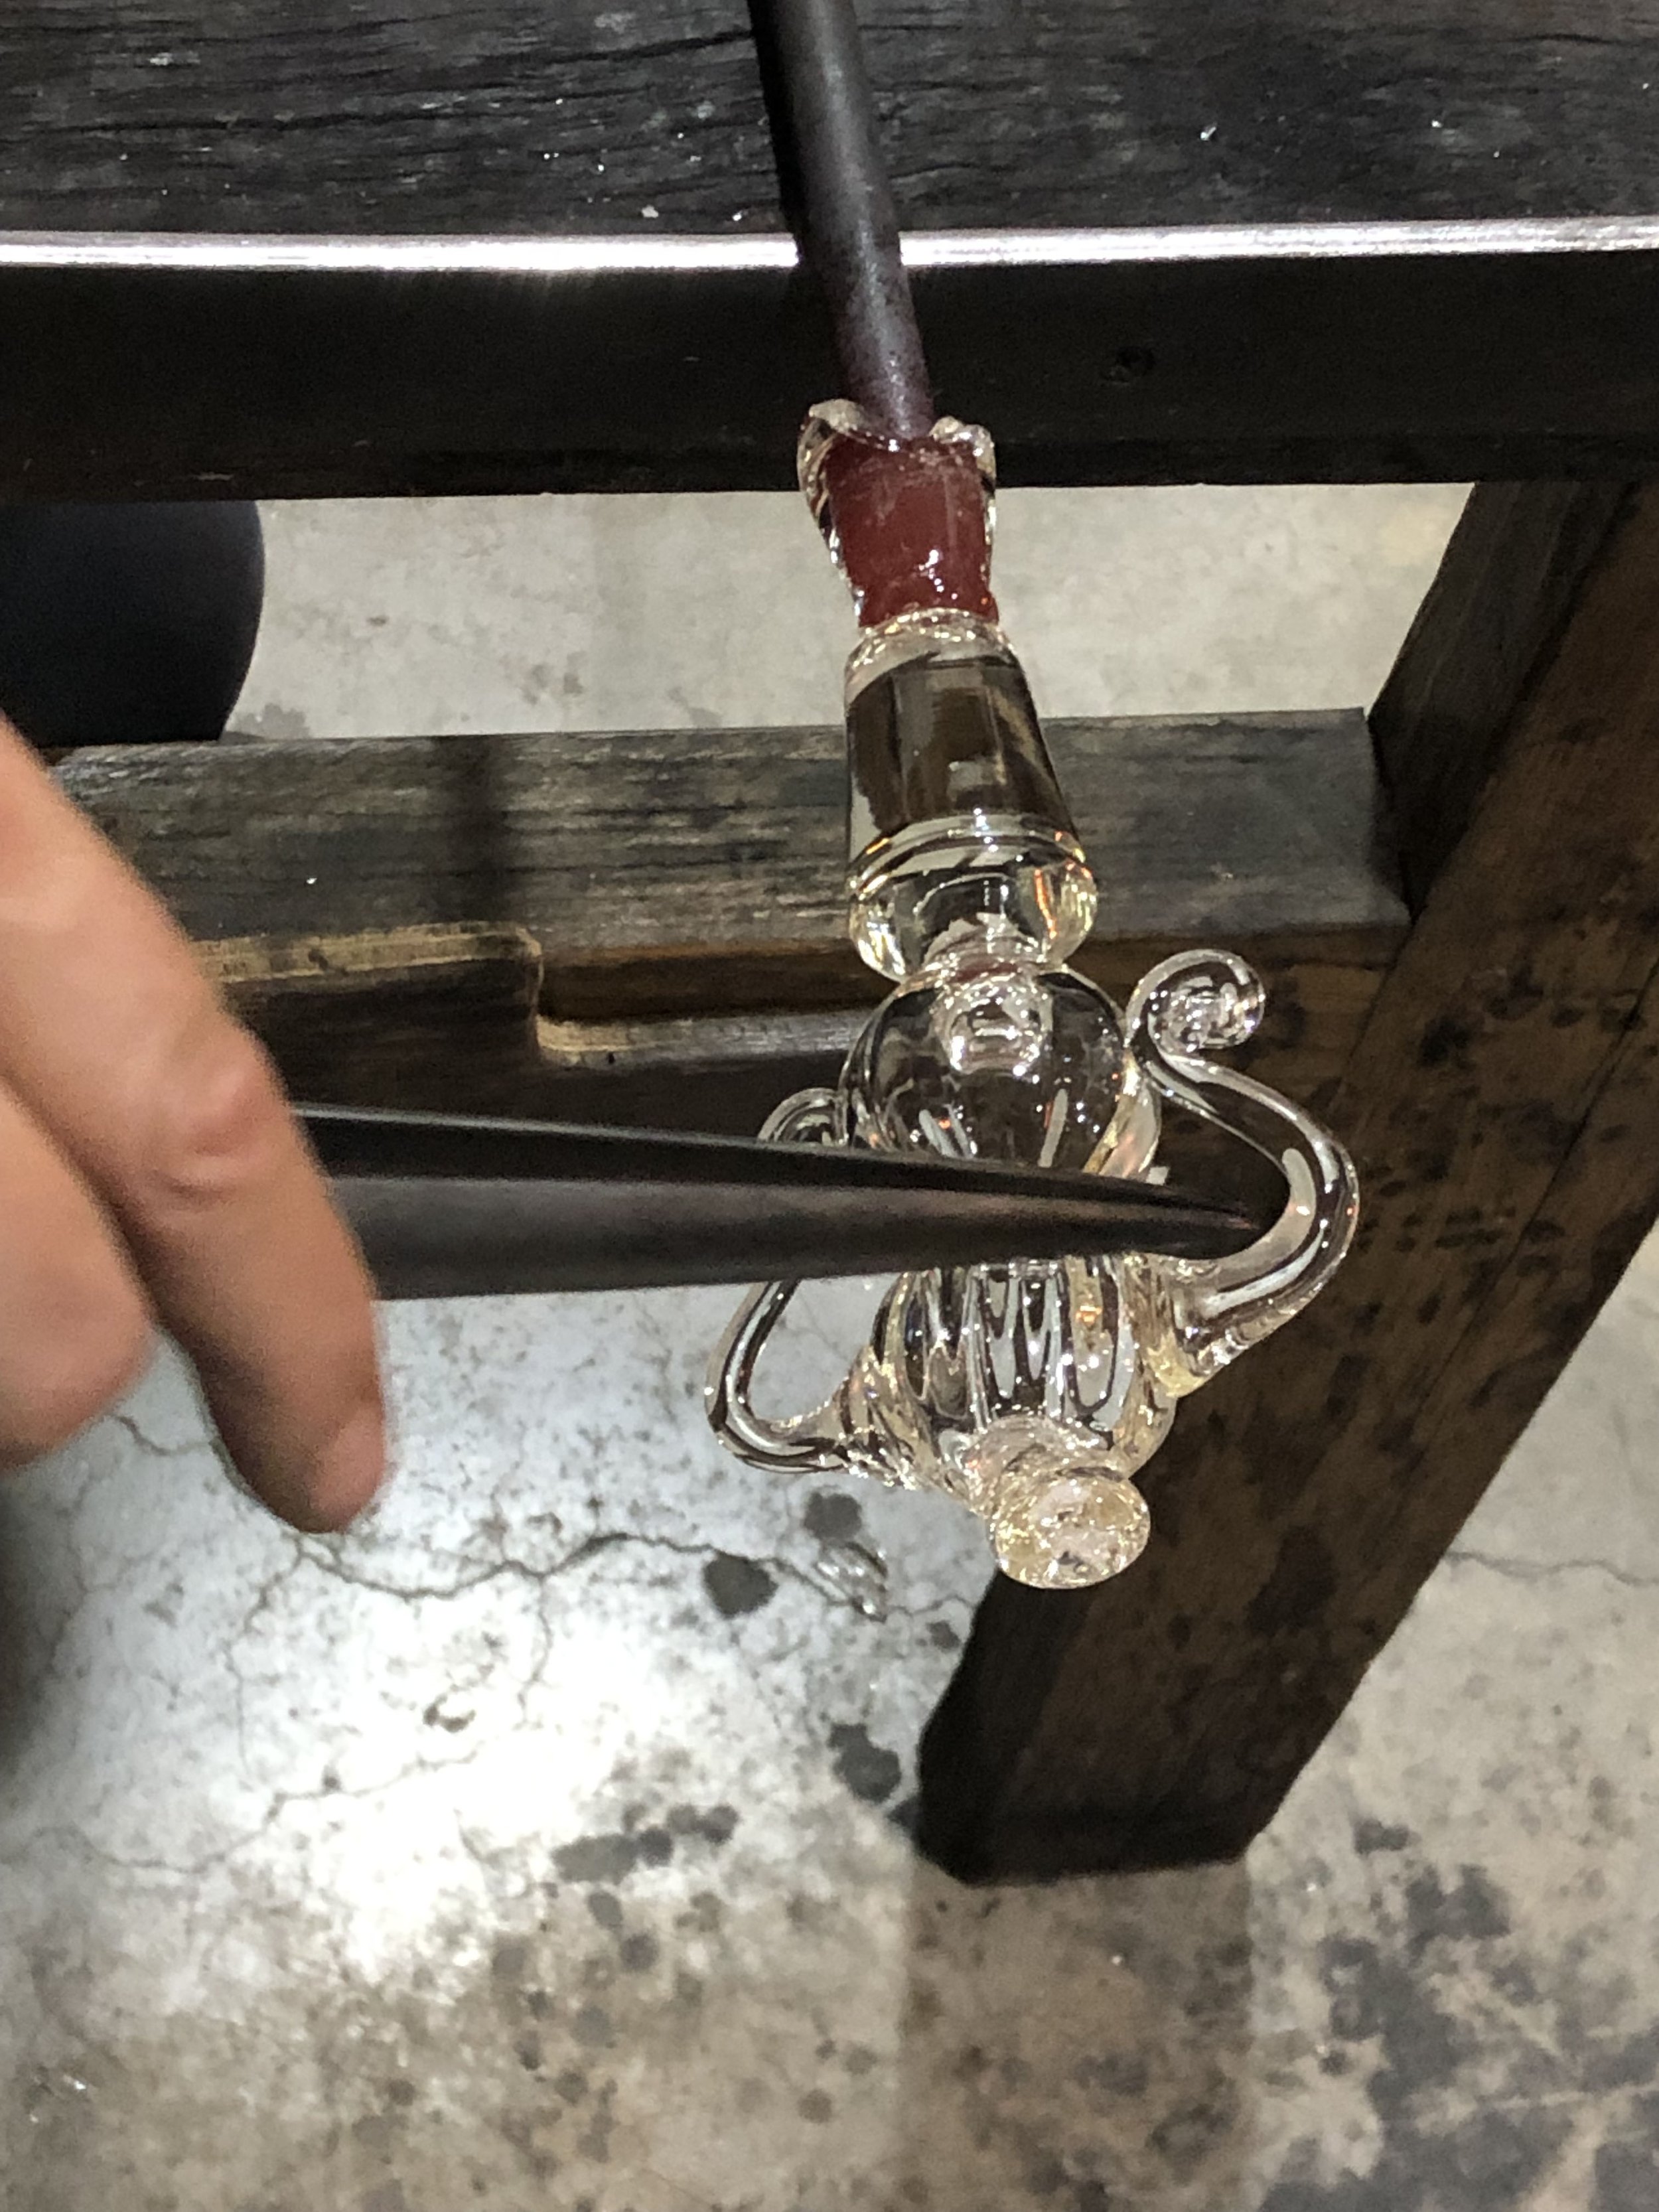
Over the last few weeks, Ian has been experimenting with clear glass test pieces in the hot shop. He has been assisted by 1st year student Nathan Soper from Plymouth Collage of Art to help with the documentation and heavy lifting of the molten glass. This is a great opportunity for Nathan to experience an Arts Council funded artist collaboration and develop his professional practice experience.

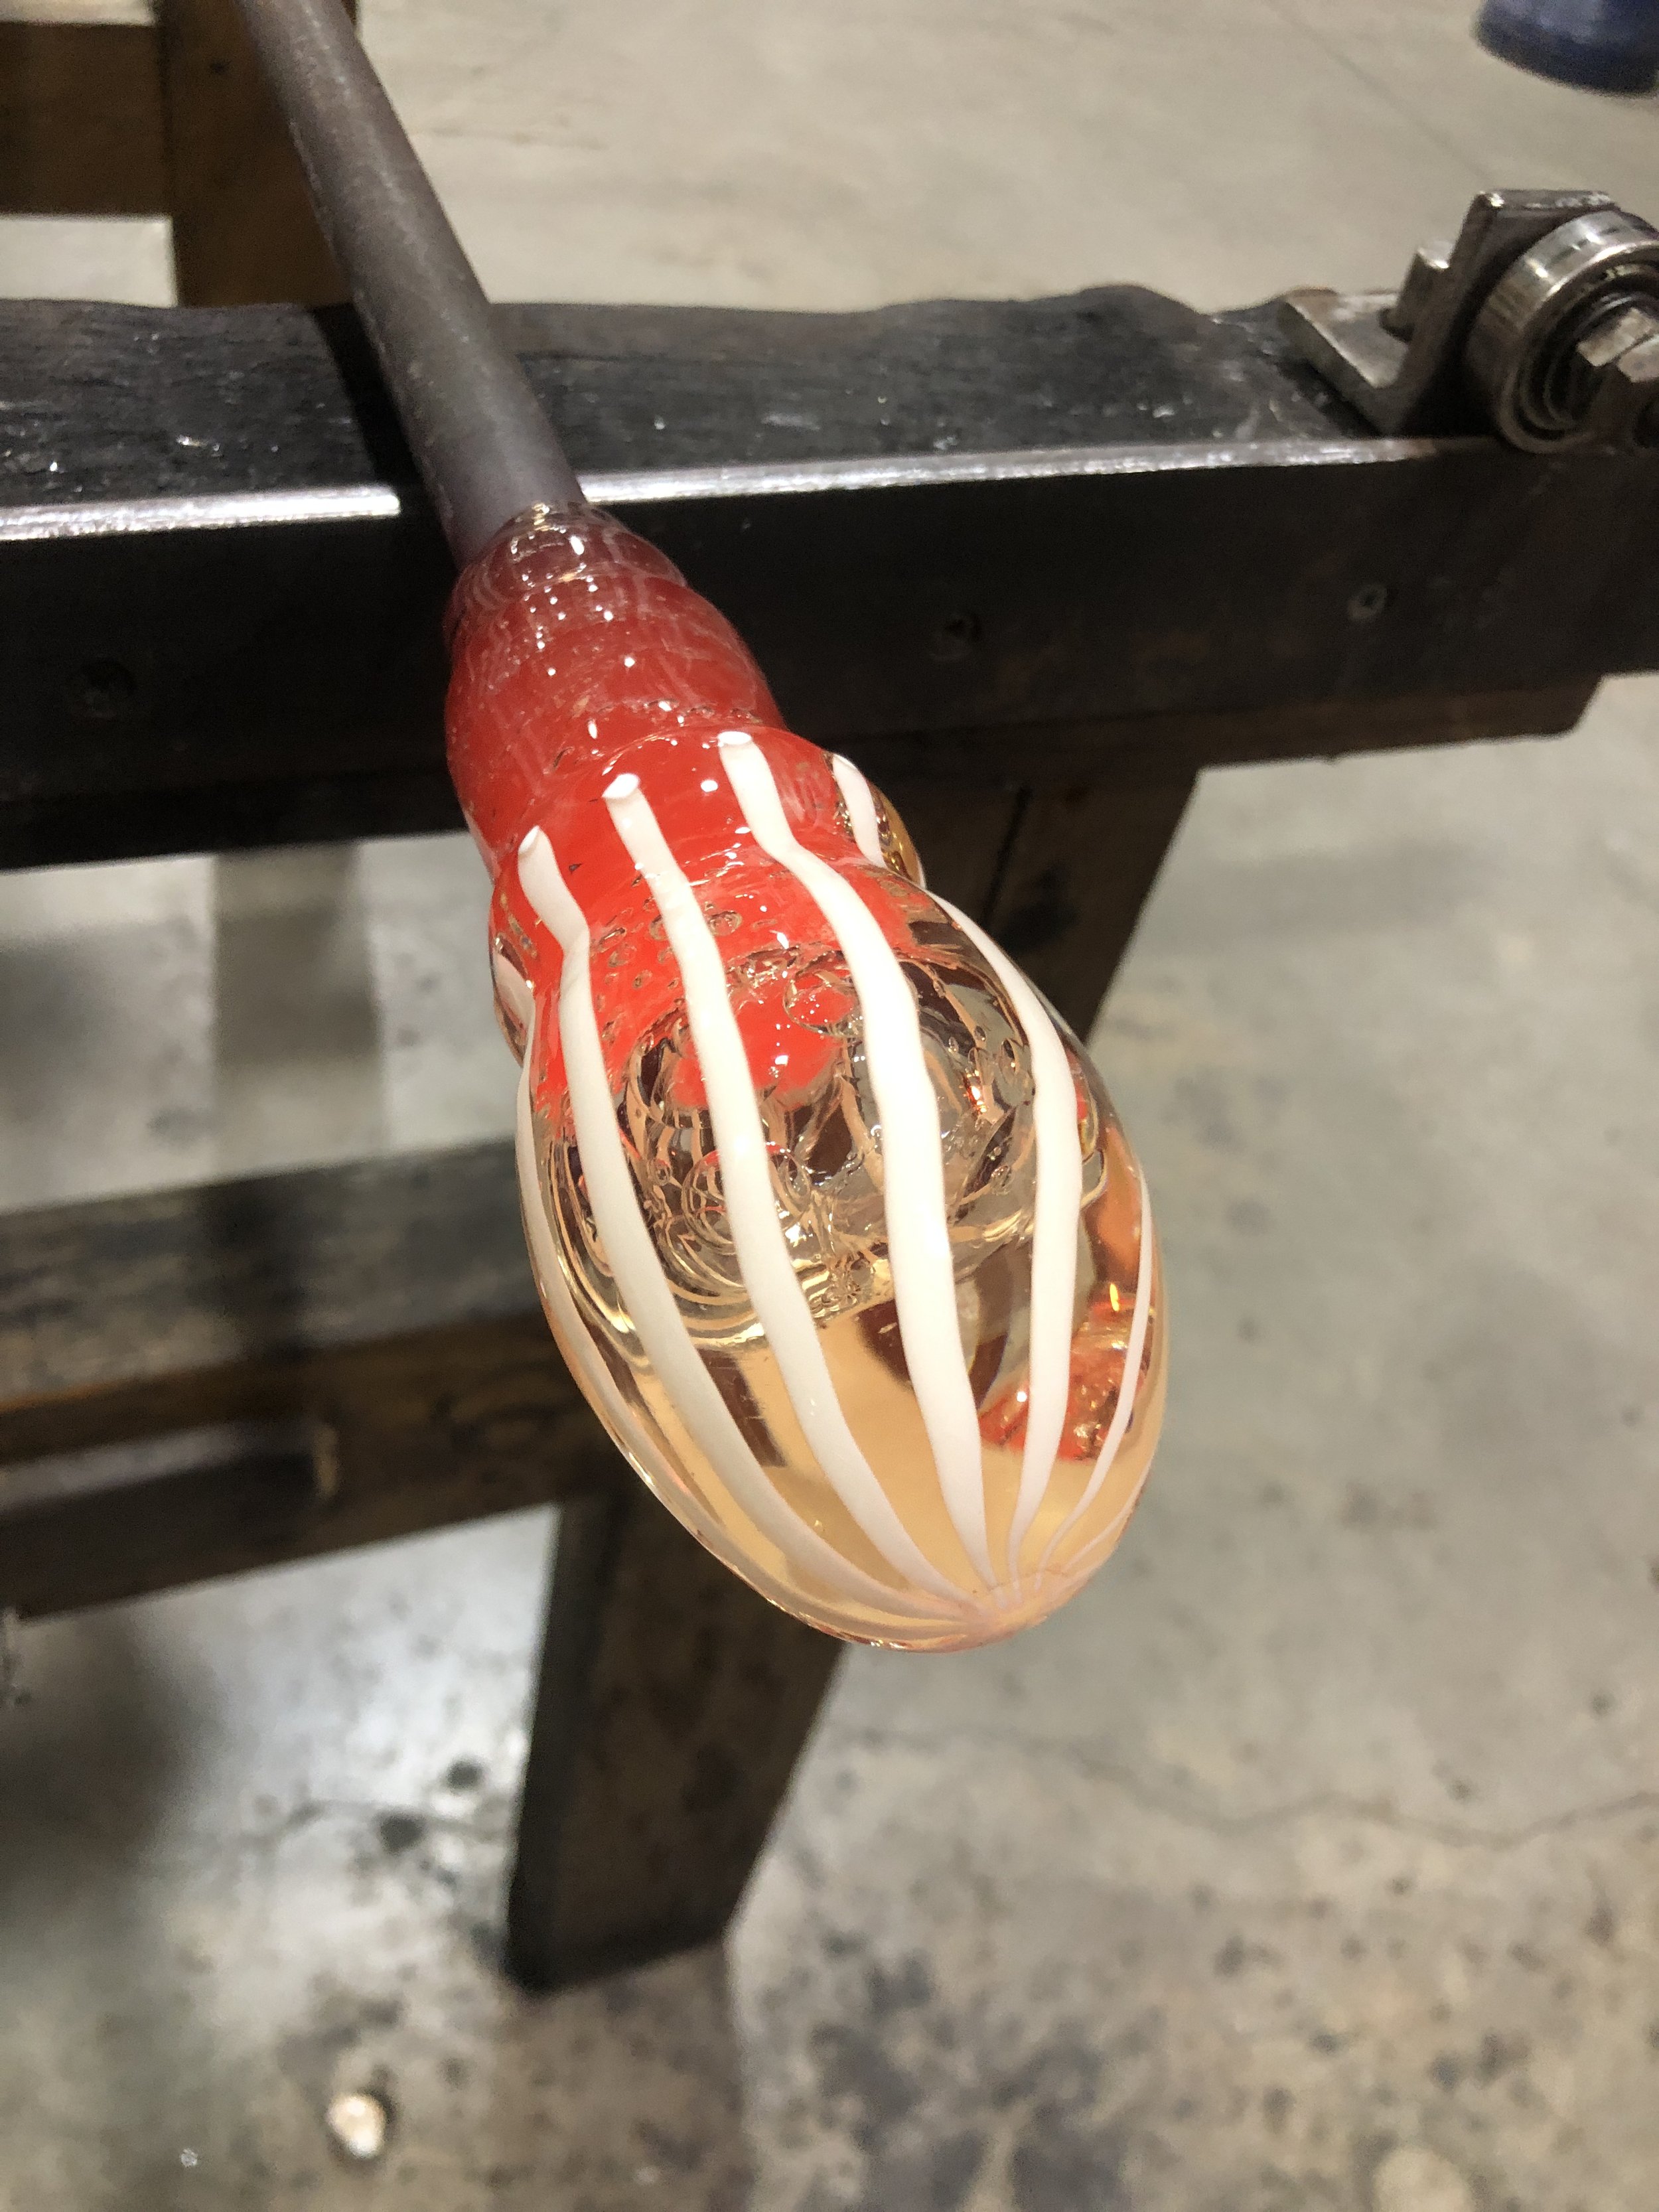
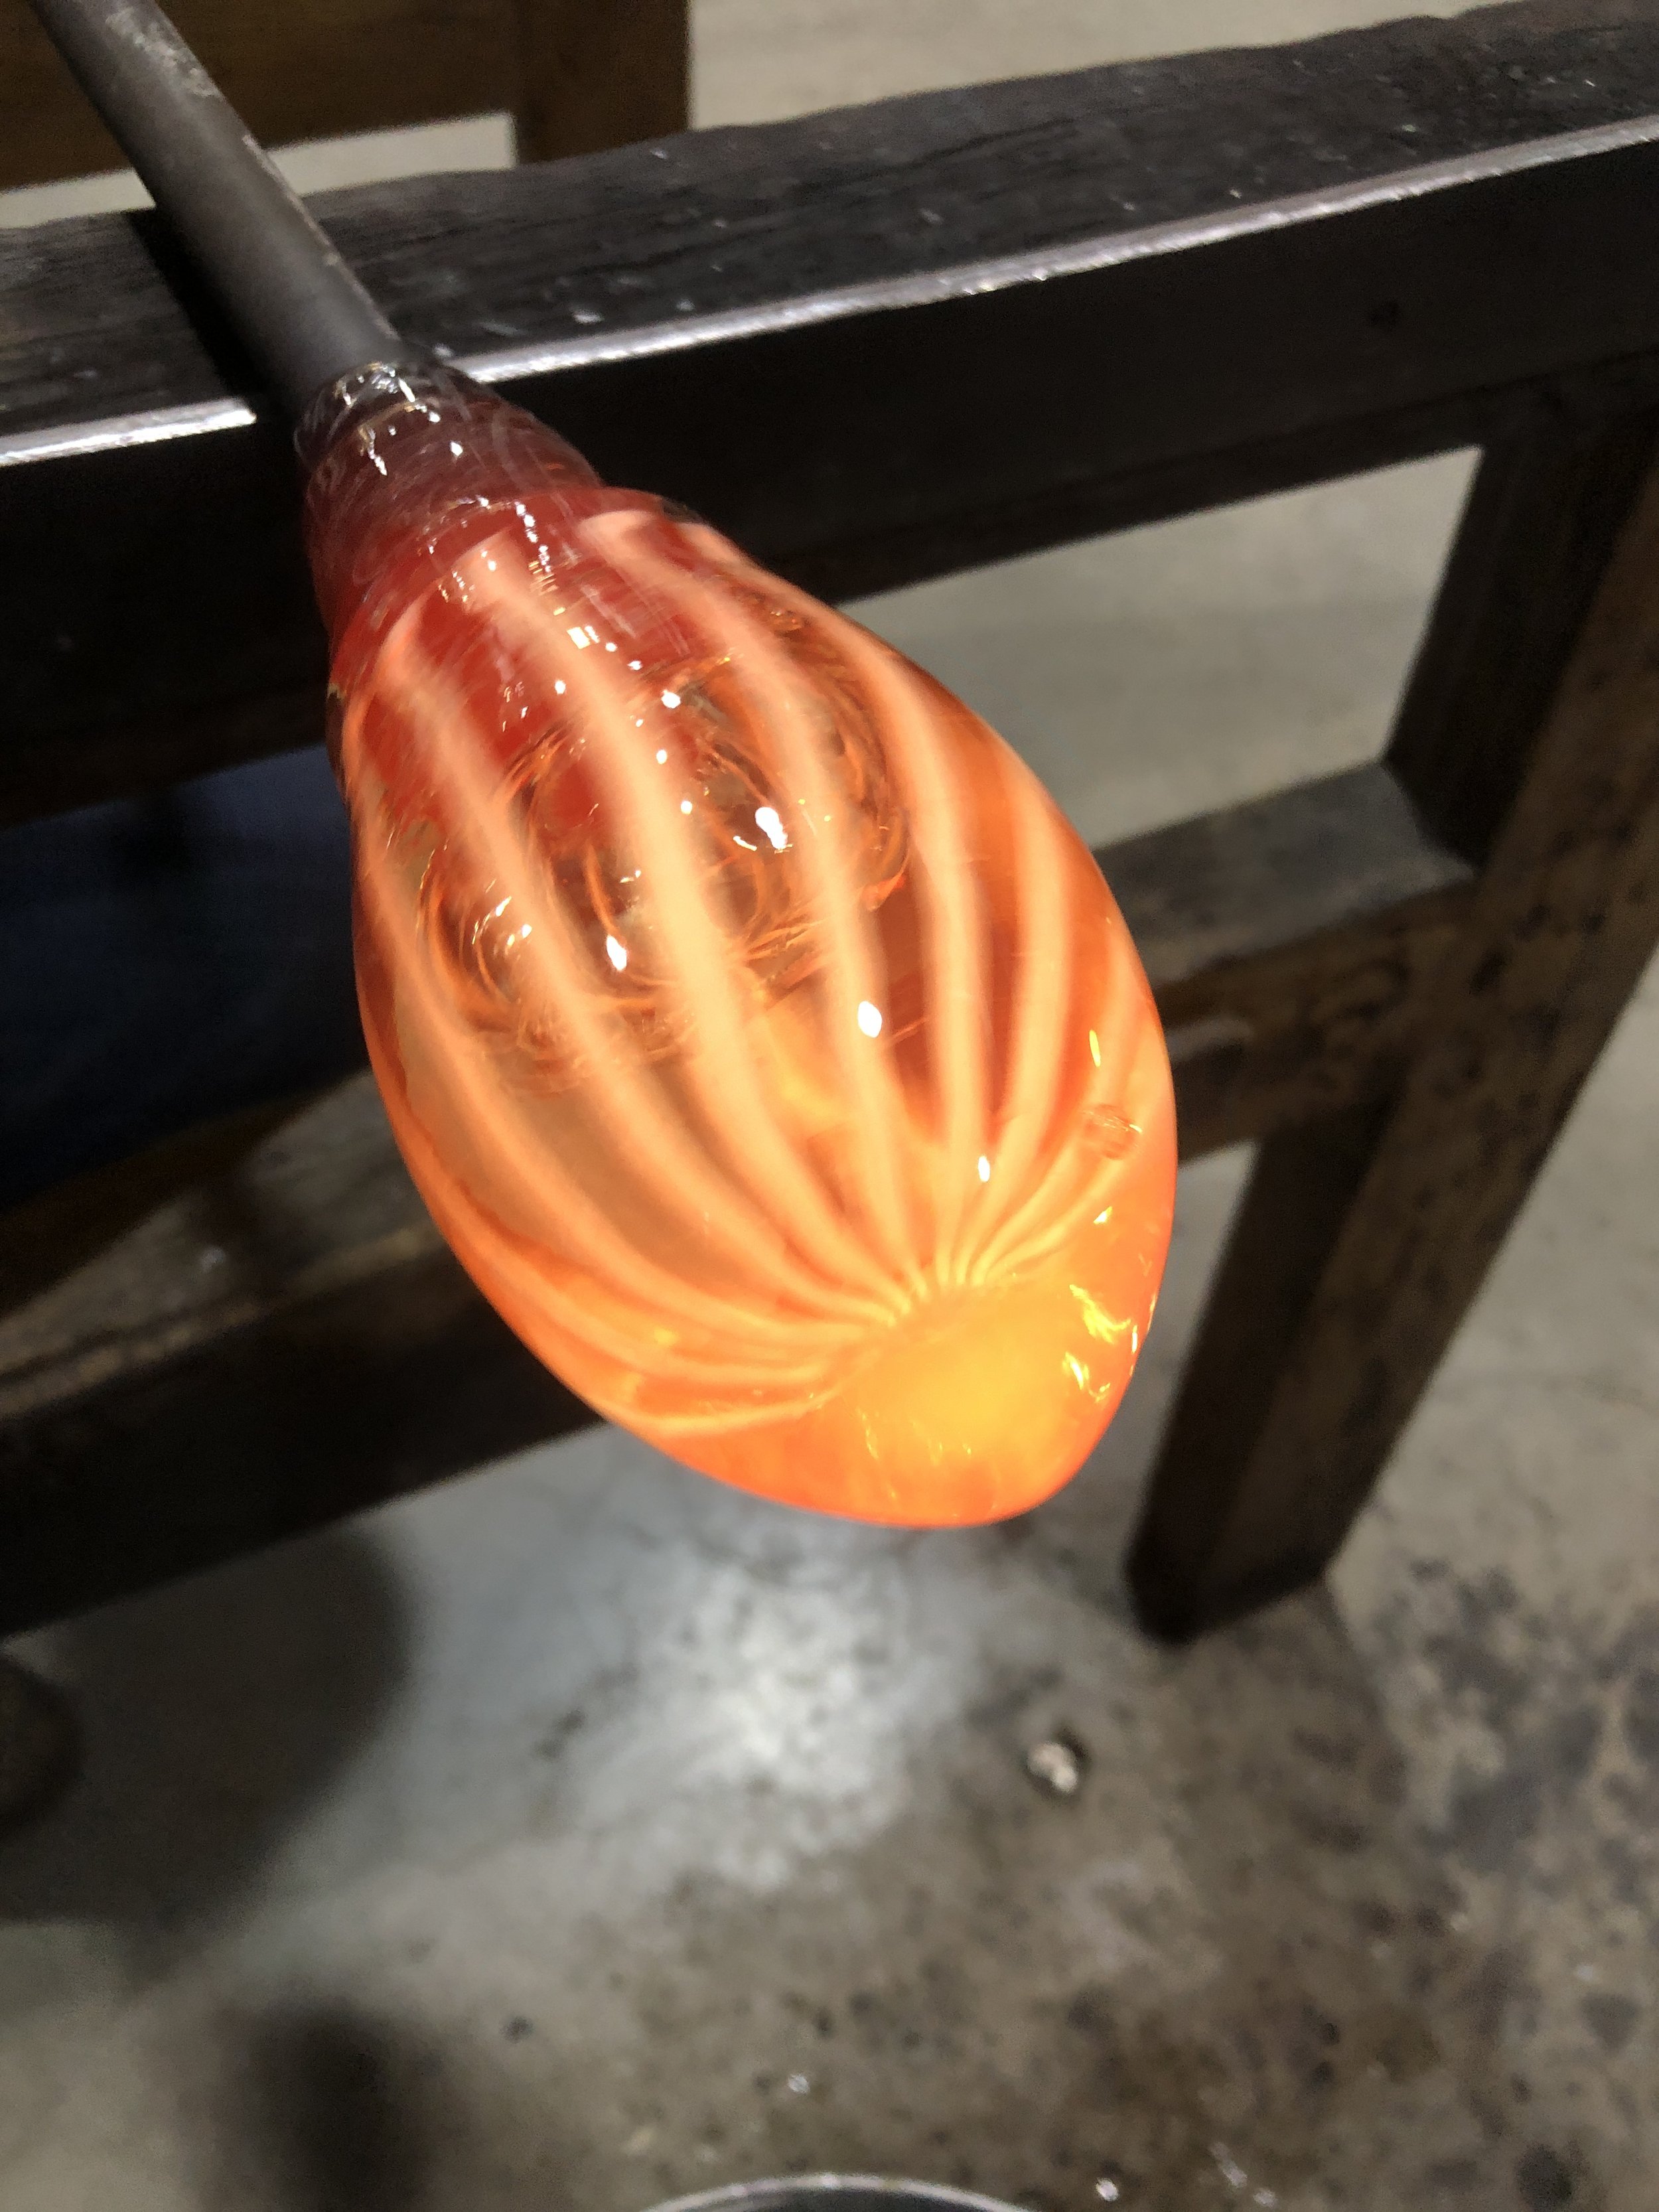
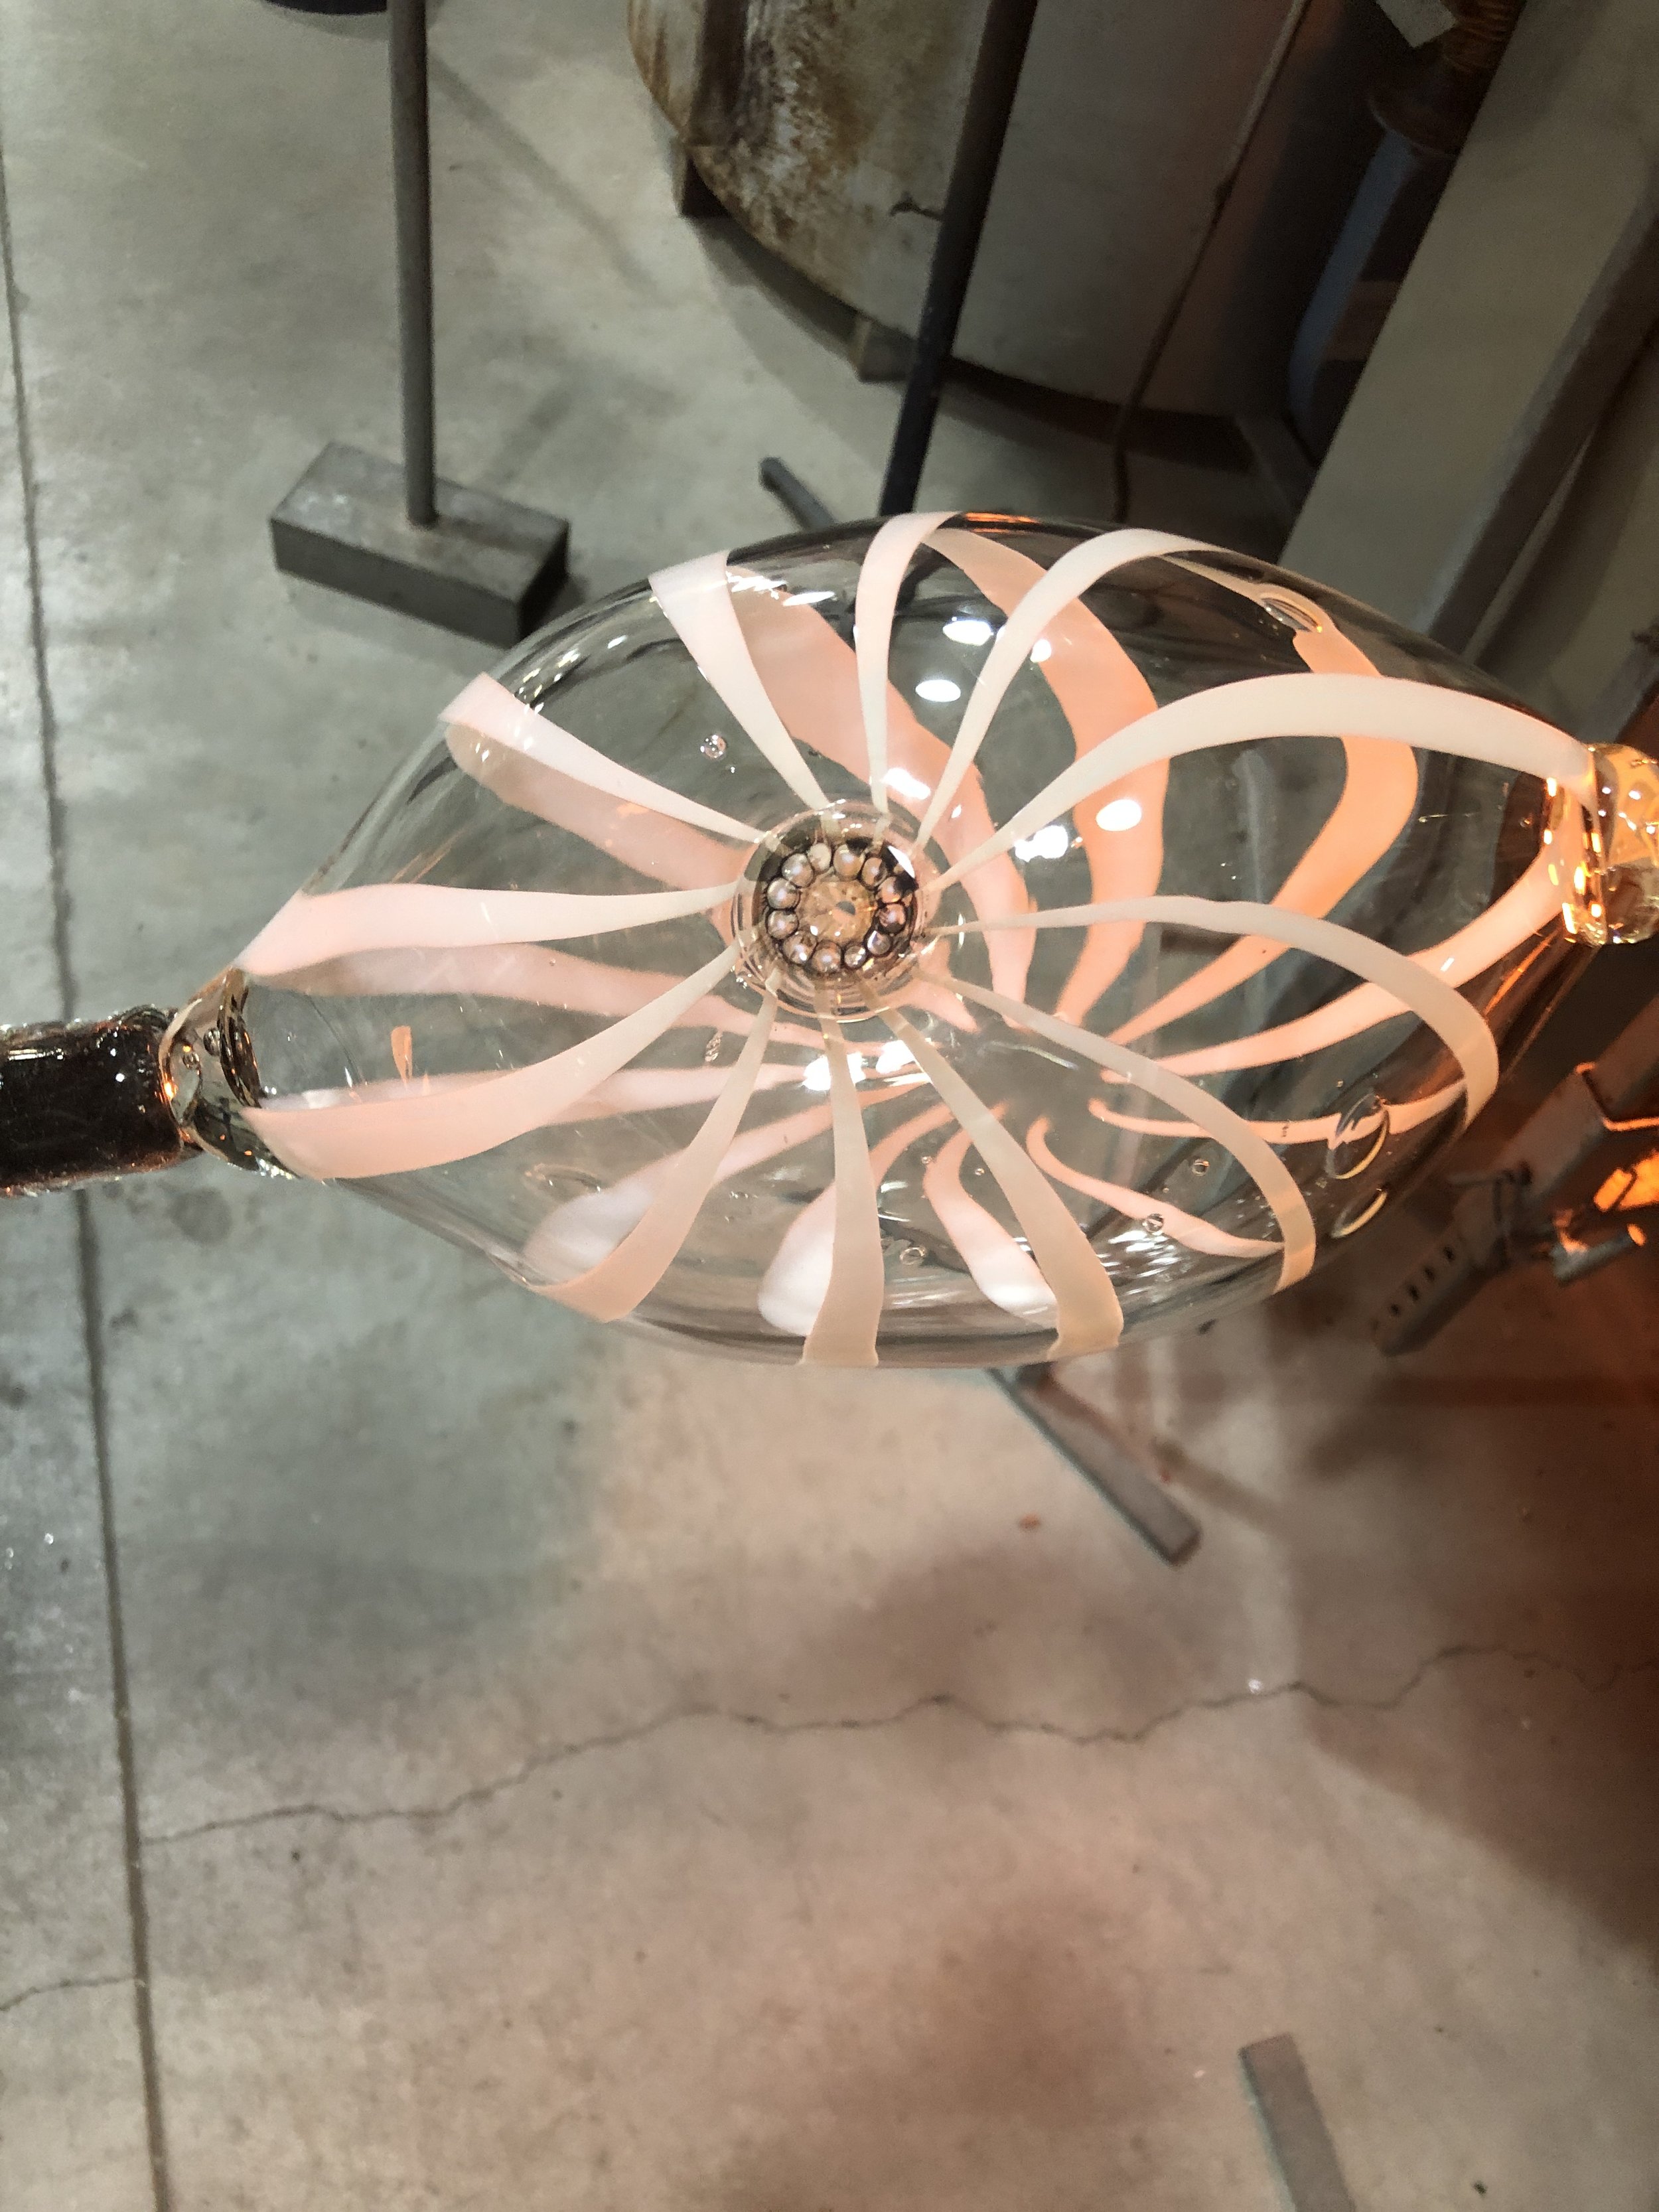
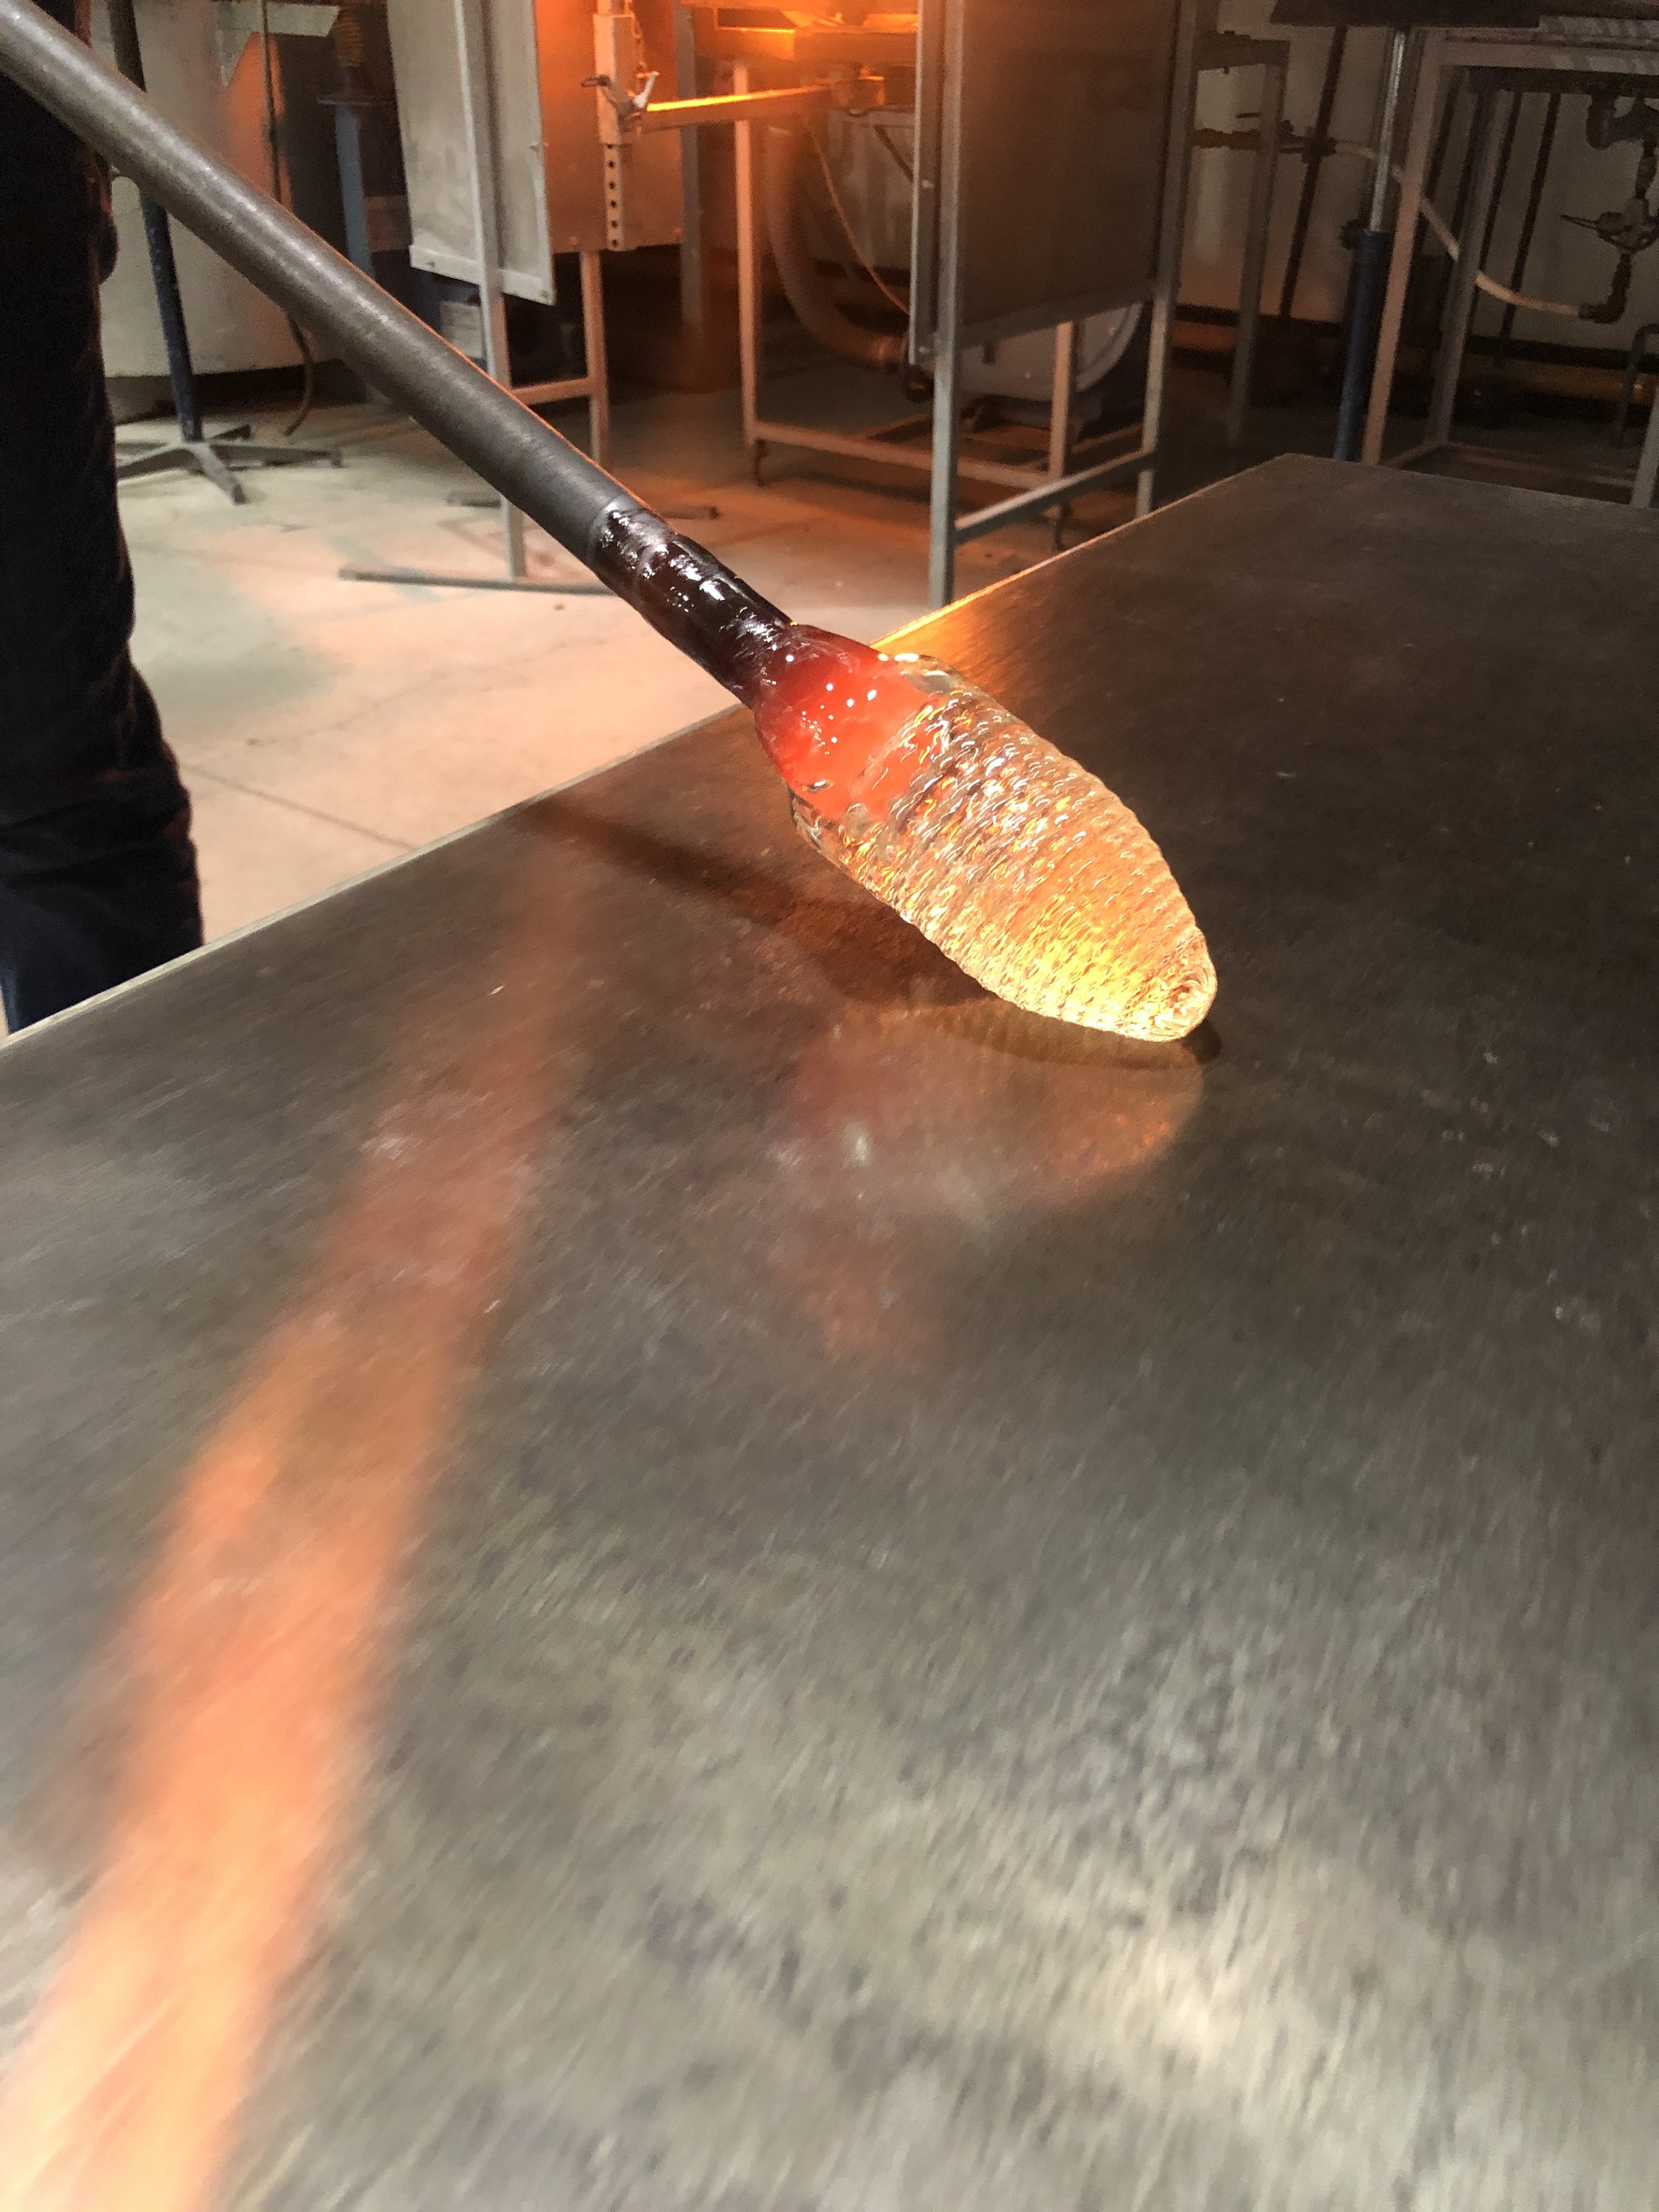
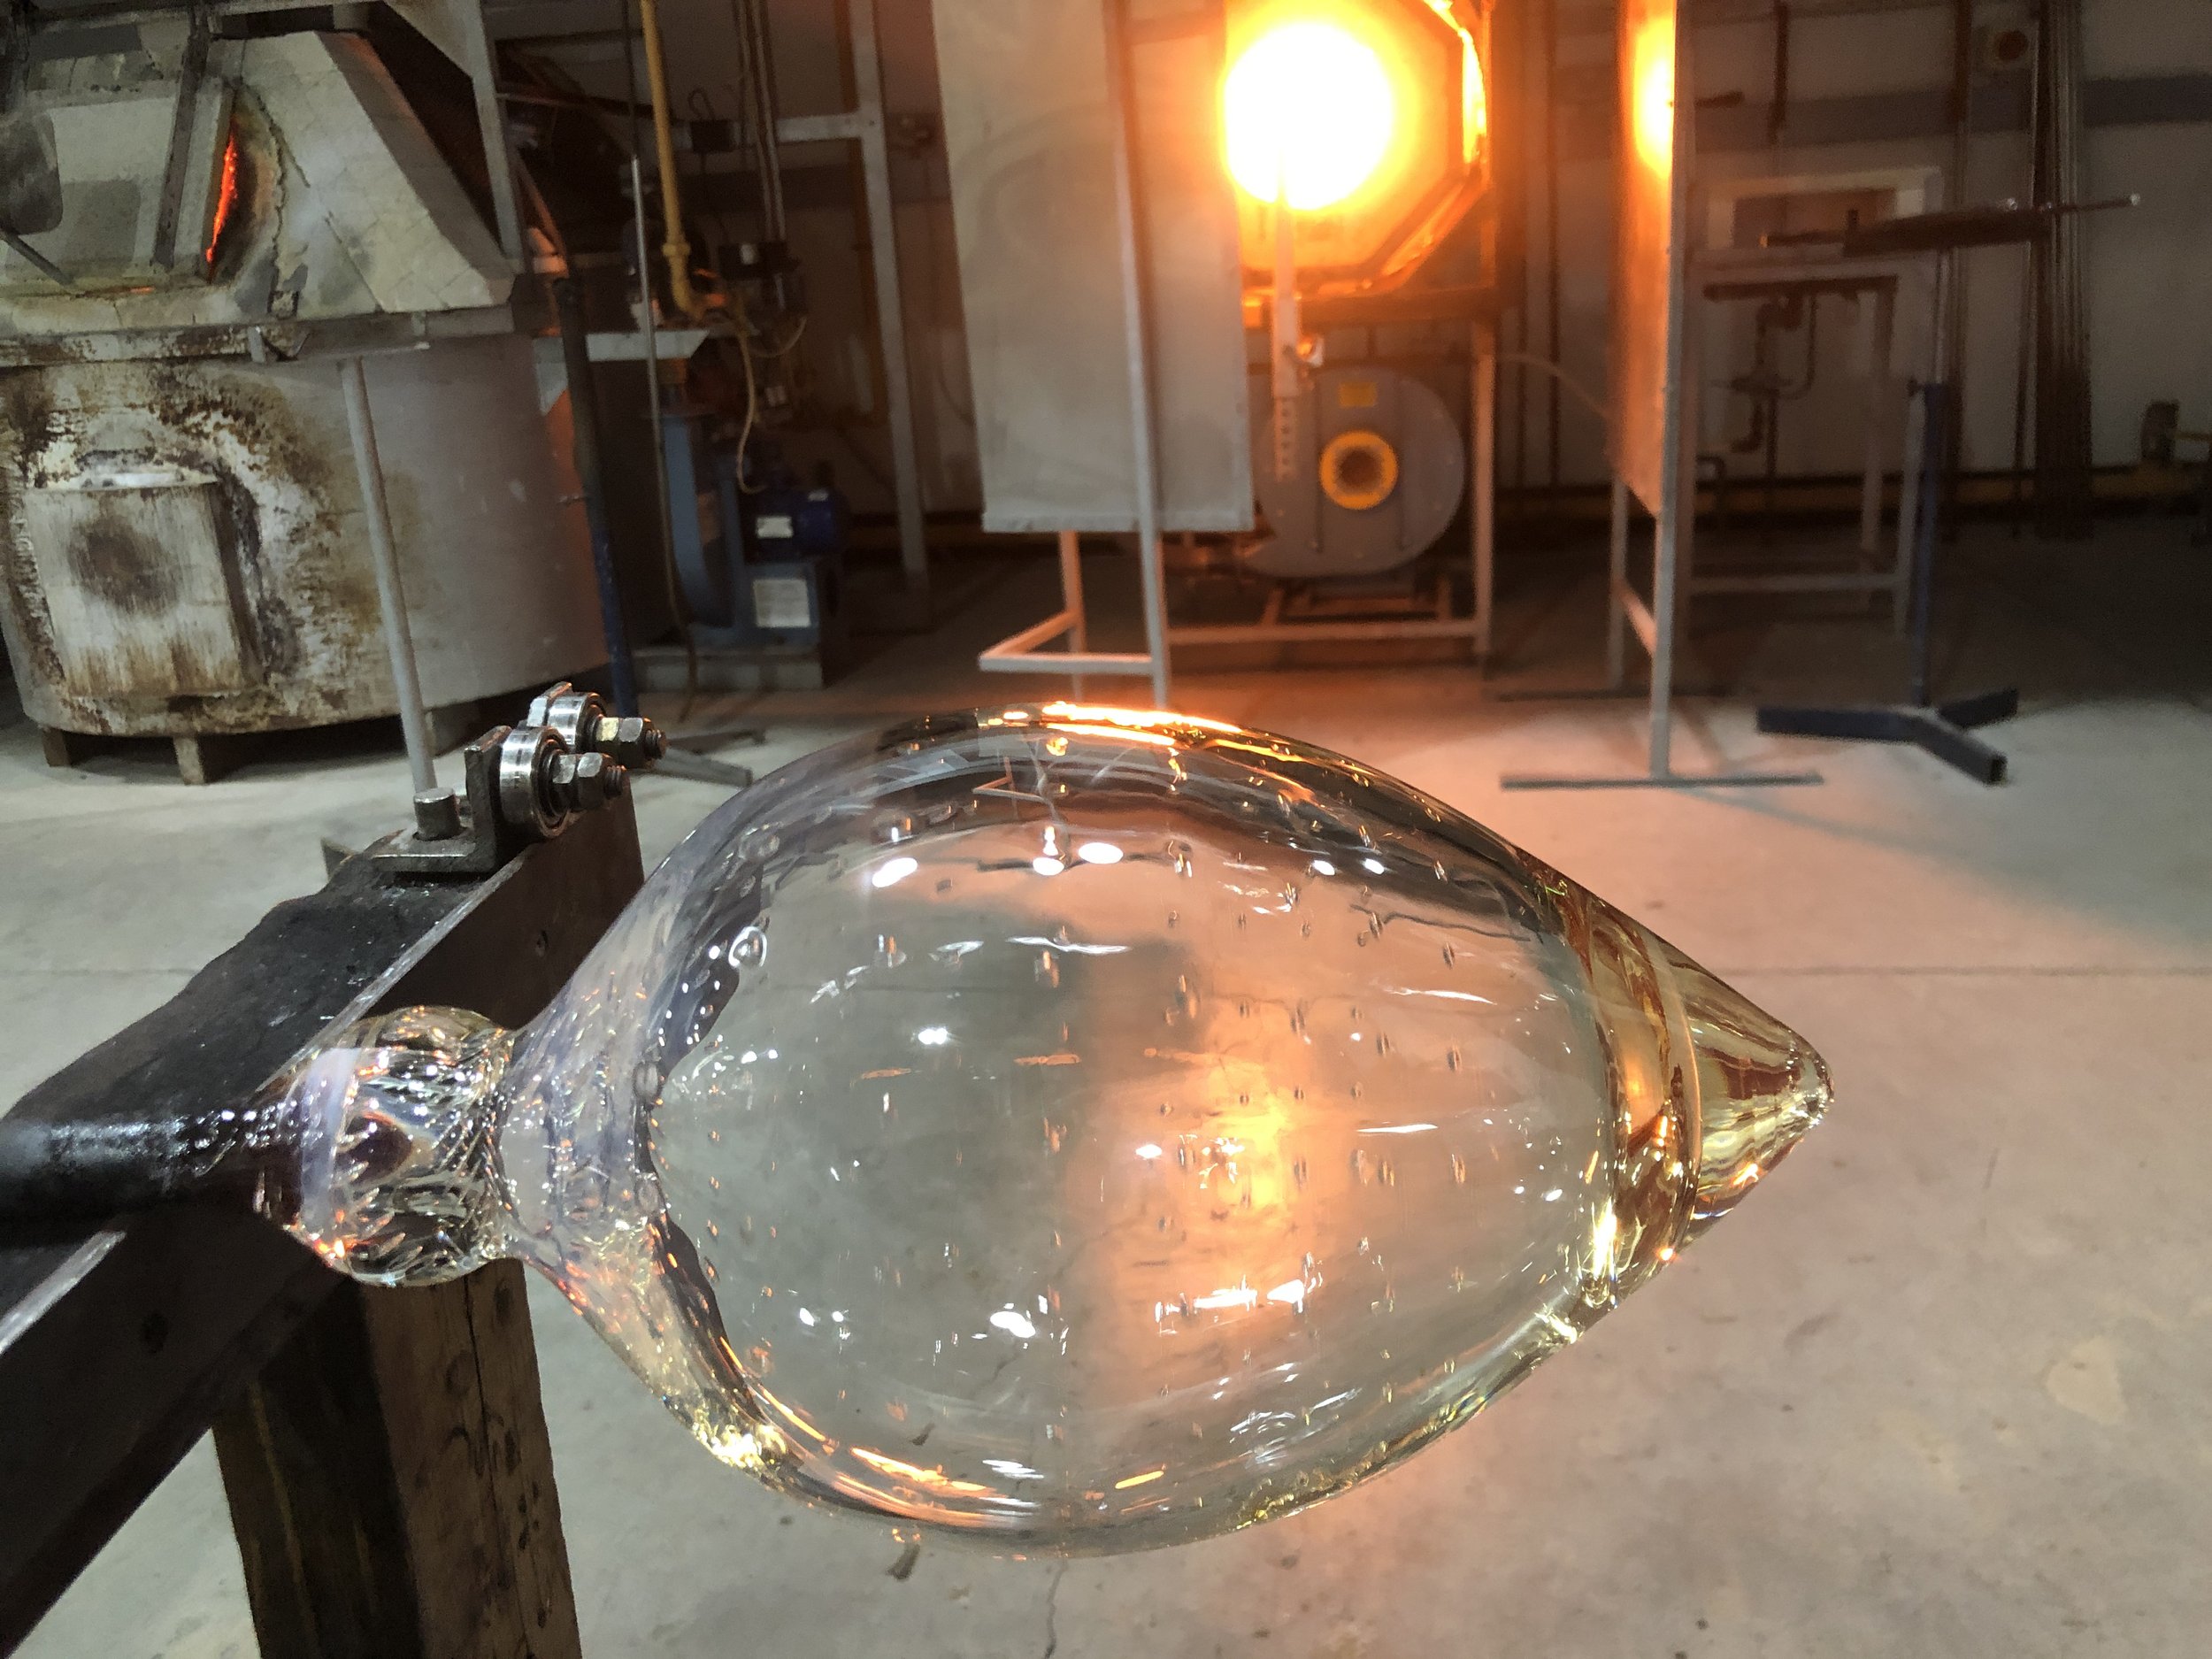
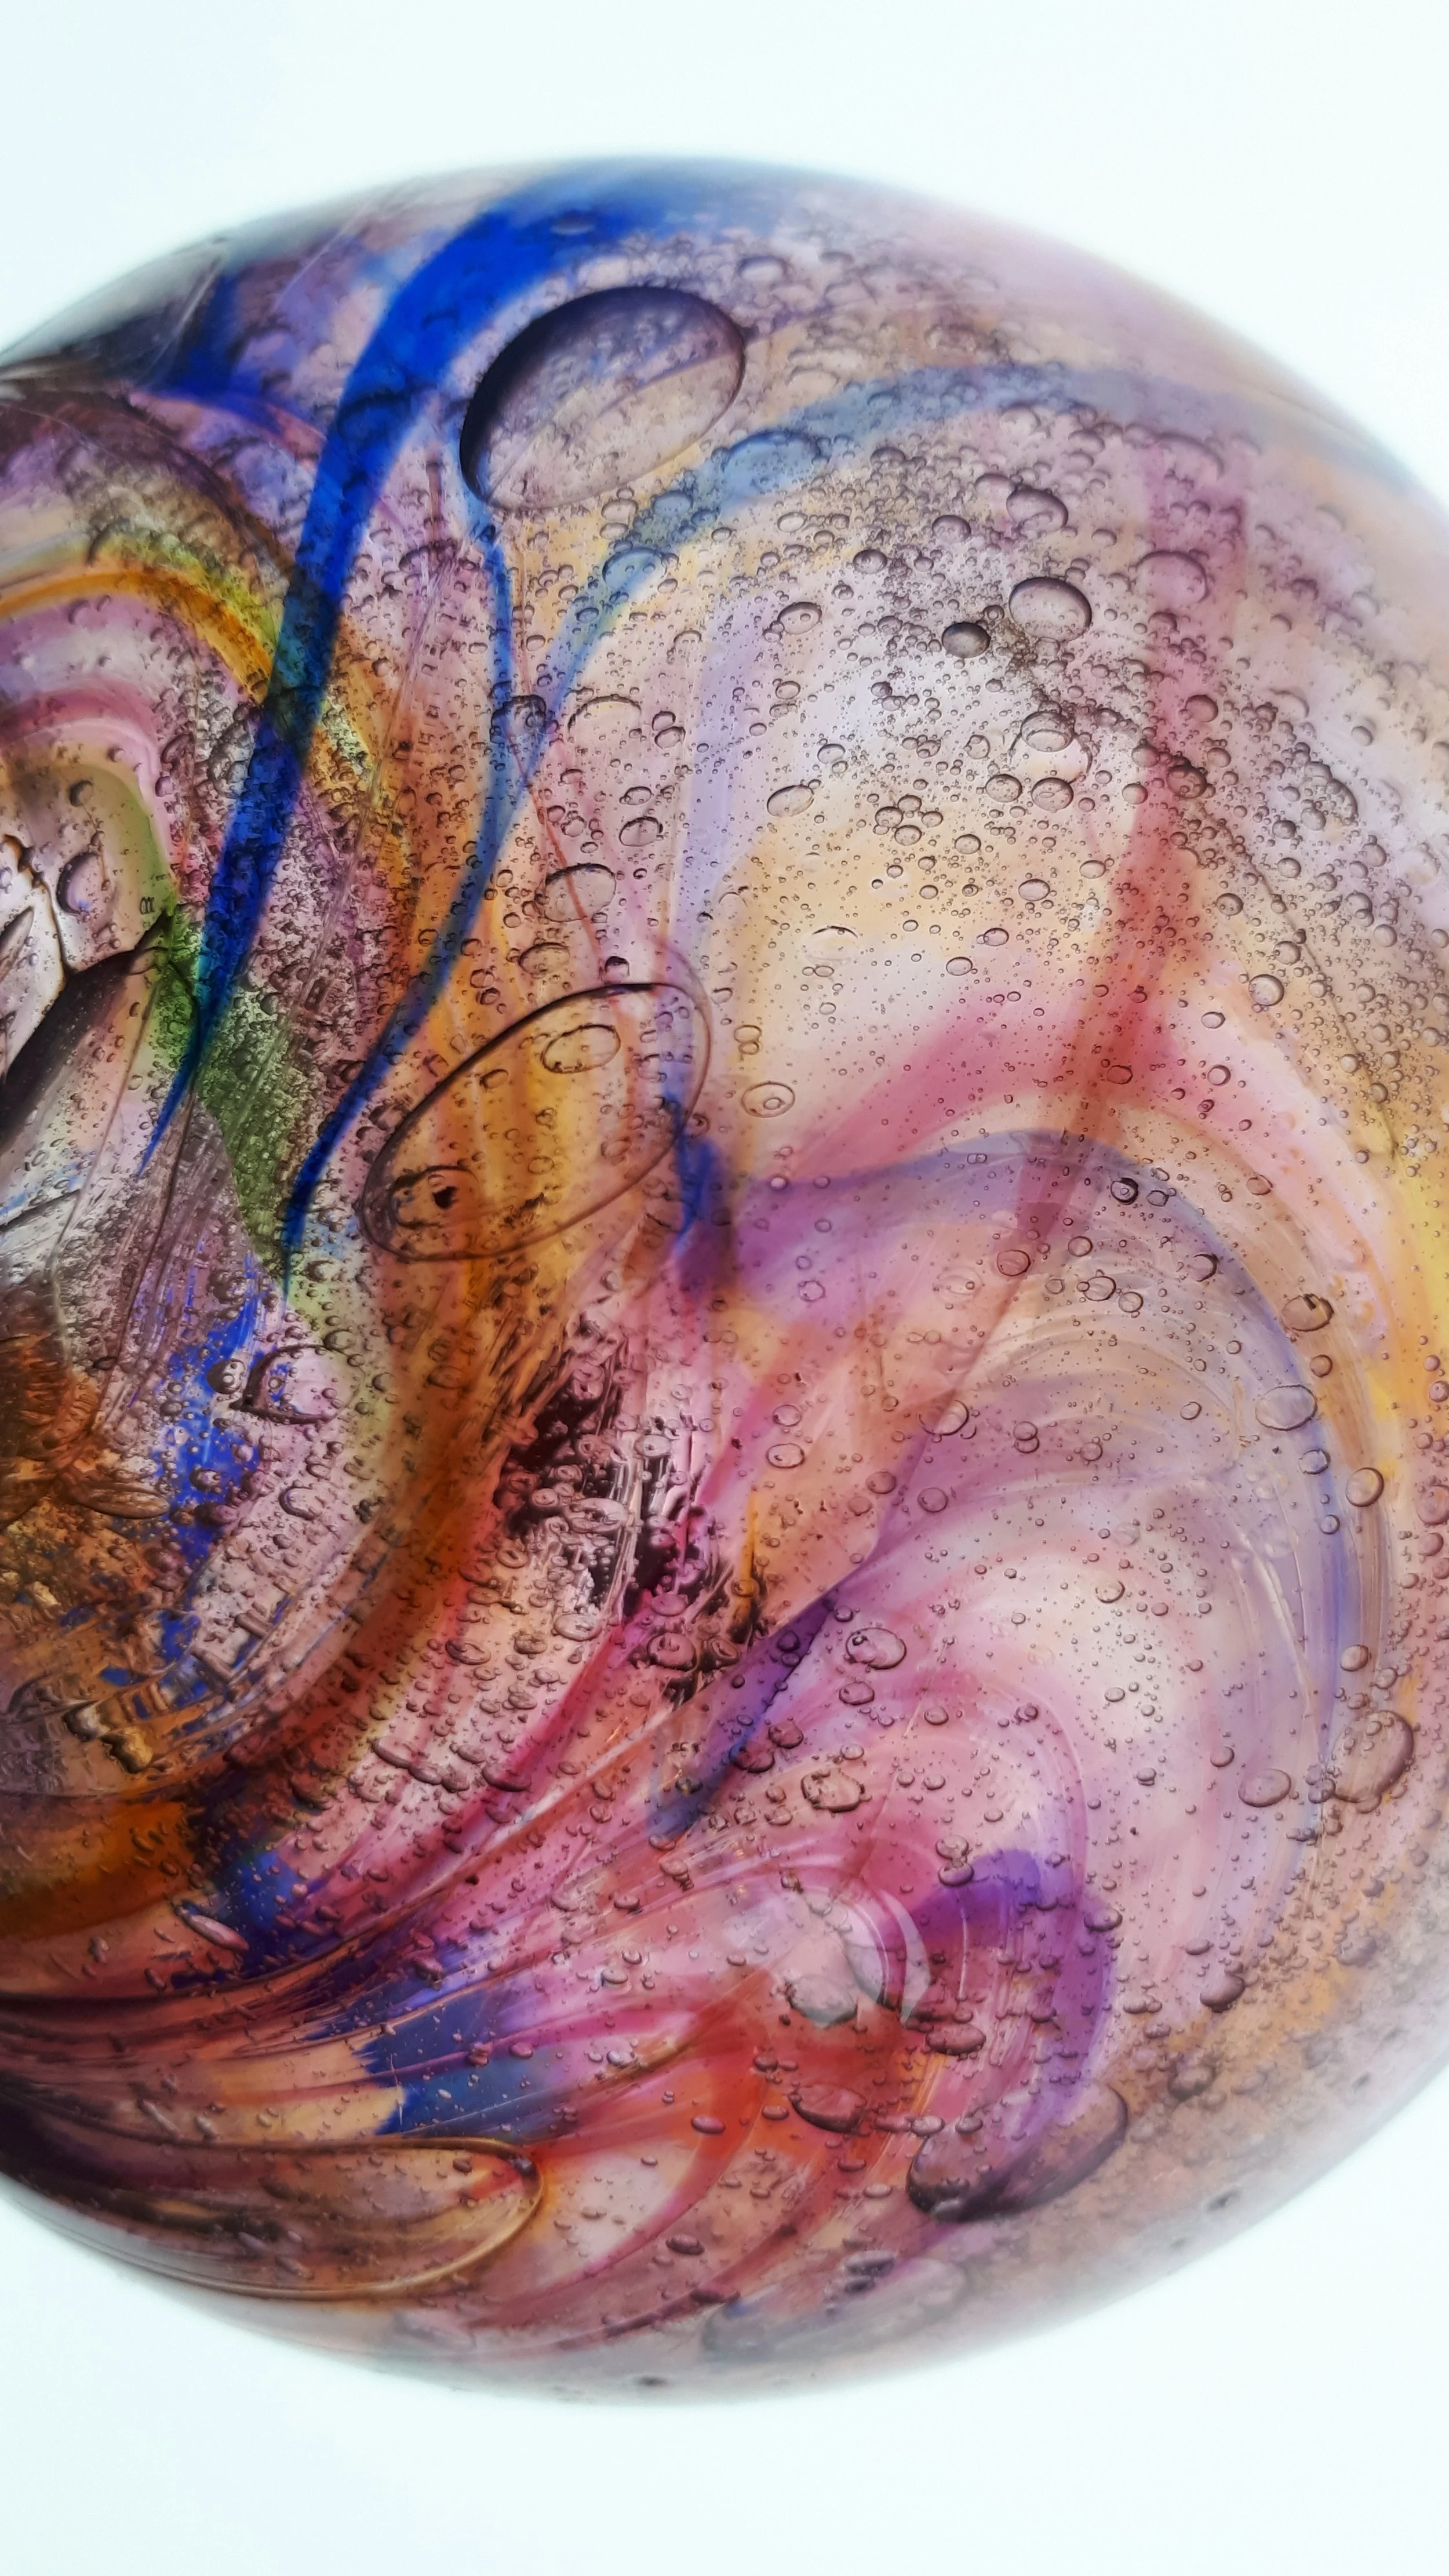
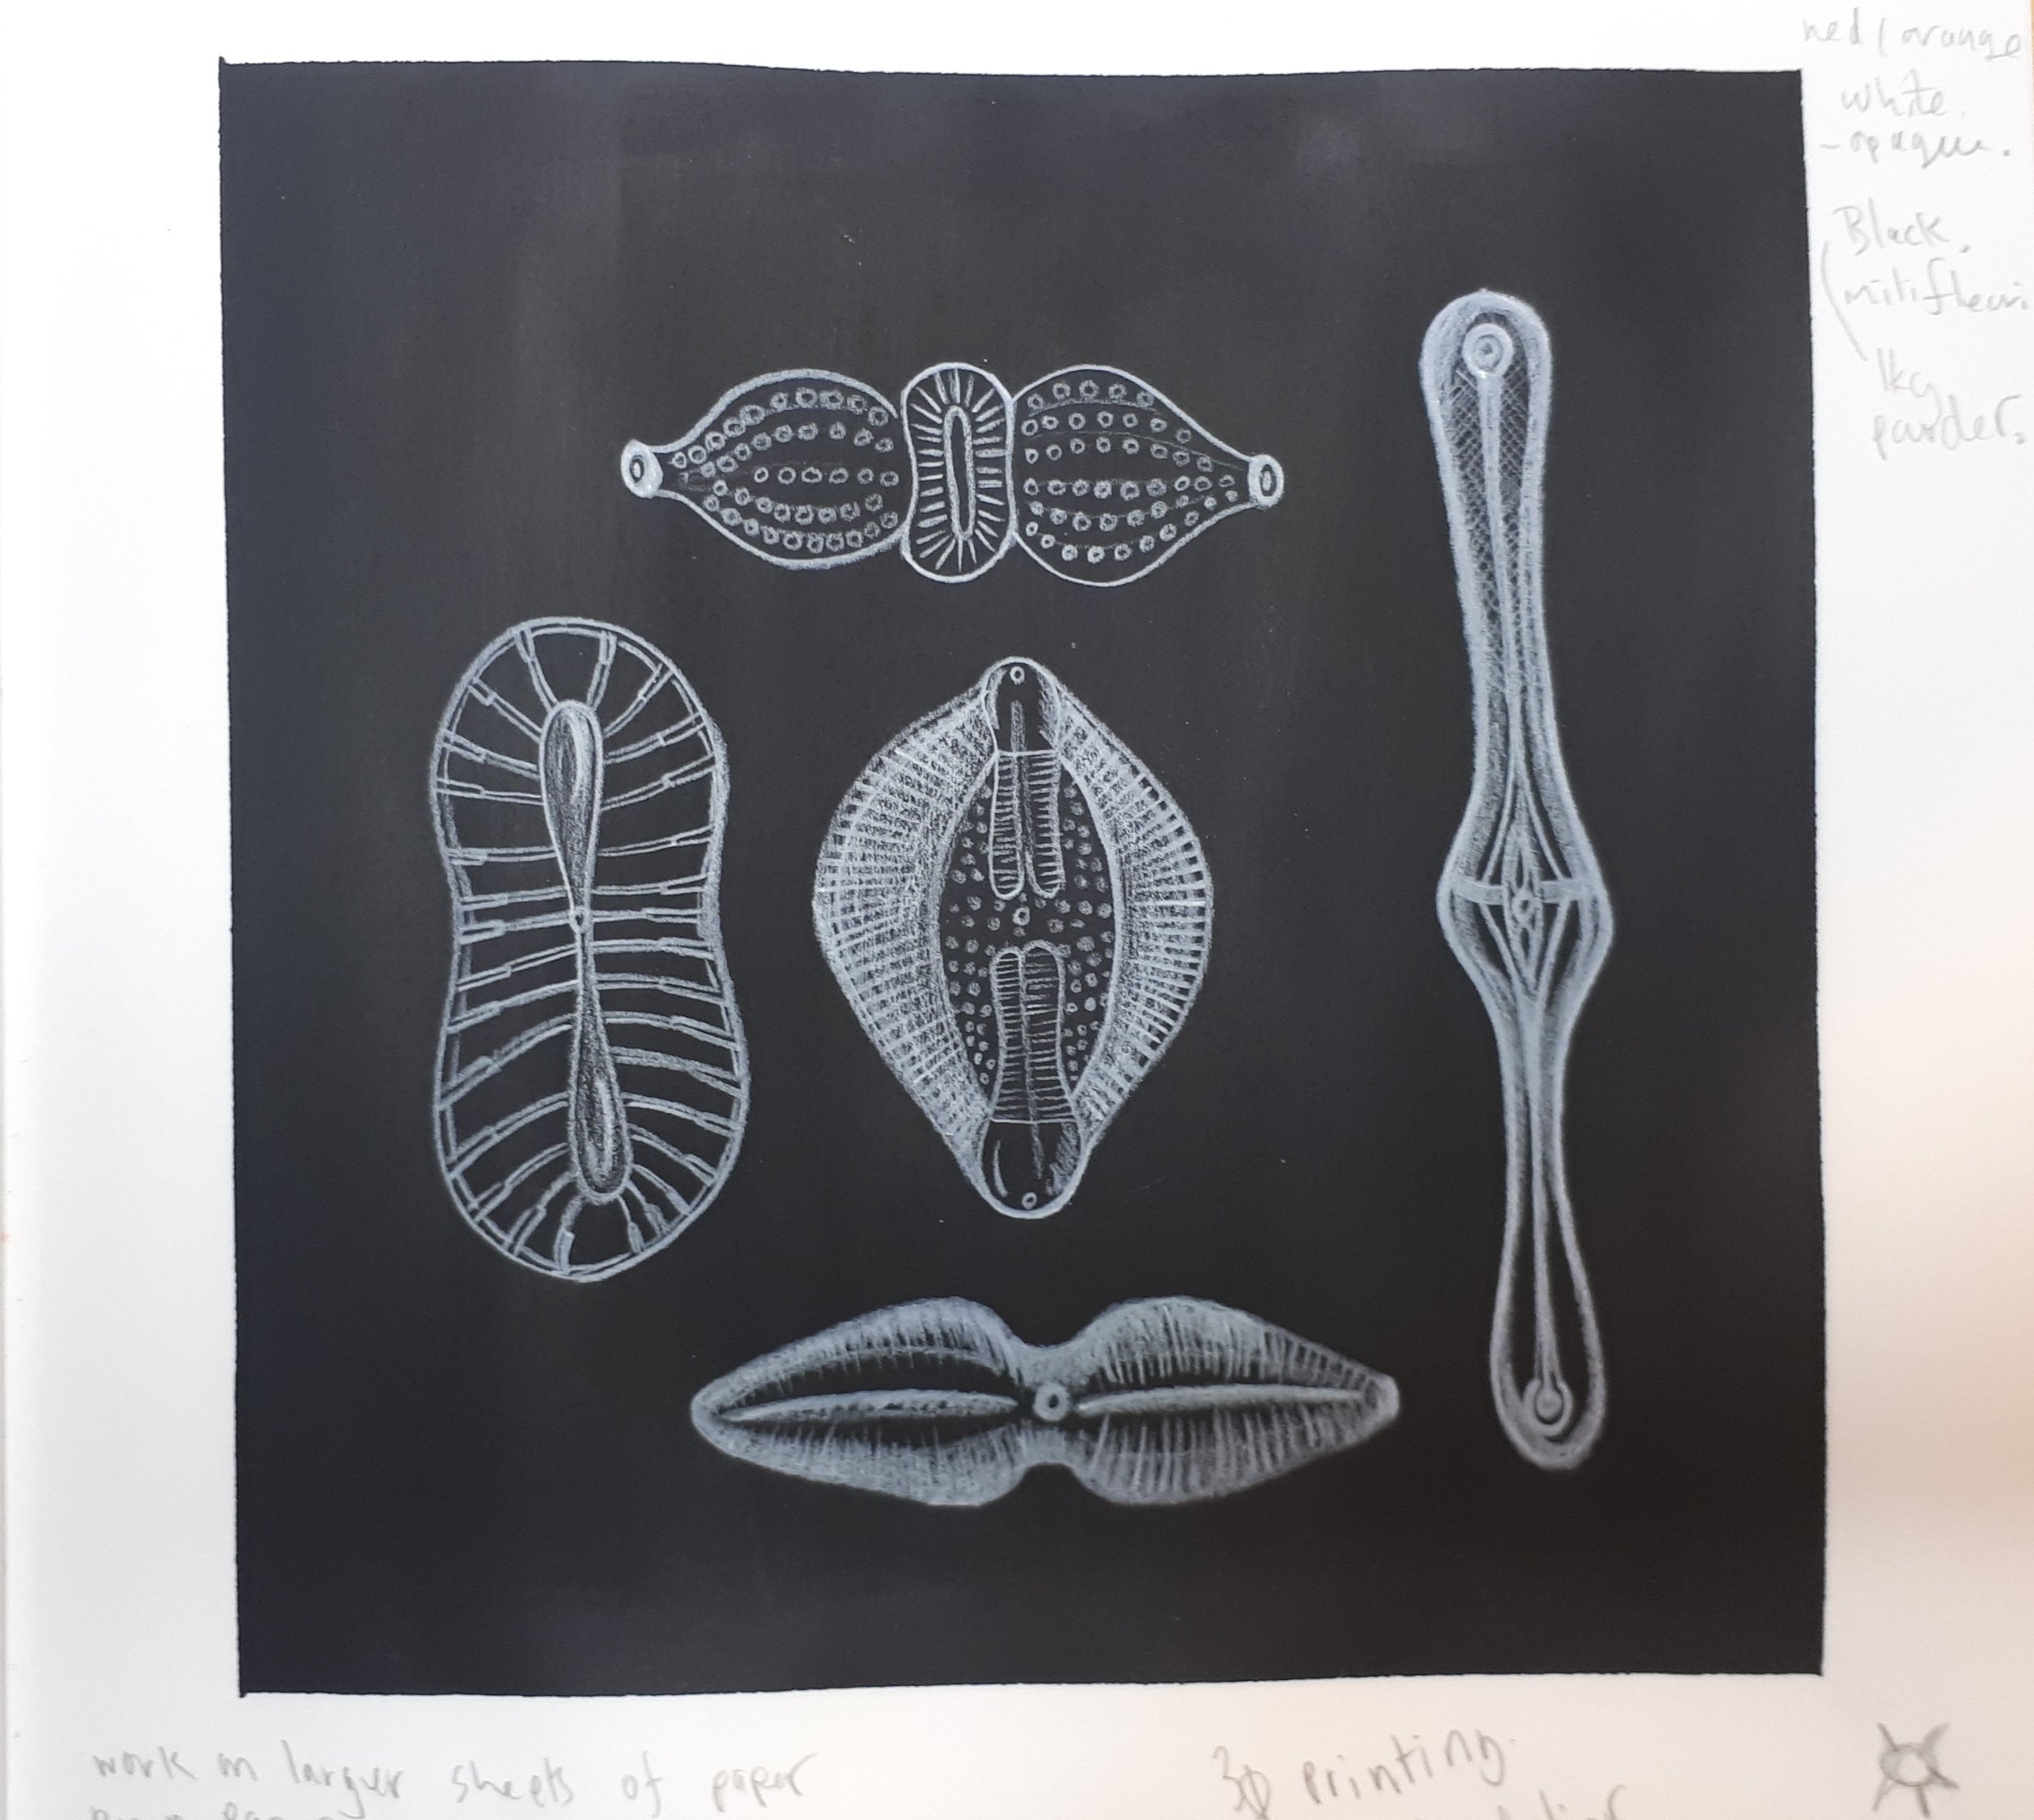
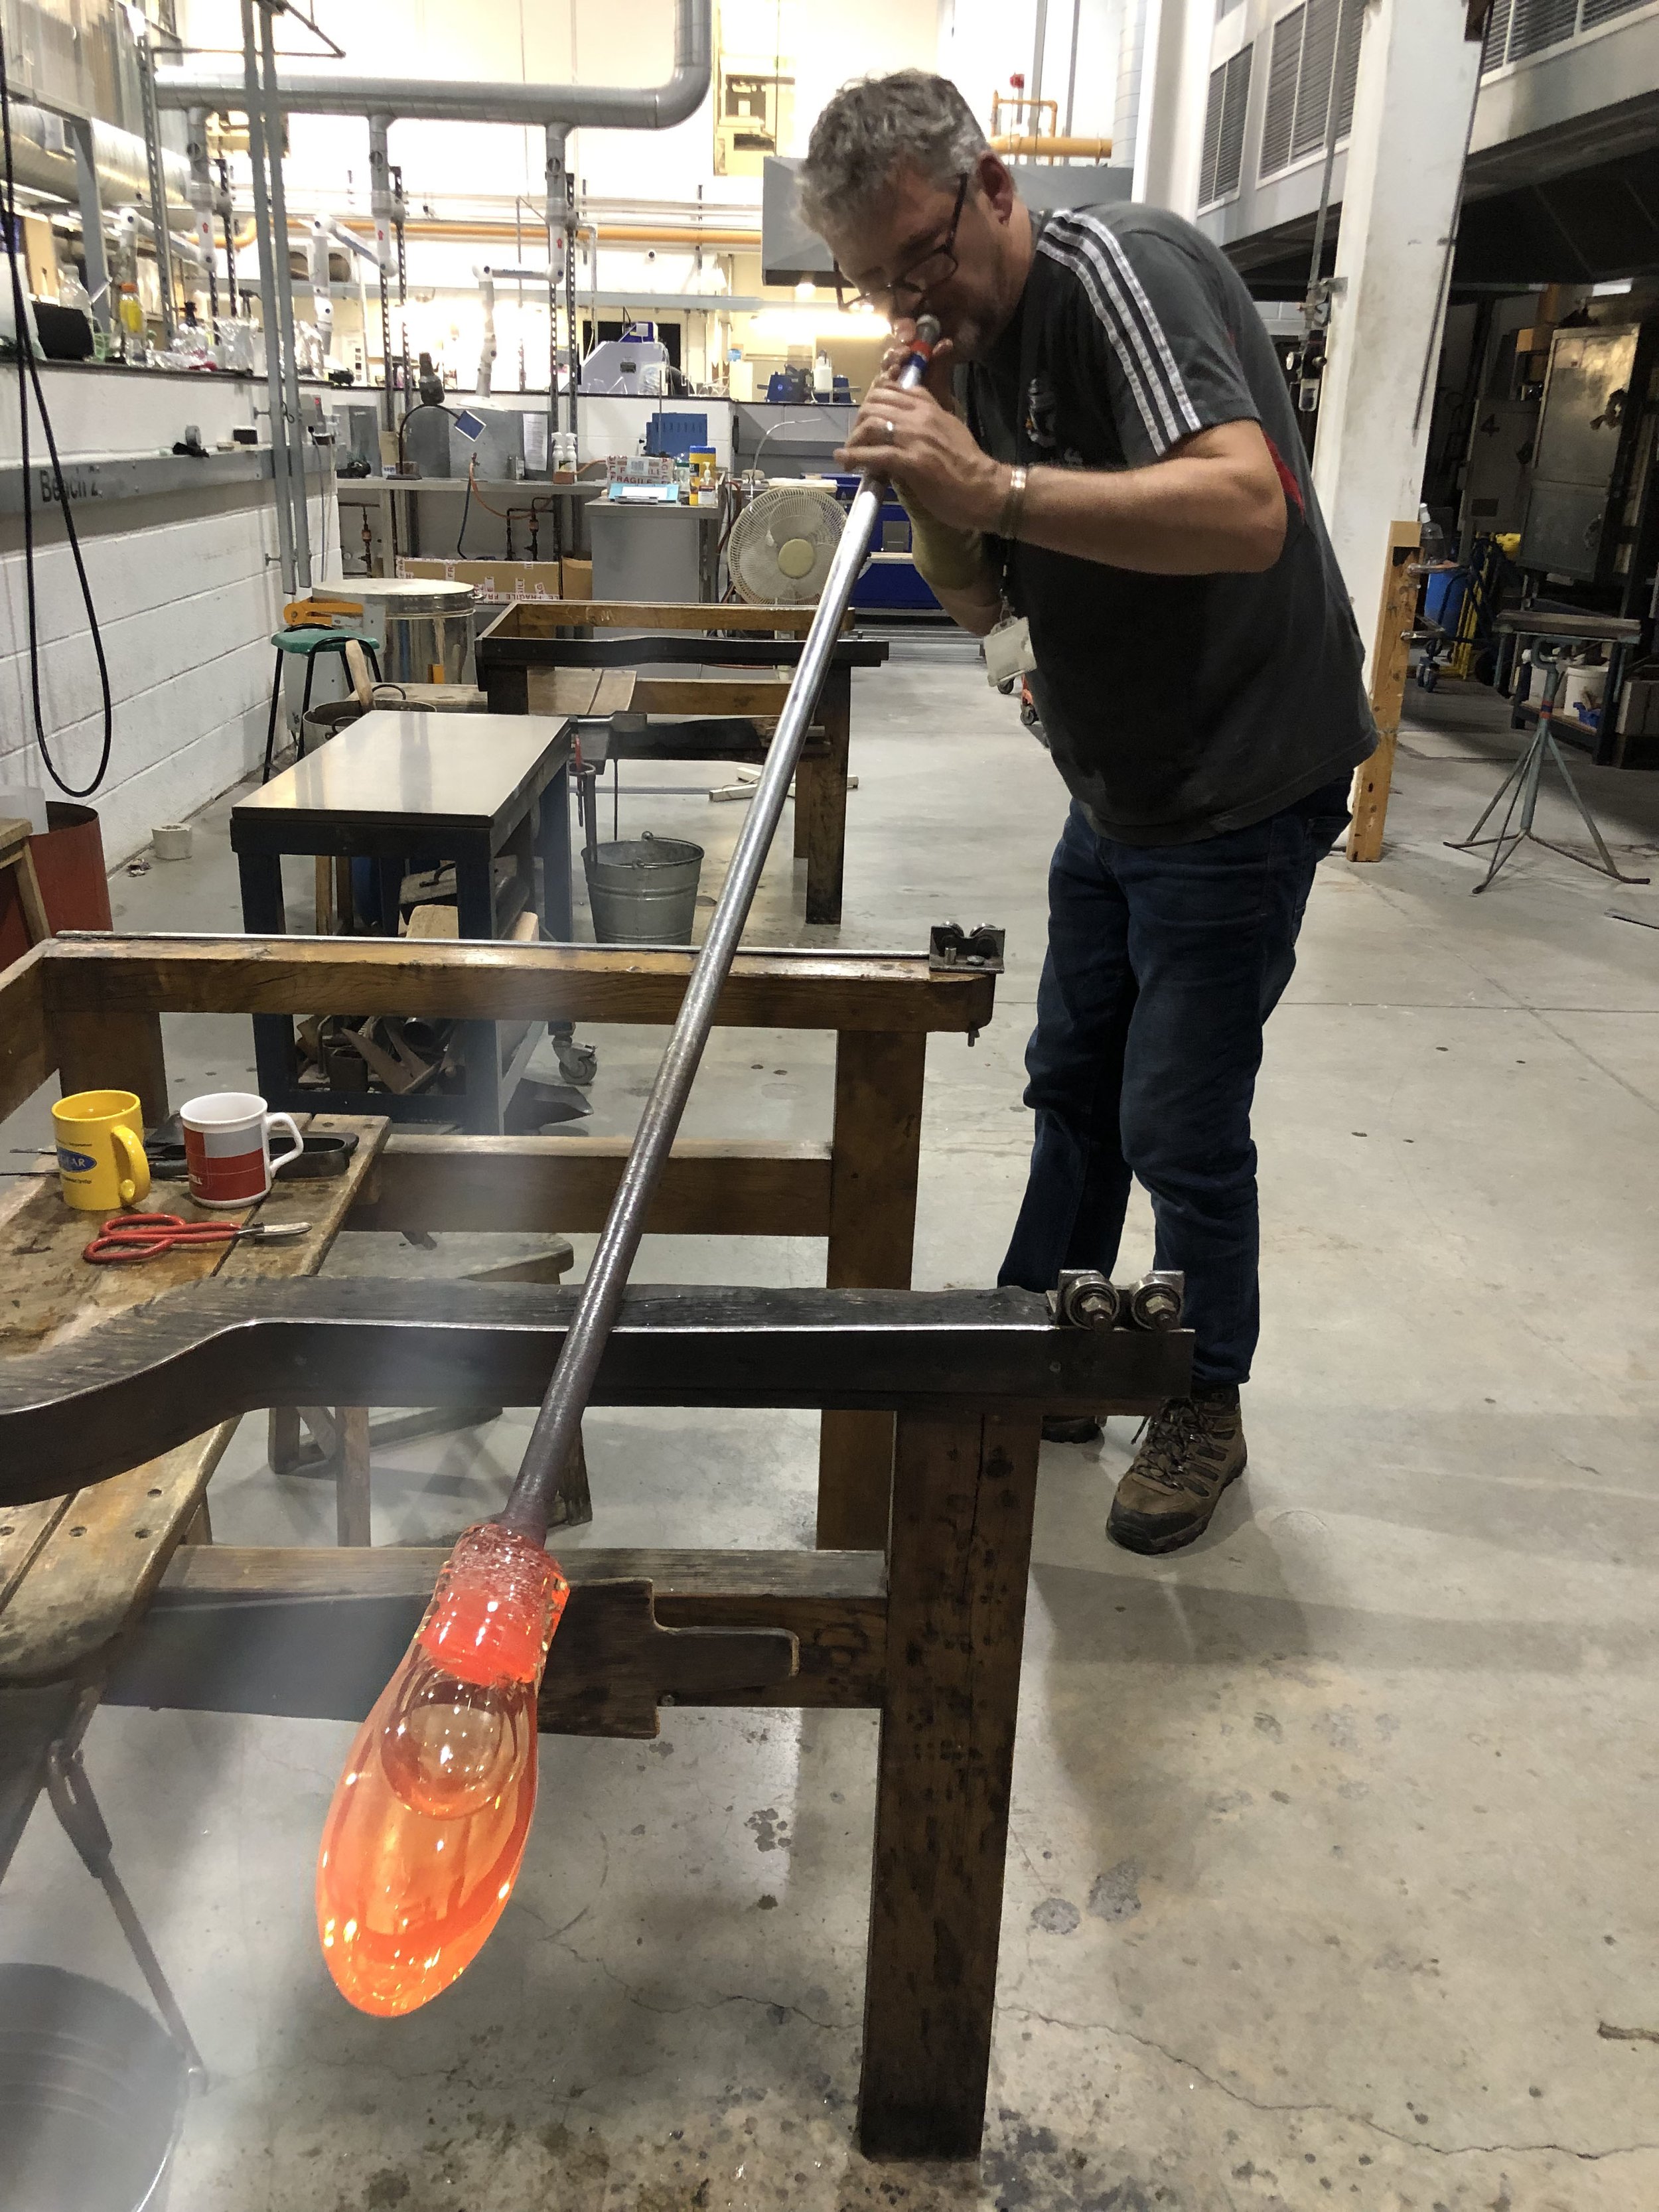
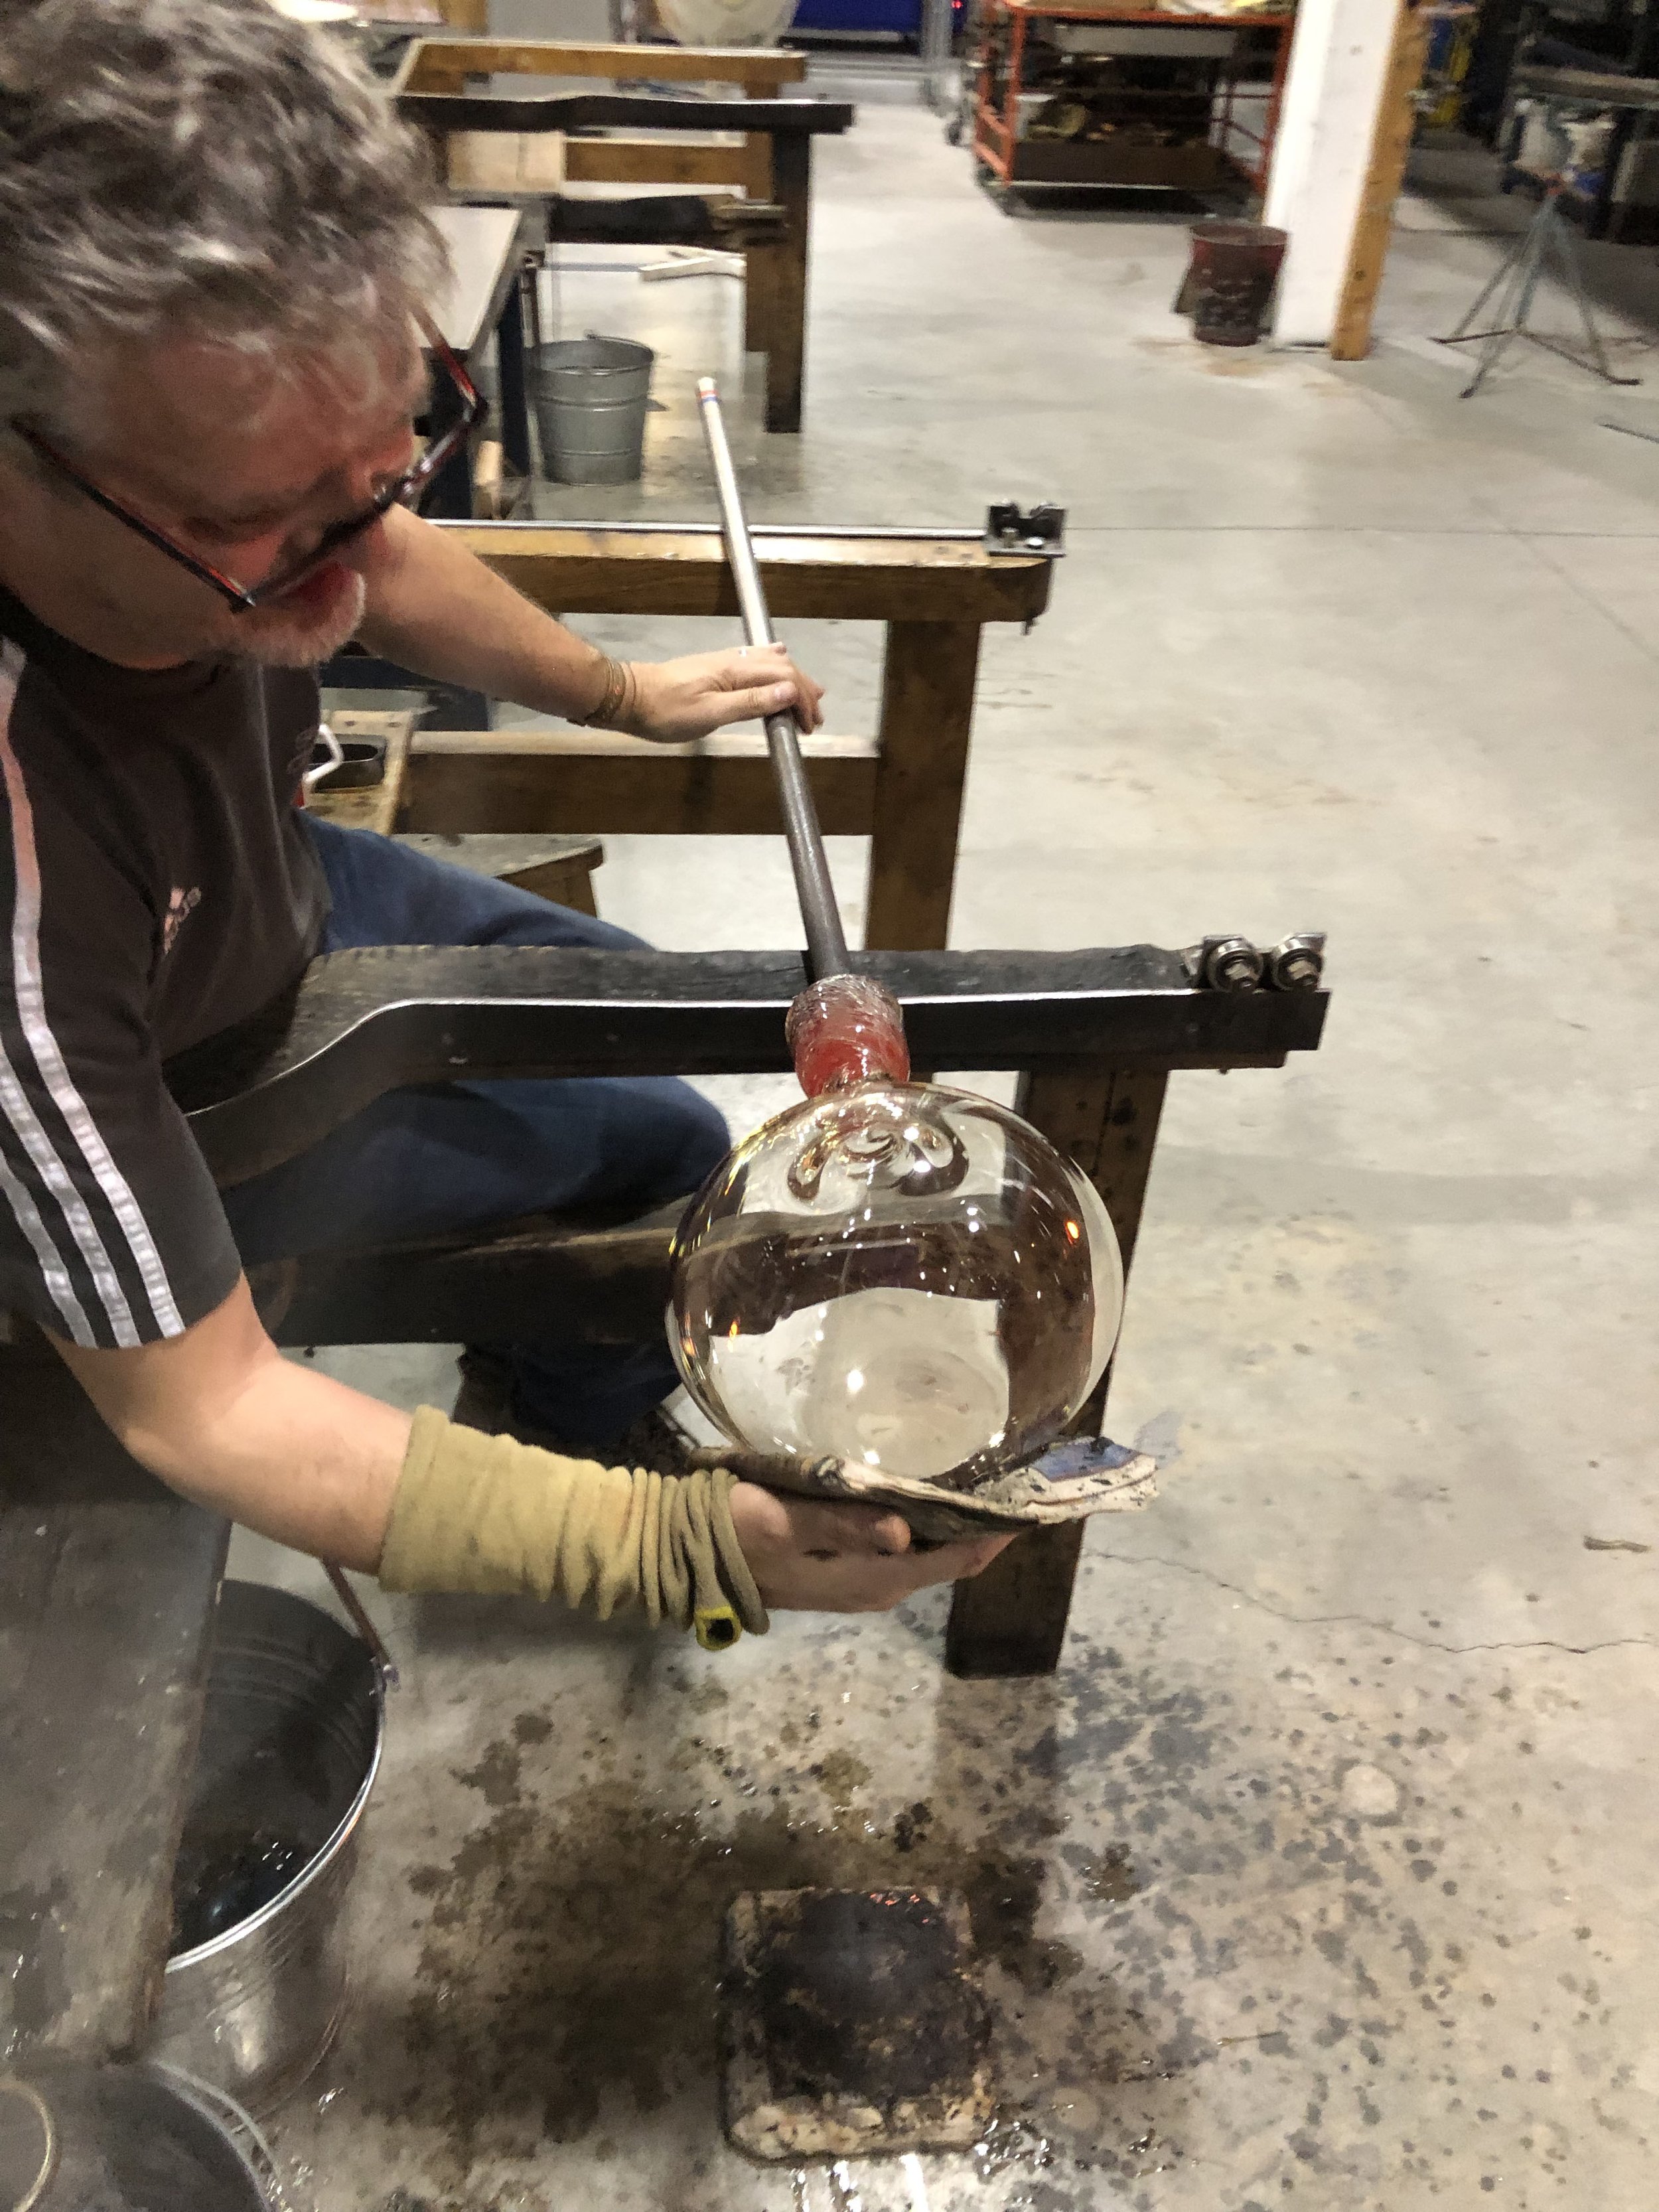
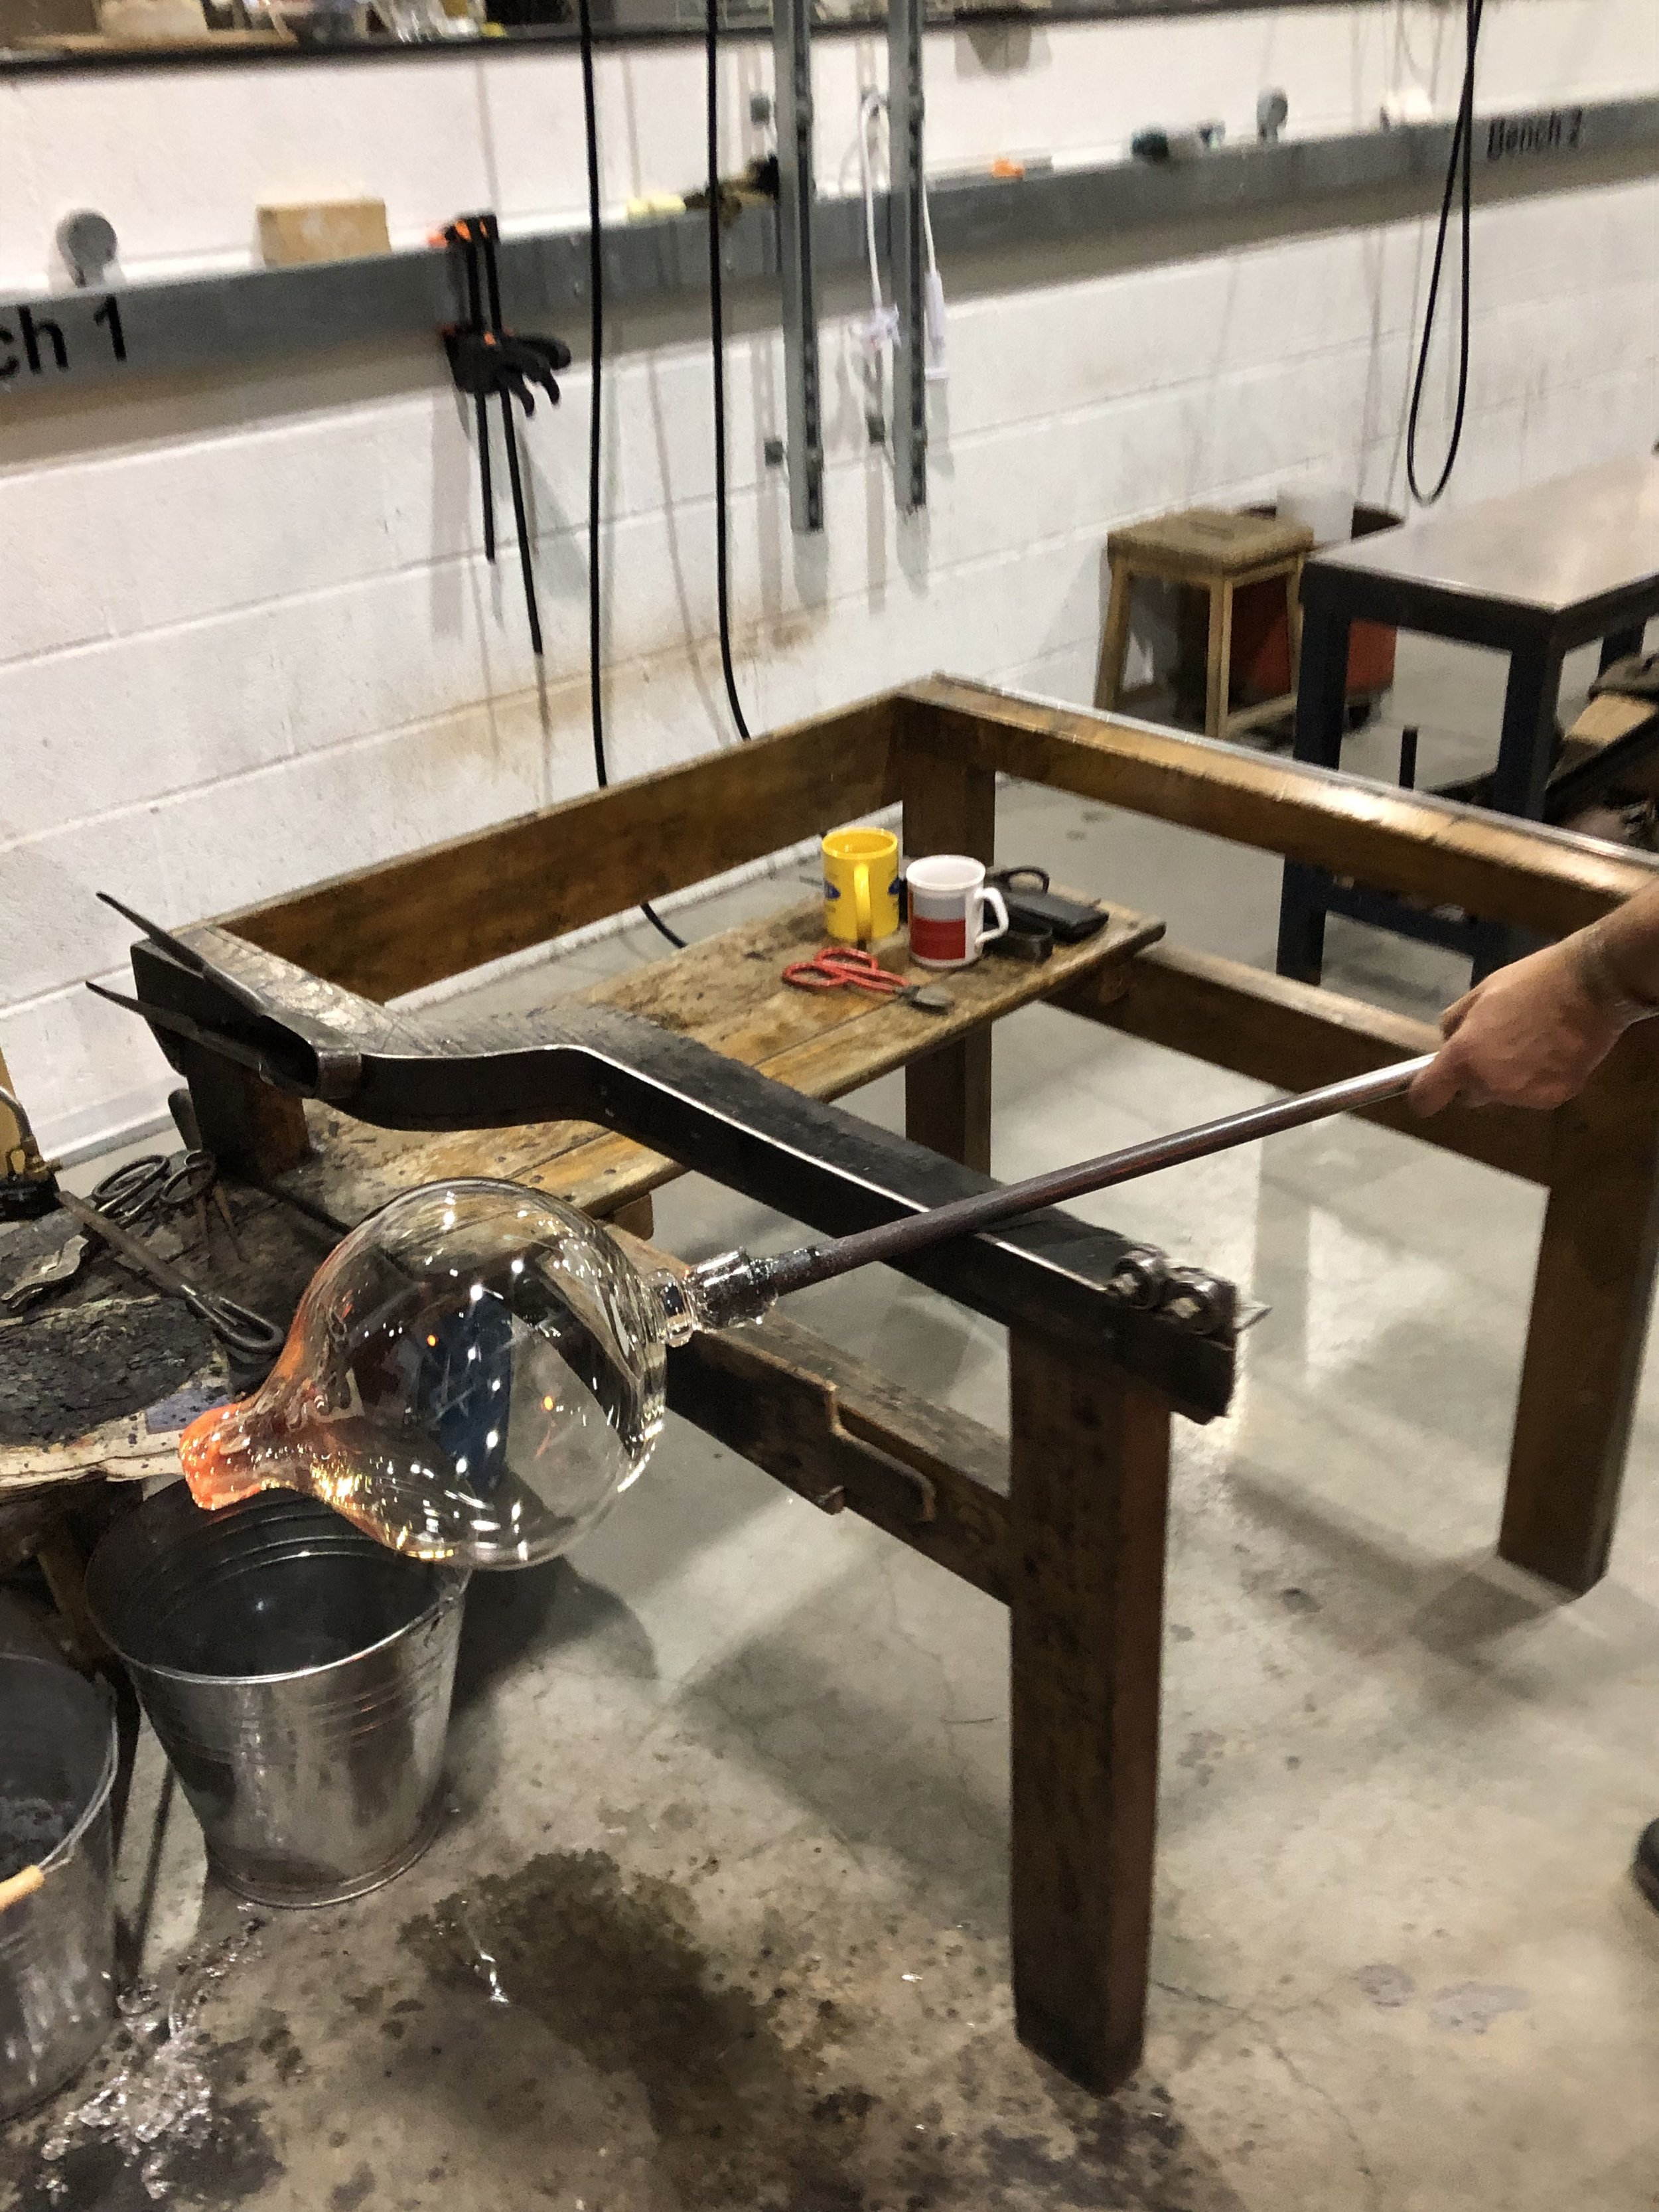
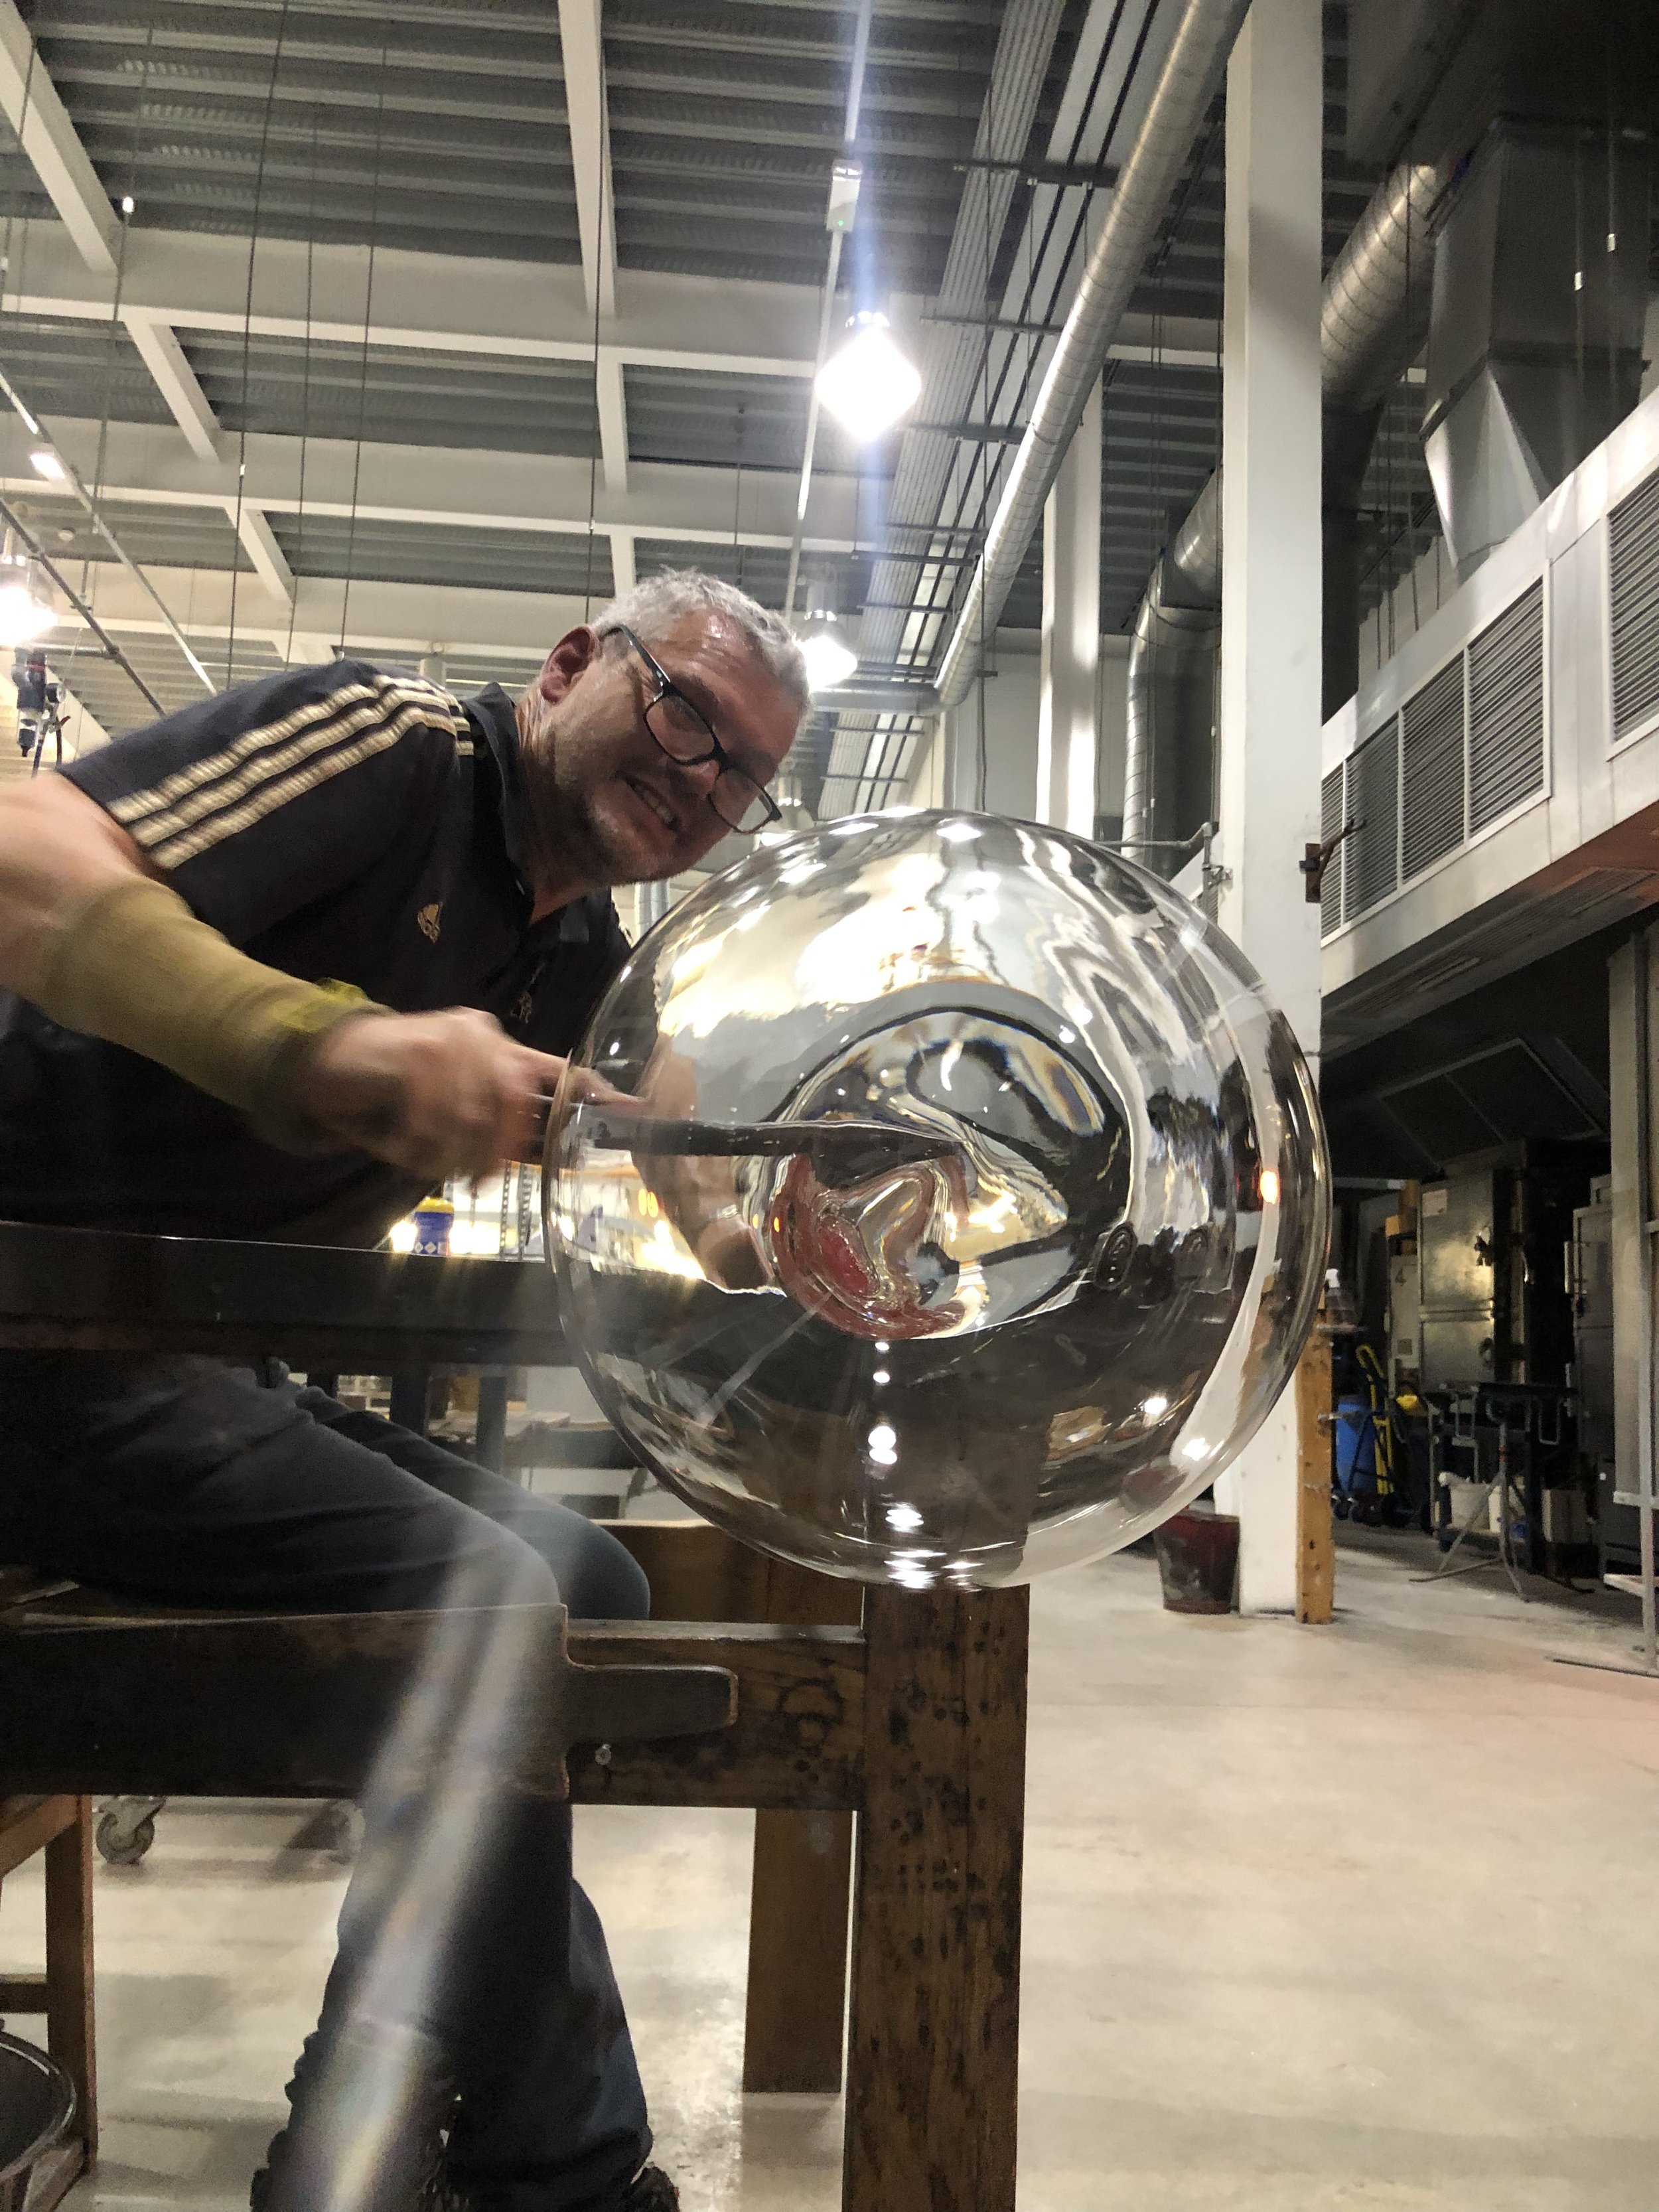
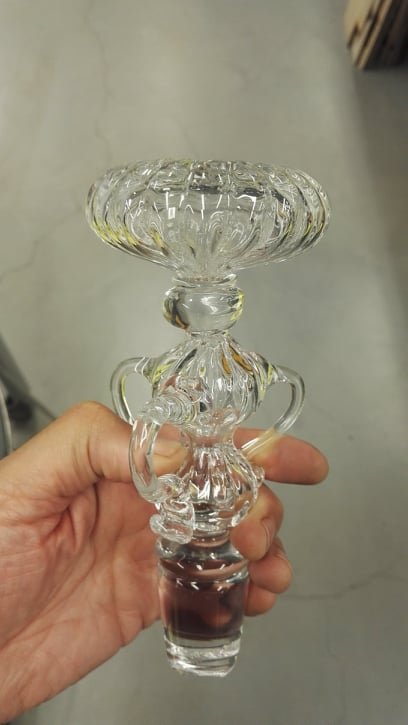
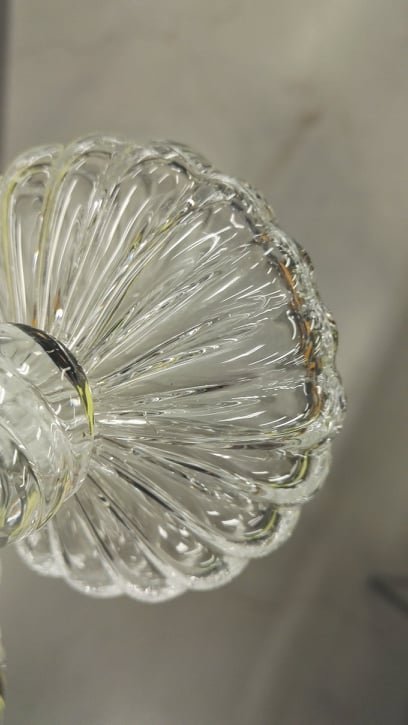
Ian has been taking inspiration from my observational and concept drawings and using his technical skills of working with glass to create large, blown glass forms.

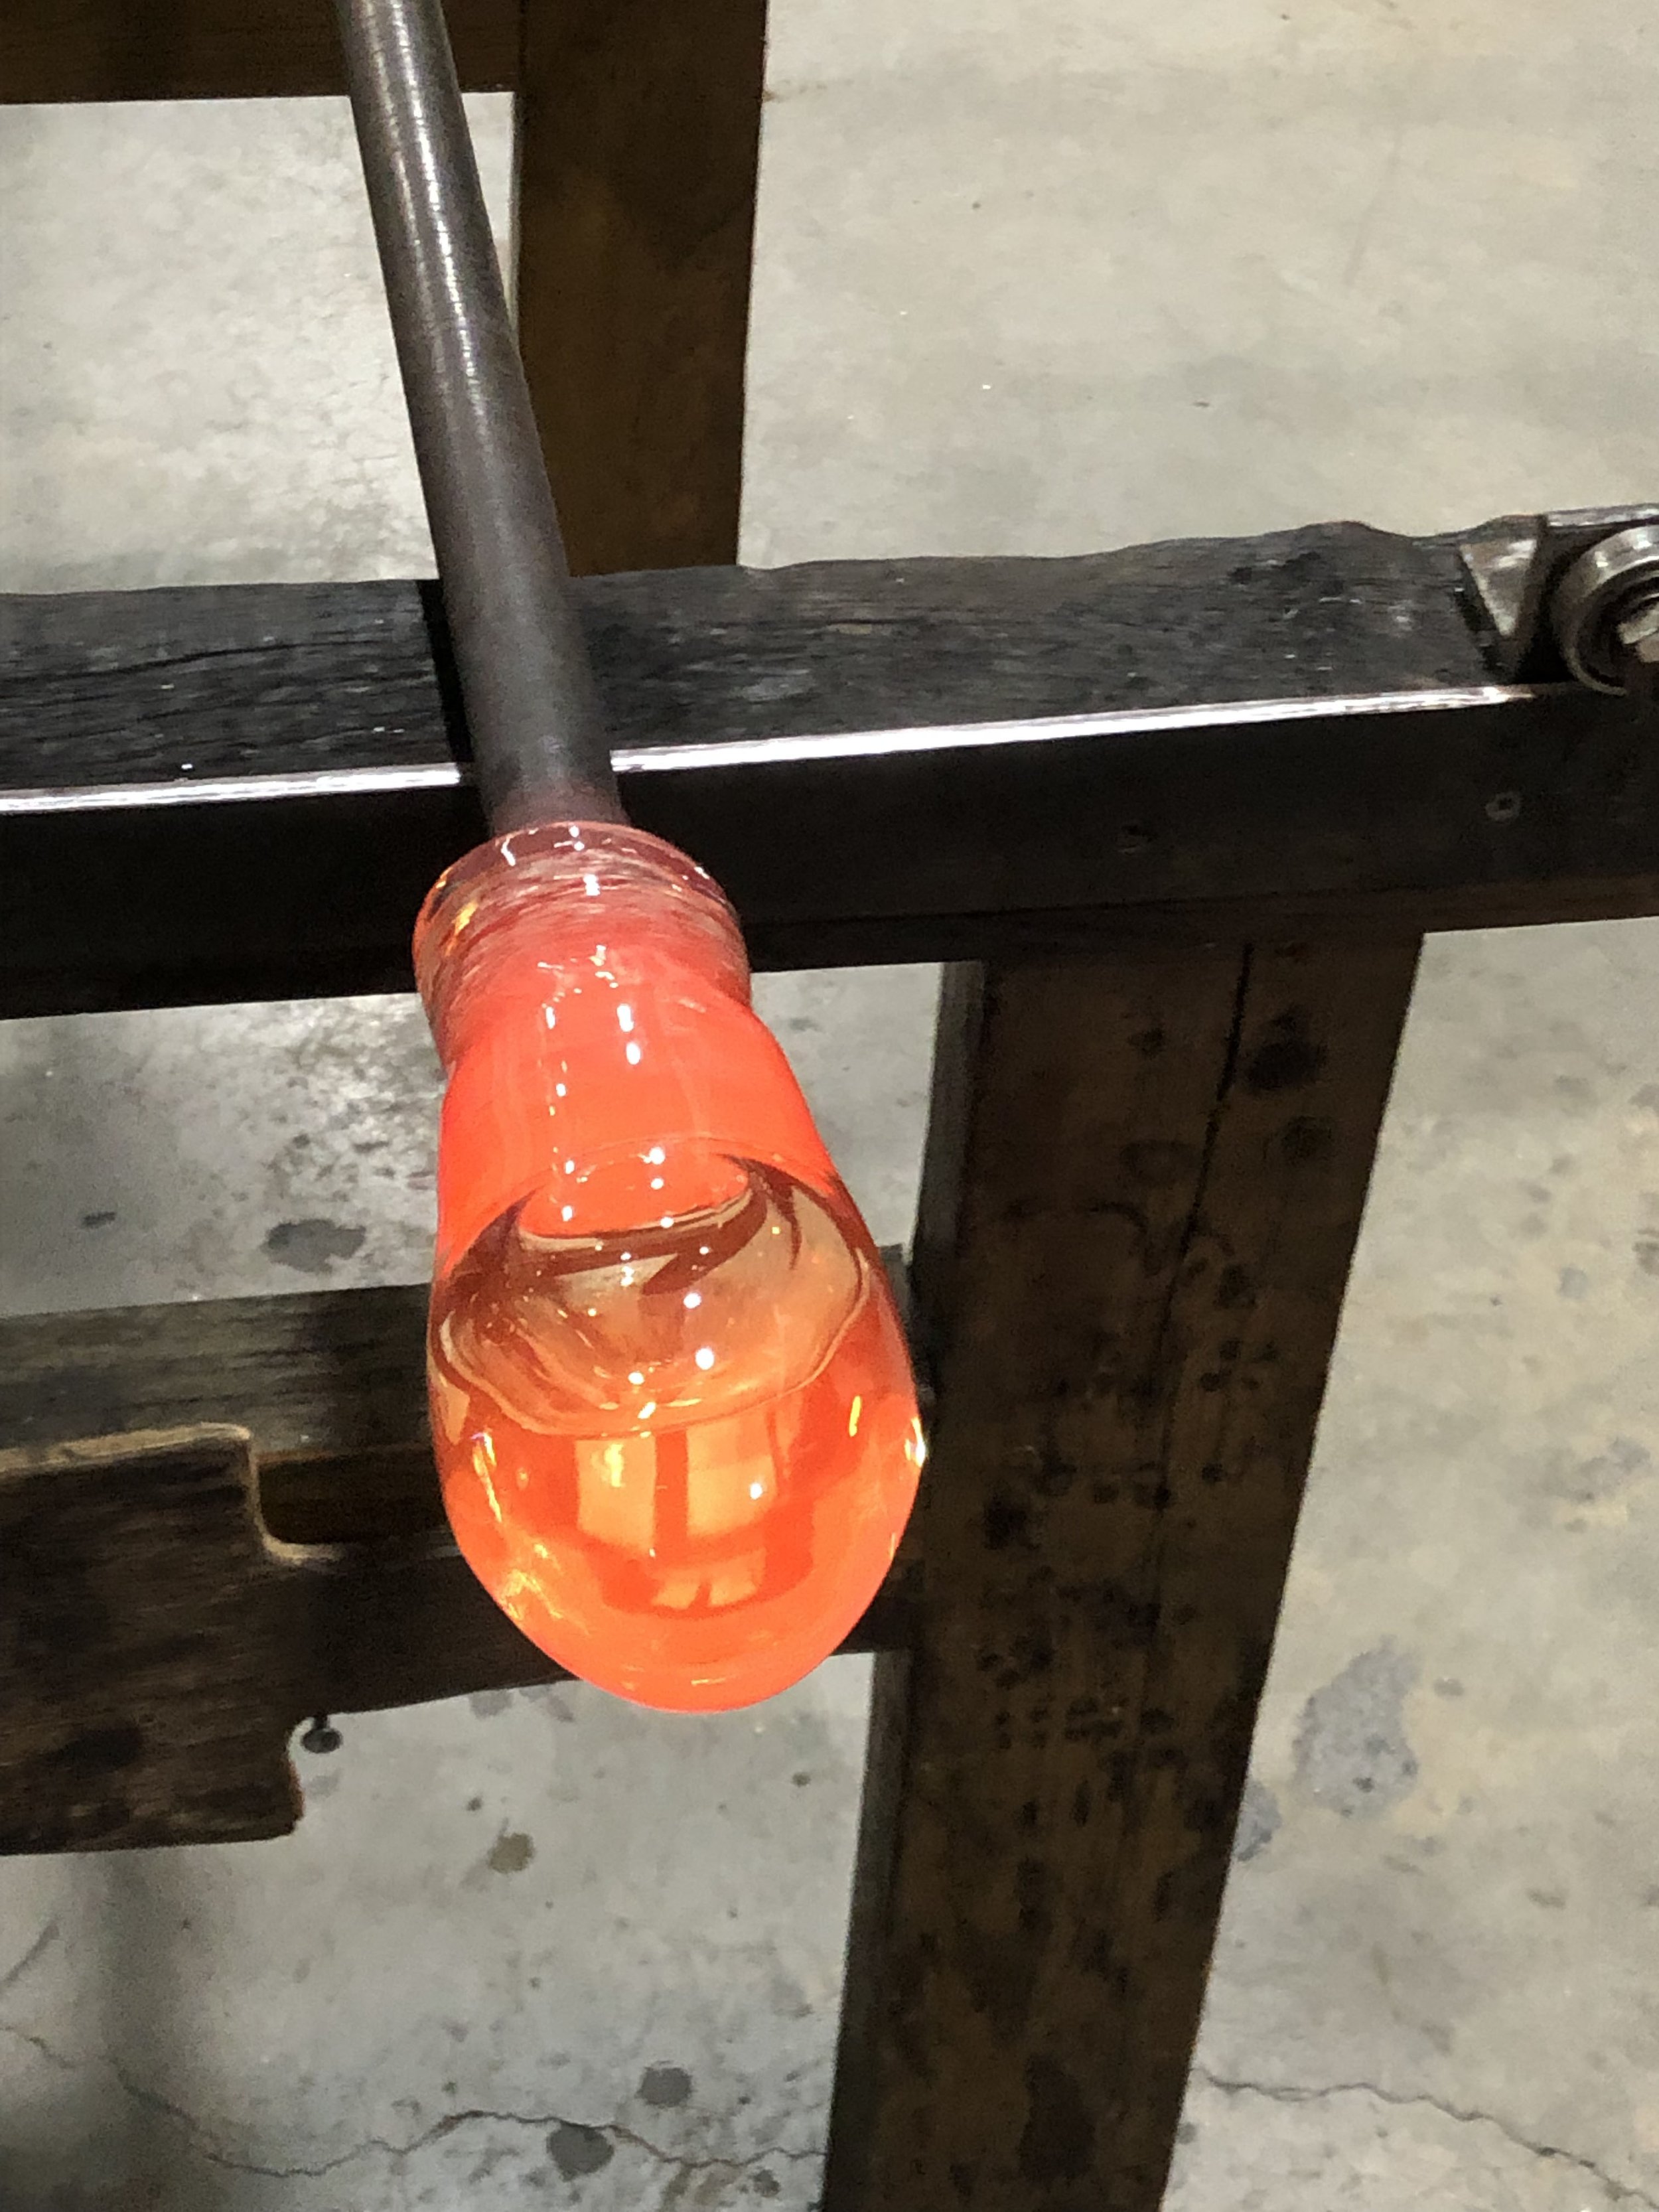
It’s been a long time since I attempted to make large mouth blown glass pieces, but I find myself inspired to make this body of work as large and as uncompromisingly ambitious as possible. I can imagine the results of our collaboration floating in water – perhaps at the old head office lake of Pilkington Glass in St Helens, where I started my career 40 years ago as an engineering craft apprentice.

At my age I will need help to carry the weight of the hot molten glass I need, so I have enlisted the help of one of our 1st year students, Nathan Soper, who has kindly agreed to work with me and also document the hot glass development work I am doing in response to Emma’s drawings.

The wonderful thing about working with Emma, is that the integrity of the concept, is not side-tracked or compromised by the technical skill of the glassmaker. I’ve always felt that in on too many occasions, sculptural work made exclusively by glassblowers tends to be rather inferior in my opinion, stuck in a kind of ‘cultural limbo’ somewhere between Art and Craft, not quite achieving quality as either.

This collaboration with Emma is wonderful because the conceptual thinking and the drawings that she makes are straight from her imagination, with an understanding of glass, but without the many years of training and experience that point a specific way to how things are done. For the first time since I was a student, I have the freedom to imagine making anything, without limits, but this time with over 30 years of tacit skill as a glassmaker at my disposal.

Ian Hankey MA(RCA)

Finished test piece including top stopper

Photography by Nathan Soper 2021

It floats!

Our next stage is to experiment with more forms taken from my drawings and to start to introduce colour. We have decided on a colour palette of aqua blue, translucent red/orange, opaque white and black. We both feel that an intense black base will work well for the Italian millefiori technique which we want to try for the more decorative elements.

We are also curious about the possibility of introducing a 3D printed element to the work. Could this be the nucleus of the piece which holds many glass pieces into place? Similar to the highly intricate arranged diatom slides from the Victorian era. Multiple structures arranged to create one composite piece.